
Hello everyone!
Some time ago I asked you to submit your very own B&A projects for this segment and your response was fantastic! Here is our first B&A post by reader Maria S. I’m so happy she submitted this because it is so easy and can add such a wonderful pop of color to any space! Thank you for submitting your project Maria!

Materials | Materiales
- Canvas with thick edges (1″) | Canvas de borde grueso (1″)
- Different sized and colored ribbon with ribbed texture (this texture conceals the glue better than satin) | Cintas de tamaños y colores diferentes y con la textura de rayitas ( esta textura permite que las imperfecciones por la pega se noten menos que con una cinta satinada)
- Tape | Cinta adhesiva
- Ruler | Regla
- Clear Crafting Glue | Pega transparente para manualidades

Process
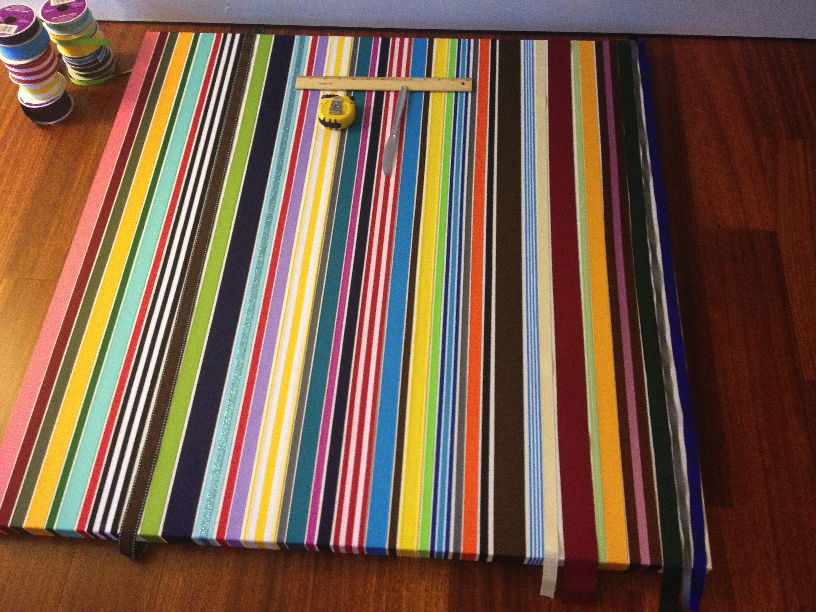
- Place ribbon spools side by side to check color combinations
- Cut the ribbon allowing for excess ribbon to overflow over the edges (you will wrap these around the edges and adhere to the back of the canvas later)
- Start placing the ribbon over the canvas (Maria opted to adhere them with tape first to make sure she had enough ribbon)
- Once you’re done with the design process, you can start glueing the strands onto the canvas. Maria applied a very fine line of glue and then smoothed it out with the ruler to get a finished look. No need for a lot of glue since you don’t want it to run off the sides.
- Set aside and dry over night
- Done!
If you have any questions or comments for Maria, please write them below! If you have a Before & After project you’d like to submit, please click HERE for more info. Have a great day!

En Español…
- Organiza los rollos de cintas uno al lado del otro para buscar combinaciones de colores que te gusten
- Corta la cinta suficientemente larga para pegarla por la parte de atrás del canvas. De esta manera el borde superior e inferior quedan forrados con las cintas. (Si tienes planes de enmarcarlo no es necesario hacerlo de esta forma).
- Comienza a acomodar las cintas utilizando cinta adhesiva para asegurarte que te gusten las combinaciones y para estar segura de que tengas cinta suficiente.
- Una vez se vea bien comienza a pegar cada cinta con la pega transparente. Es importante pasarle la regla por encima para aplastar cualquier acumulación de pega. No se debe usar mucha pega ya que se puede salir por los lados de la cinta y eso es algo que quieres evitar. Con una fina línea es suficiente.
- Dejar secar el cavas toda la noche
- ¡Listo!
Si tienes alguna pregunta o comentario para Maria, puedes escribirlo abajo. Si tienes algún proyecto que quieres compartir con nosotros, hazle click AQUI para mas información. ¡Que pasen un día maravilloso!

Related posts:
 Miss Ideas #21 – Decorate With Duct Tape (Part 2) | Decora con cinta para ductos (Parte 2)
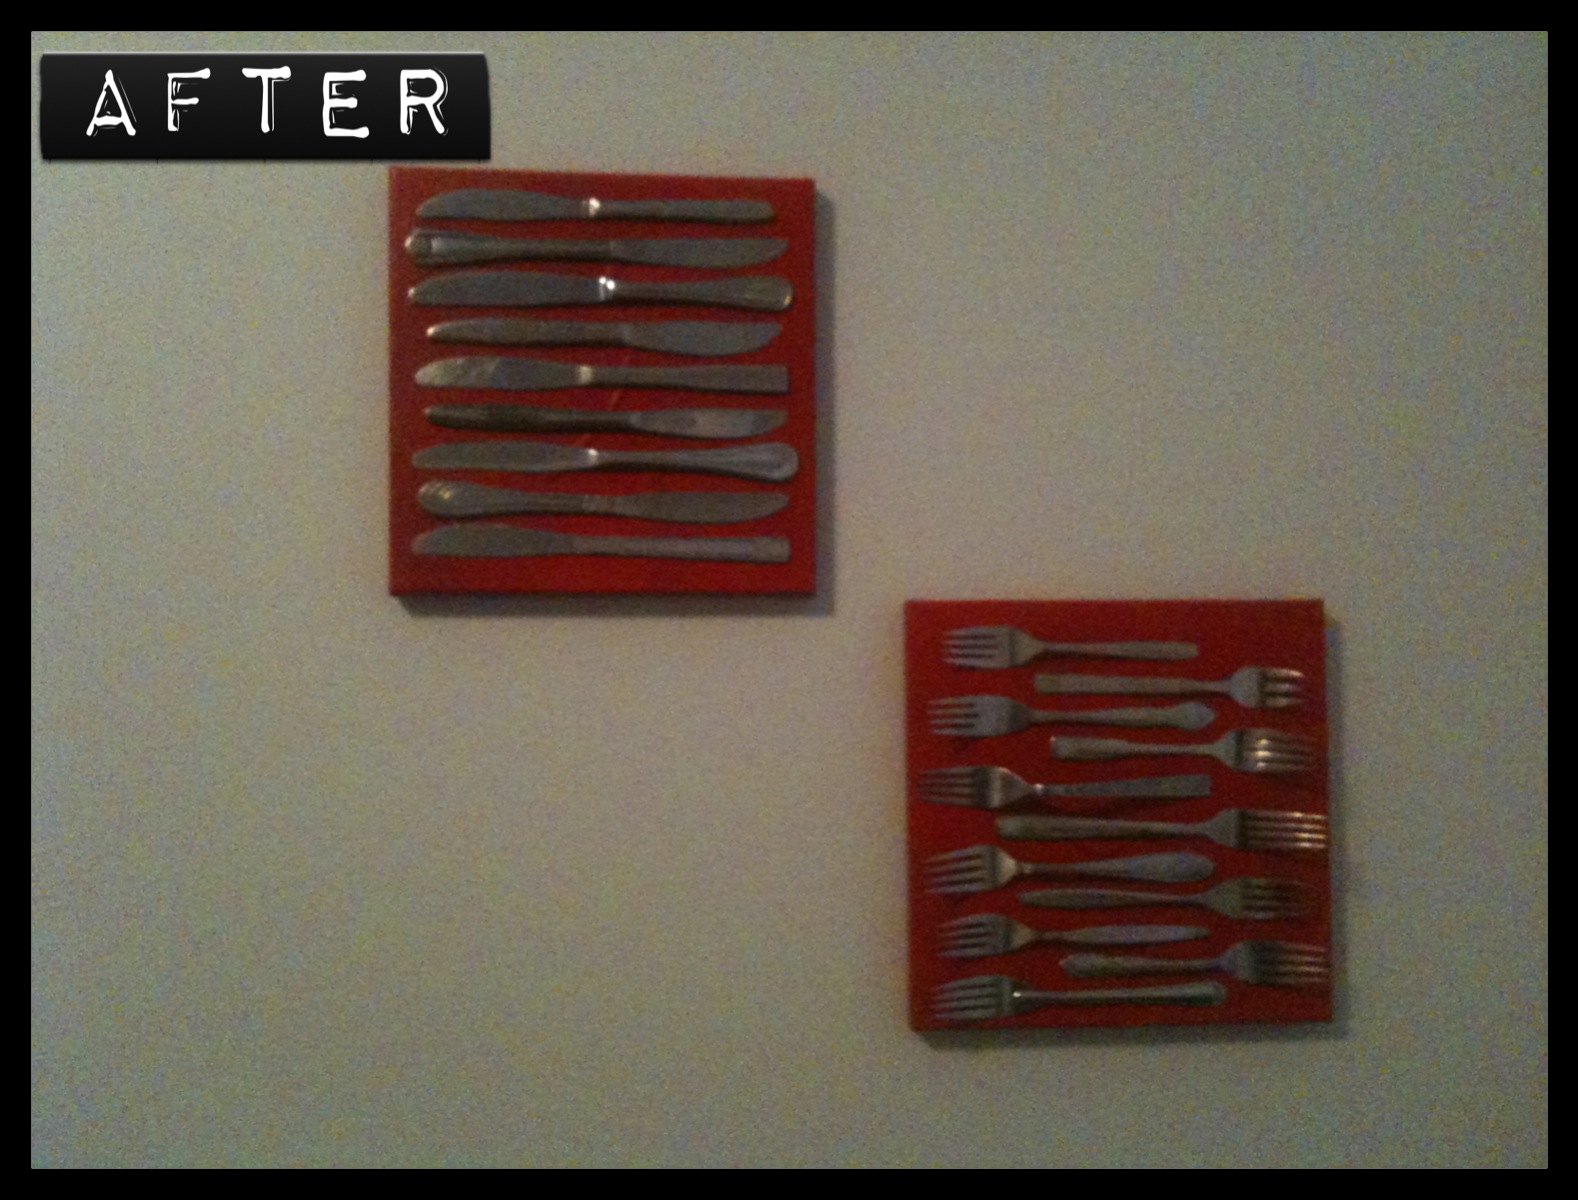 Before & After: Foodie Art
 Miss Ideas #14 – Renovando cojines sin coser | No Sew Cushion Covers
 Miss Ideas #20 – Decorate with Duct Tape (Part 1) | Decora con cinta para ductos (Parte 1)
Related posts brought to you by YARPP.