Hi everyone!
For some time now I’ve been wanting to share this amazing project that I worked on in the last month. I was hired to design the set for Tr3s Top 20! So freakin’ awesome! Tr3s forms part of the Viacom Networks family (MTV, Vh1, Comedy Central, Nickelodeon…). It targets the Latin community in the United States. They do a weekly show where they present the Top 20 music videos of the week along with artist interviews and entertainment news! I got this job because… well… I worked at Viacom for a long time and they decided to keep the project “in the family”. This is a true testament on how you should NEVER burn any bridges. Plus, it’s impossible to burn bridges when the crew behind Top 20 is so sweet! That said, I want to give thanks to Claudia, Myra, Olivier, Ashley, Lissette, Kris, Danny and Efren for the opportunity and the help! I’m so grateful. You all rock!
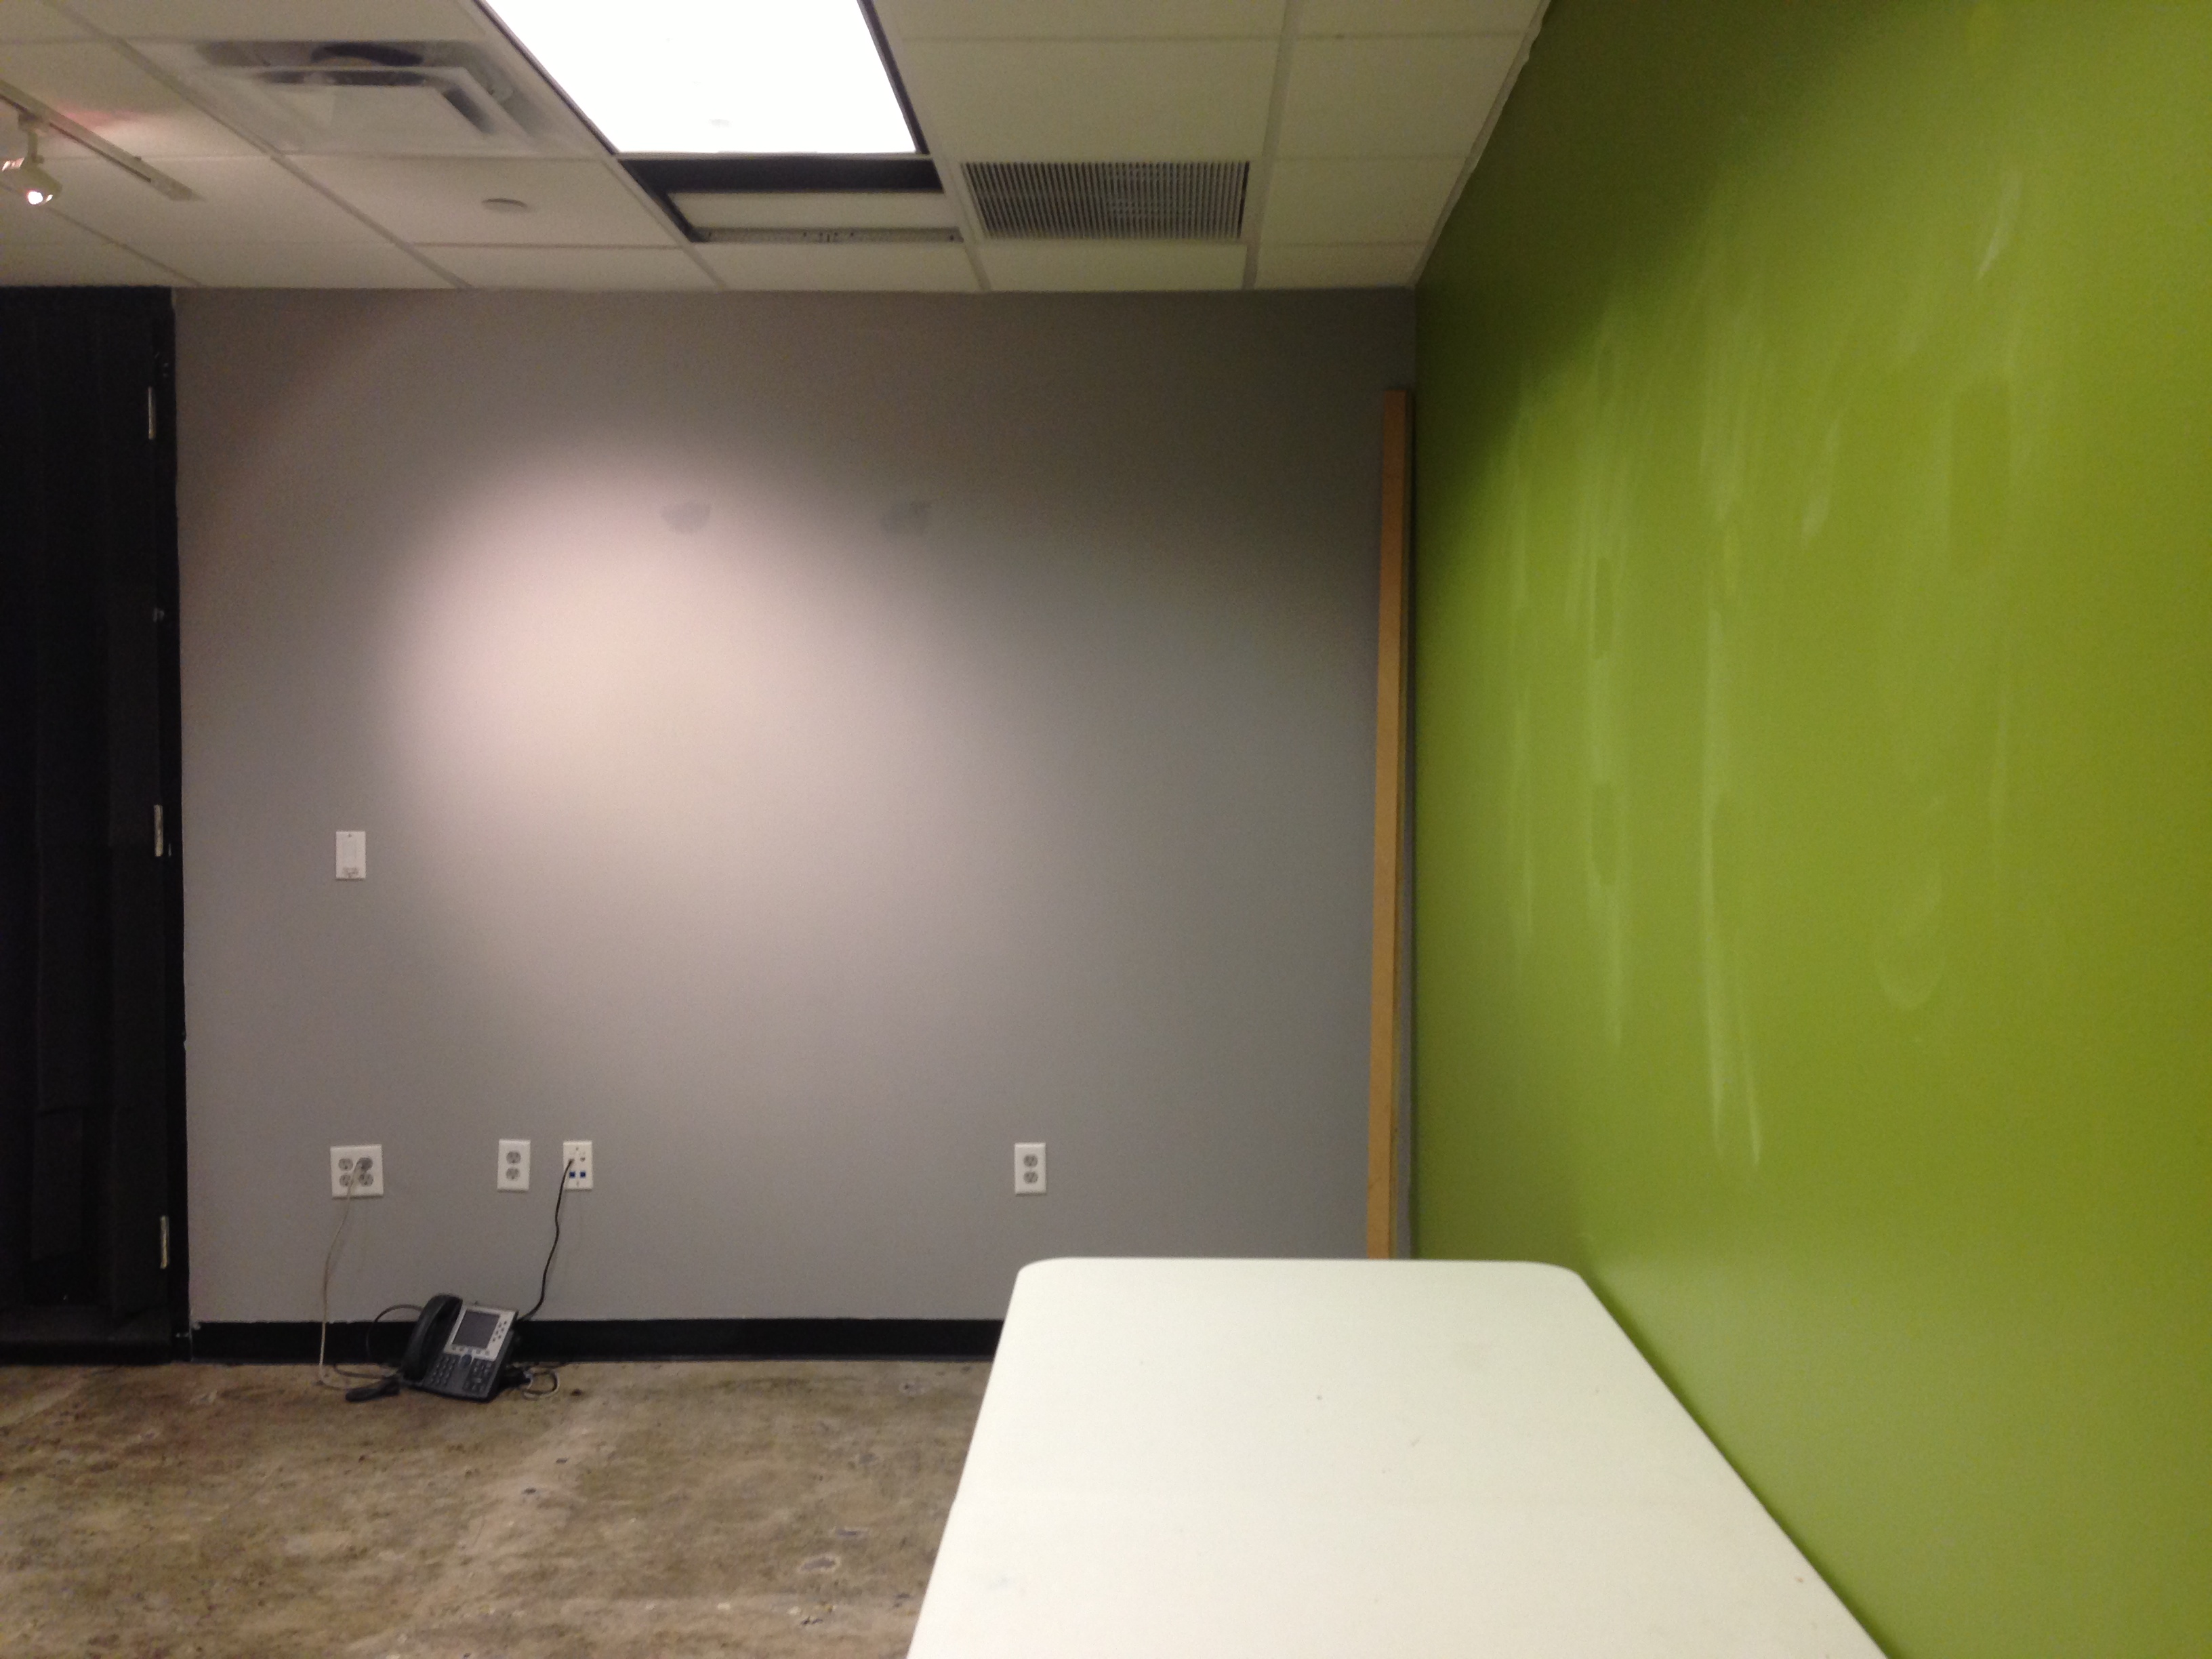
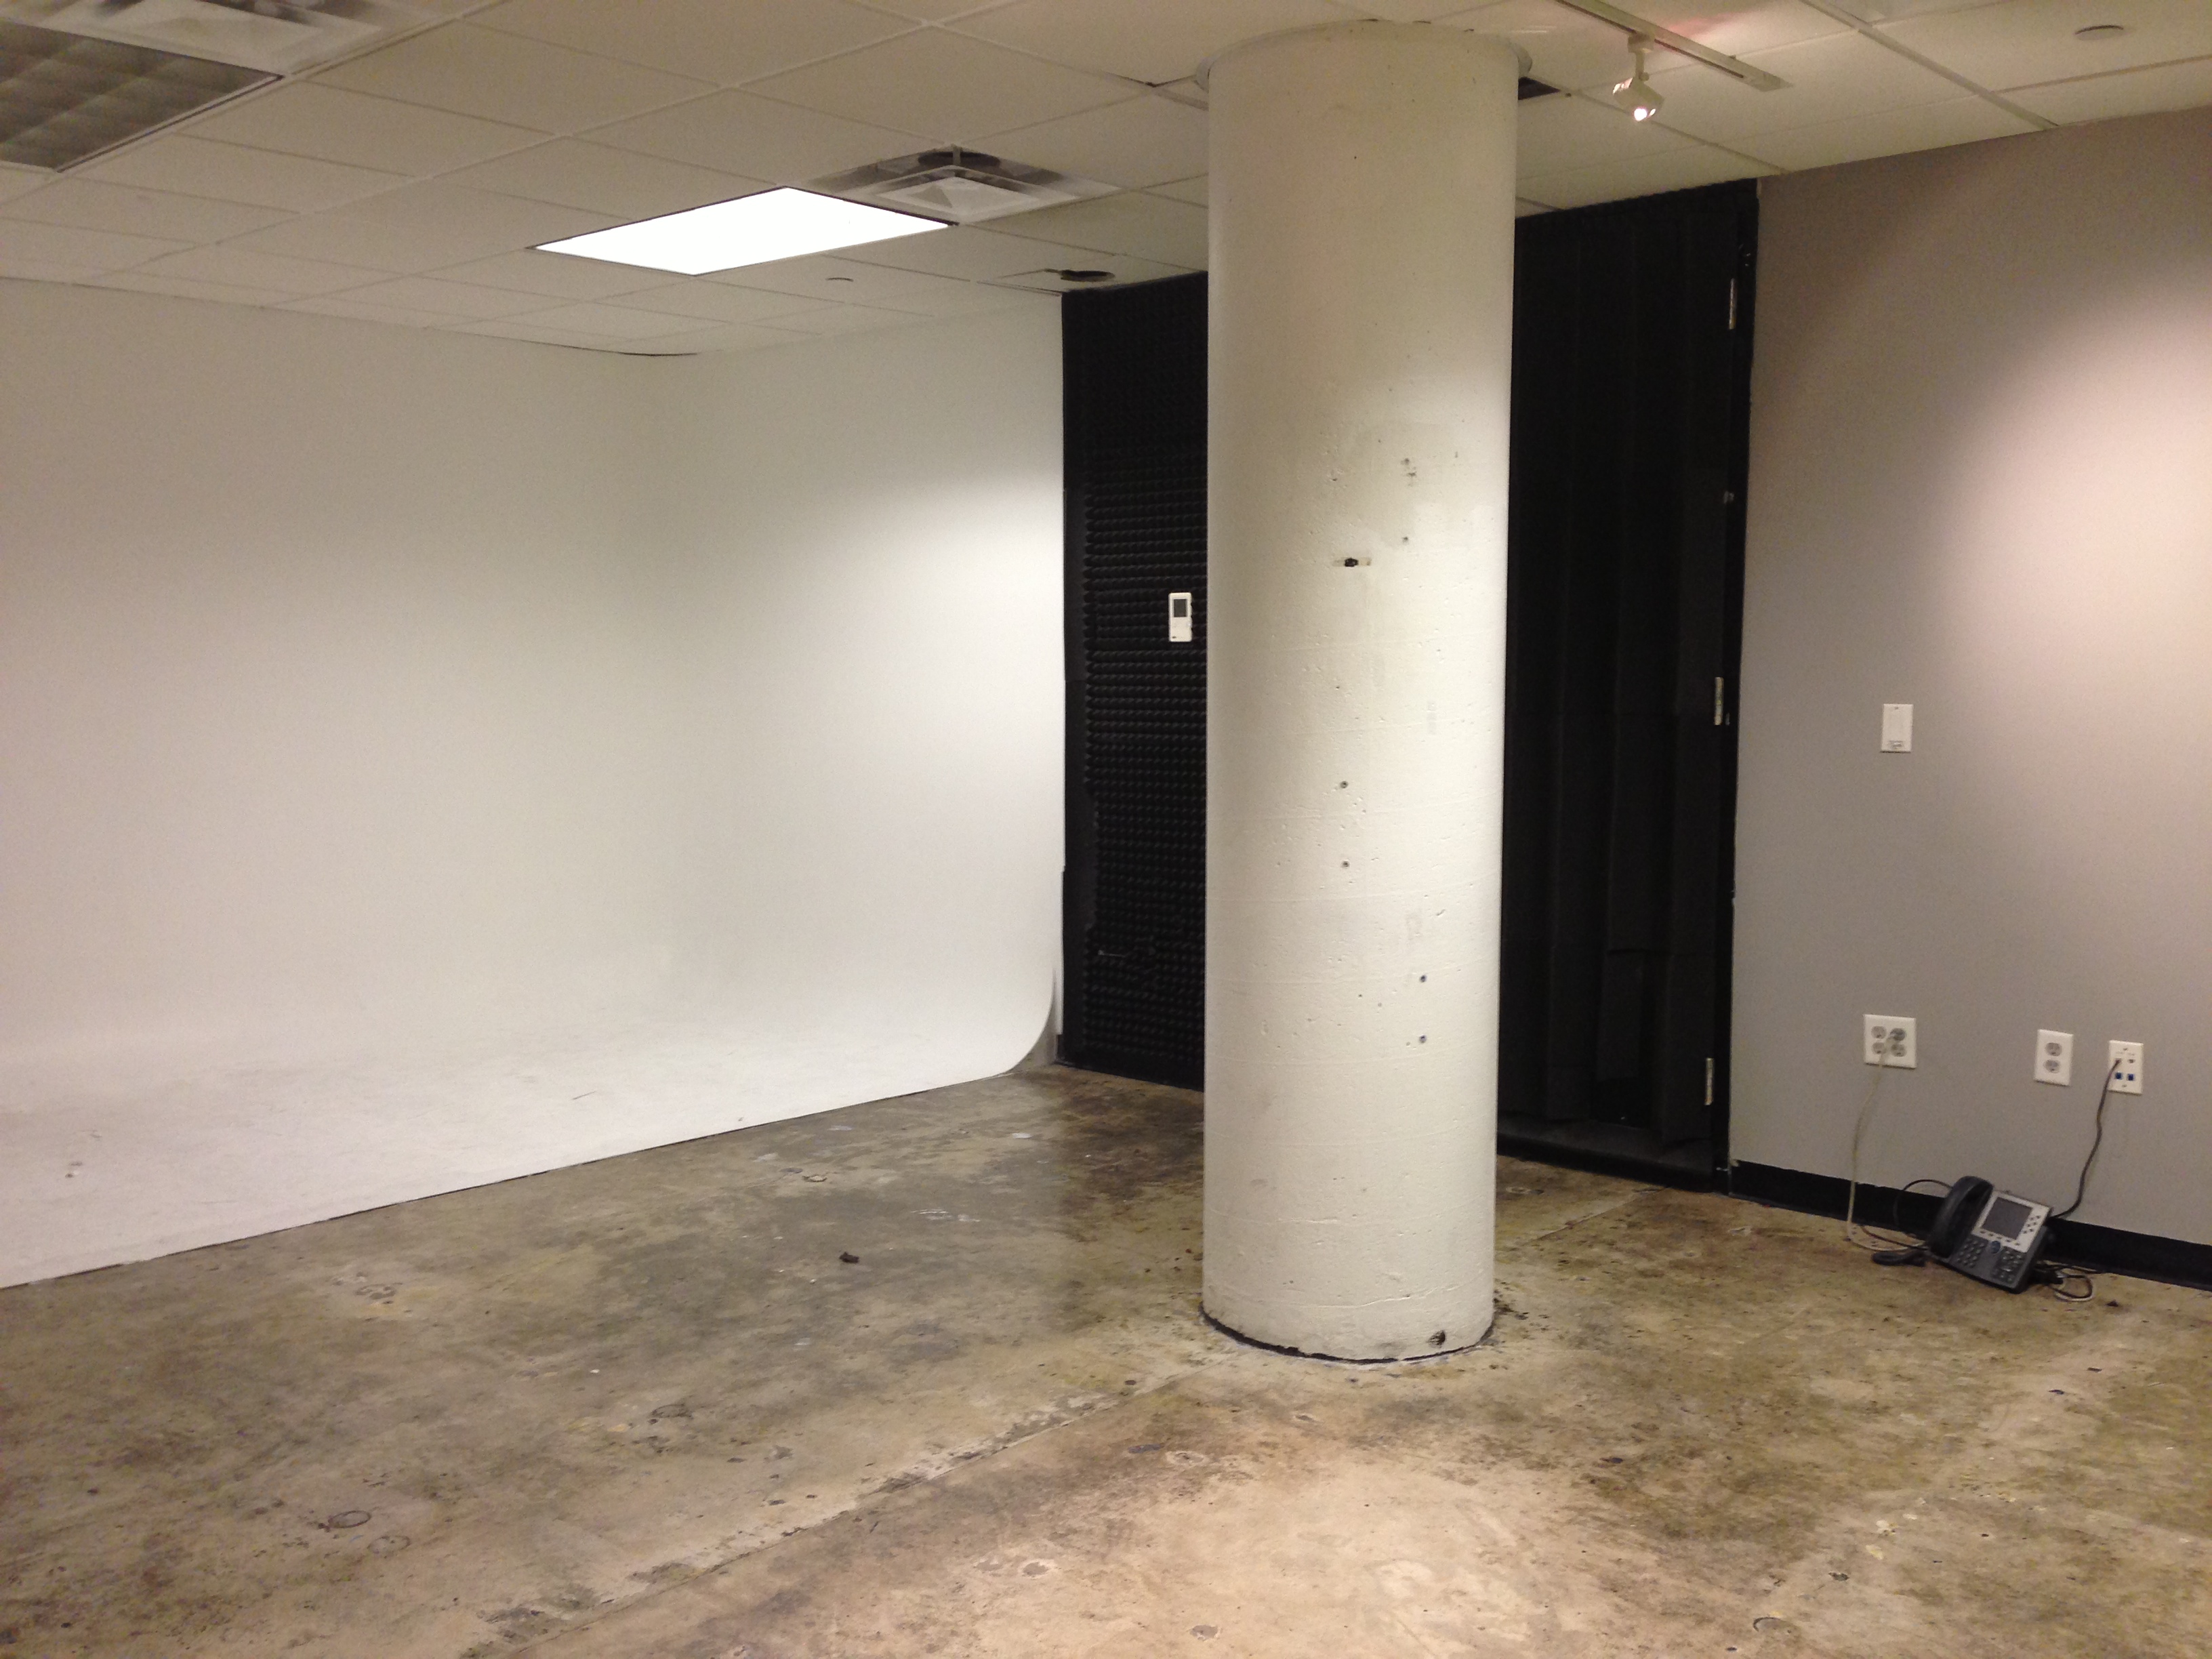
In our initial consultation we discussed all the necessary objectives of the space. They wanted the space to be functional, sound proof, look professional, comfortable, versatile, modern and clean. So right off the bat, I knew I wanted to incorporate movable furniture, pops of color and make it simple. They also wanted to record live acoustic performances. That called for furniture that would work well with musicians, (guitarists especially). Having worked in television before, I knew this wasn’t an average interior design job because set design is very particular. It’s amazing how things look completely different on camera! I had to scratch about 3 wall design options that I had drafted… Bye bye ombre effect in geometric patterns! I also had to work that oddly placed column into the design. We couldn’t do any structural changes to the place so ‘demoing’ it wasn’t an option. Lighting was not part of my plan either because they would have a pro come in after I was done to light it properly for the cameras.
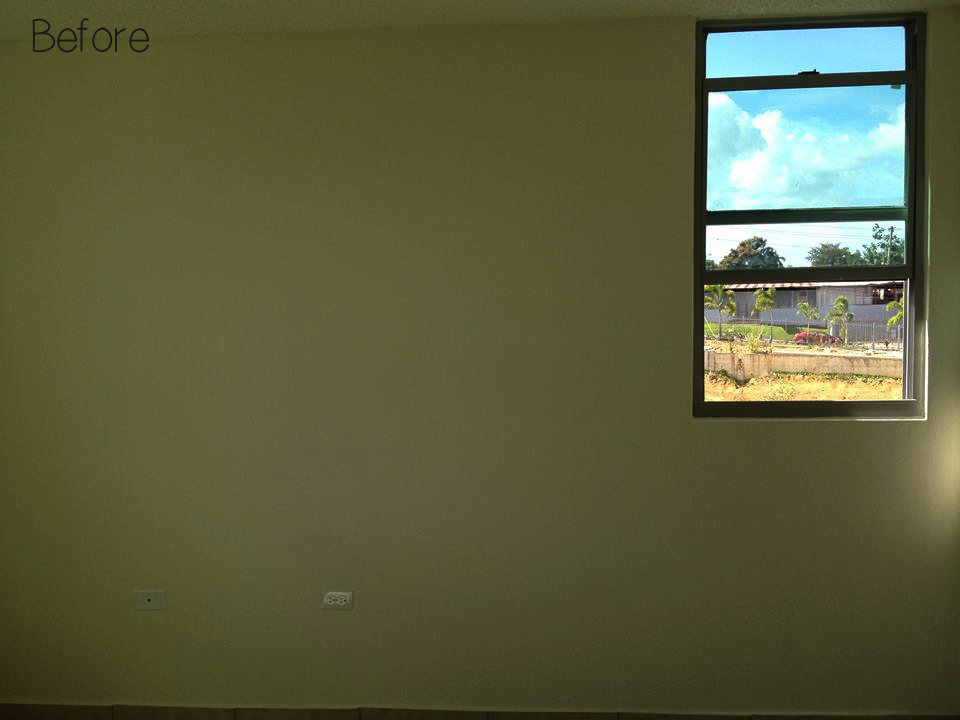
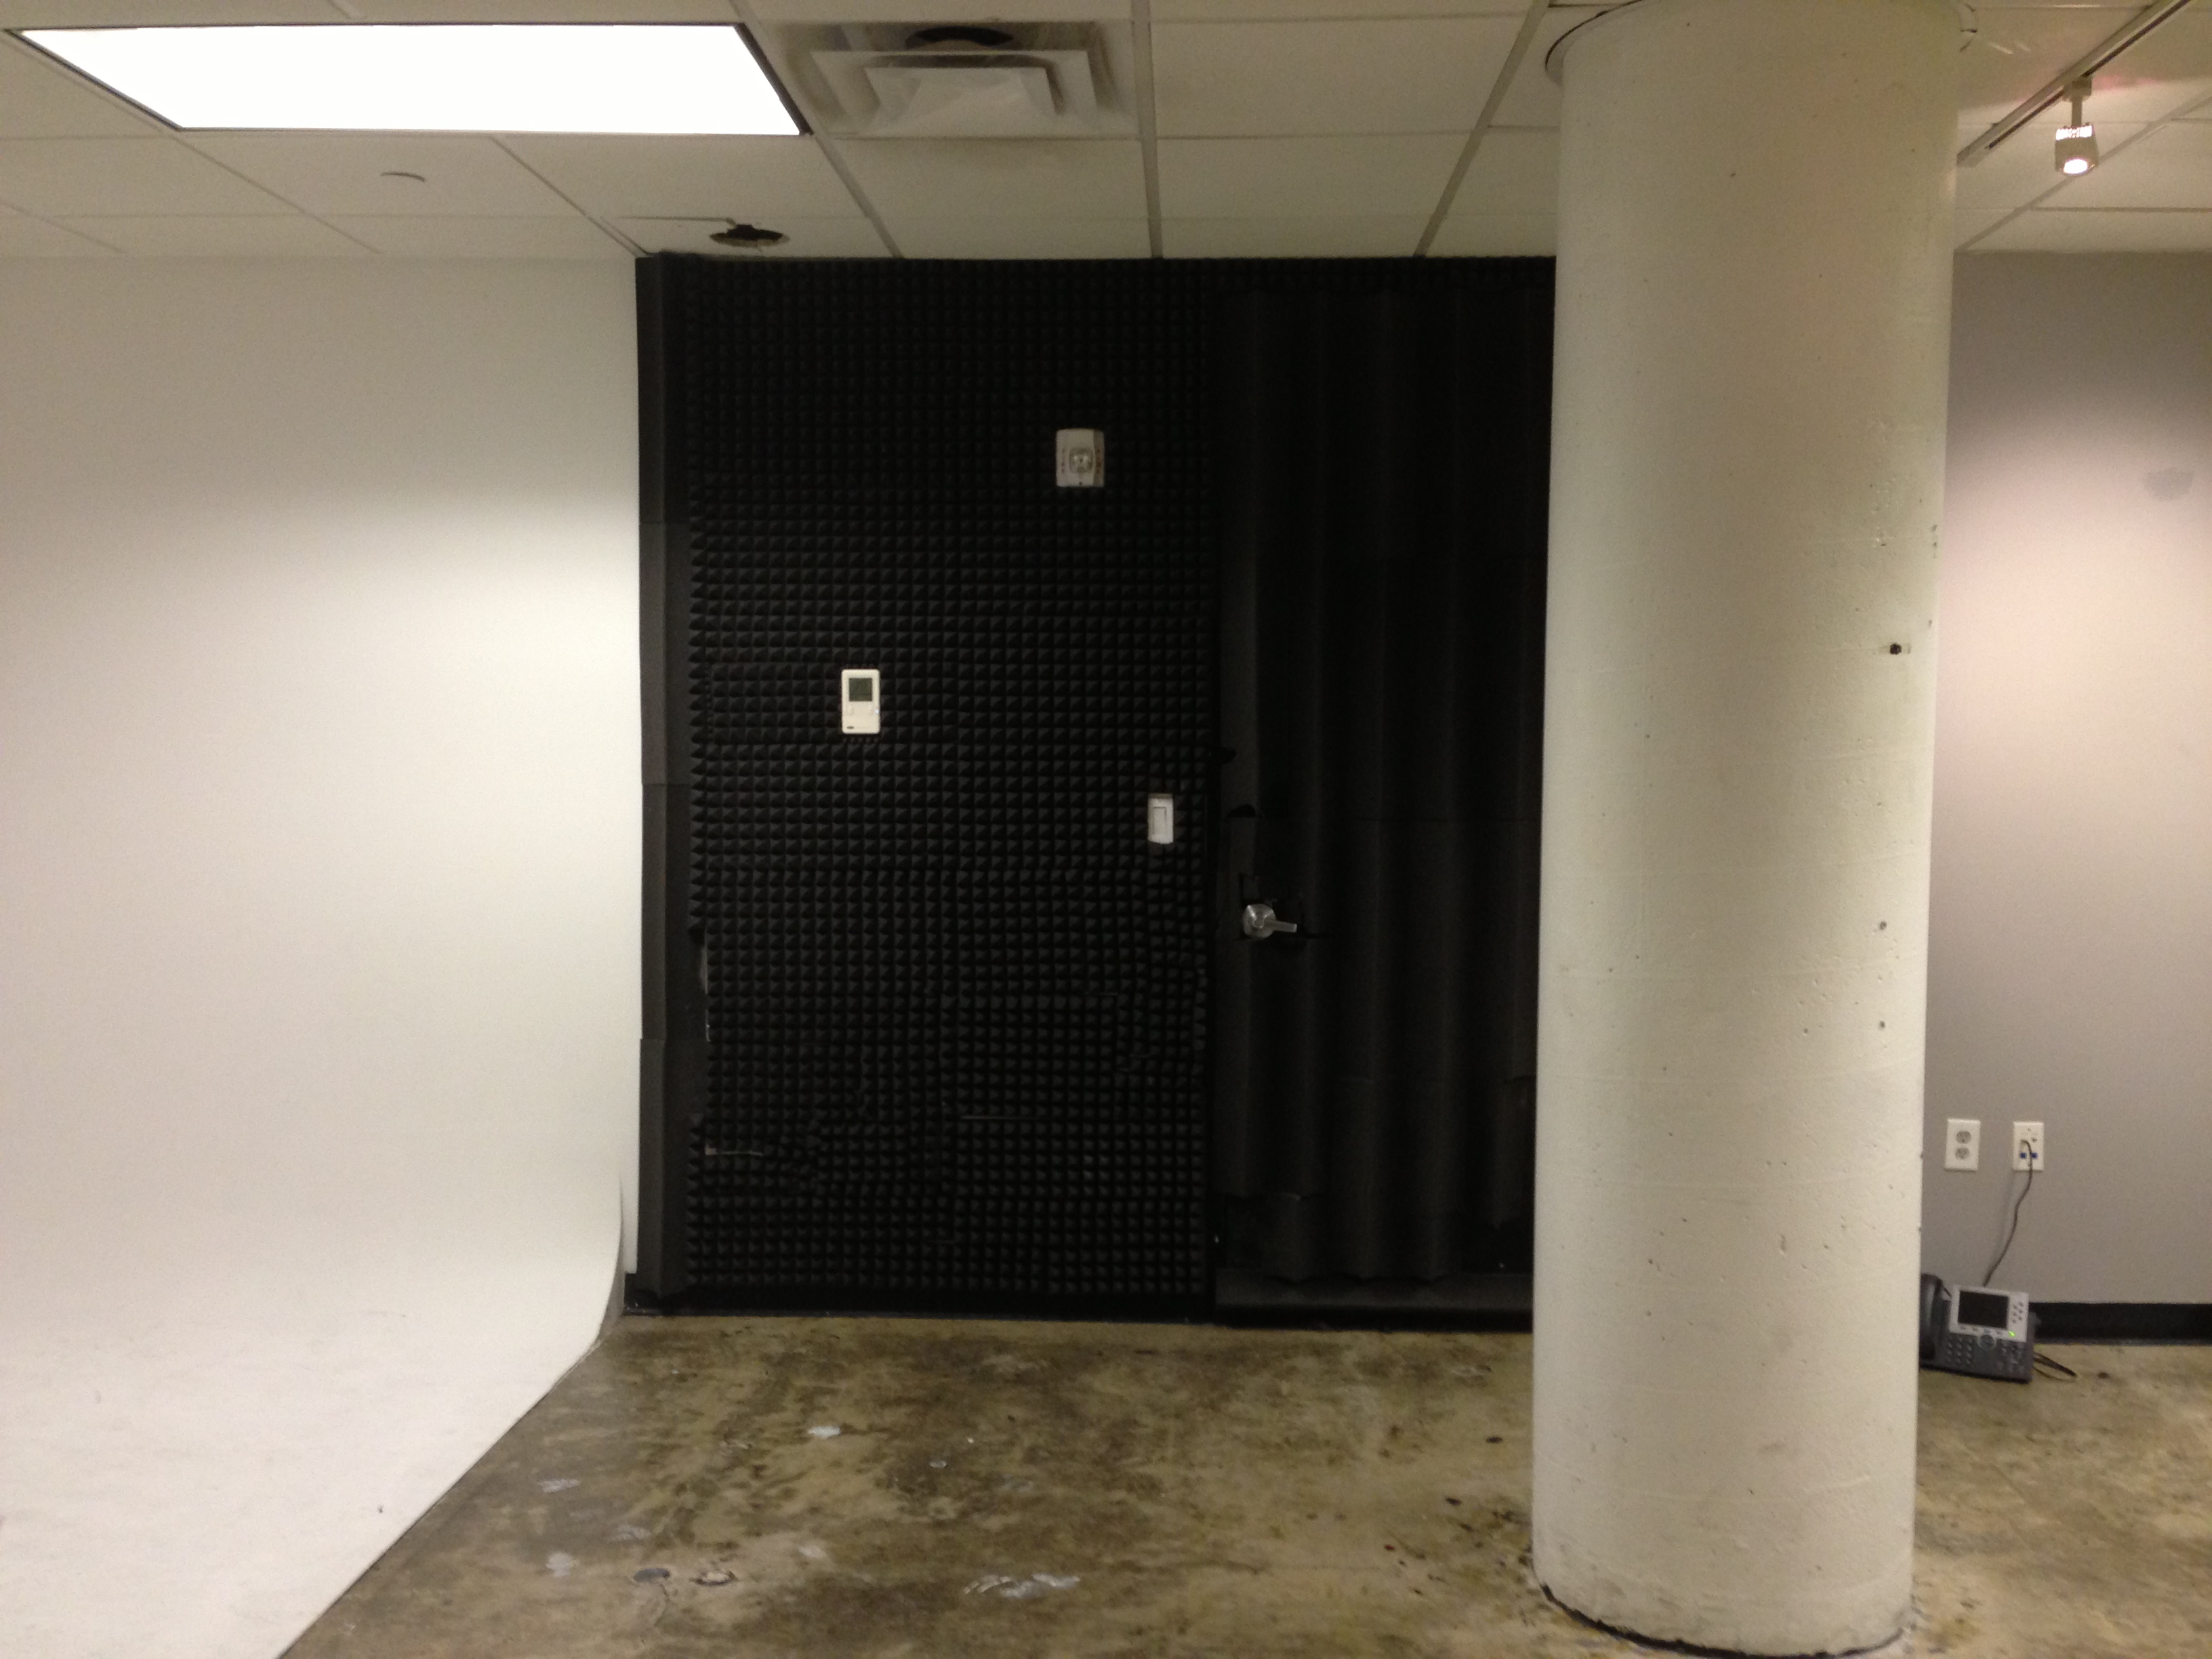
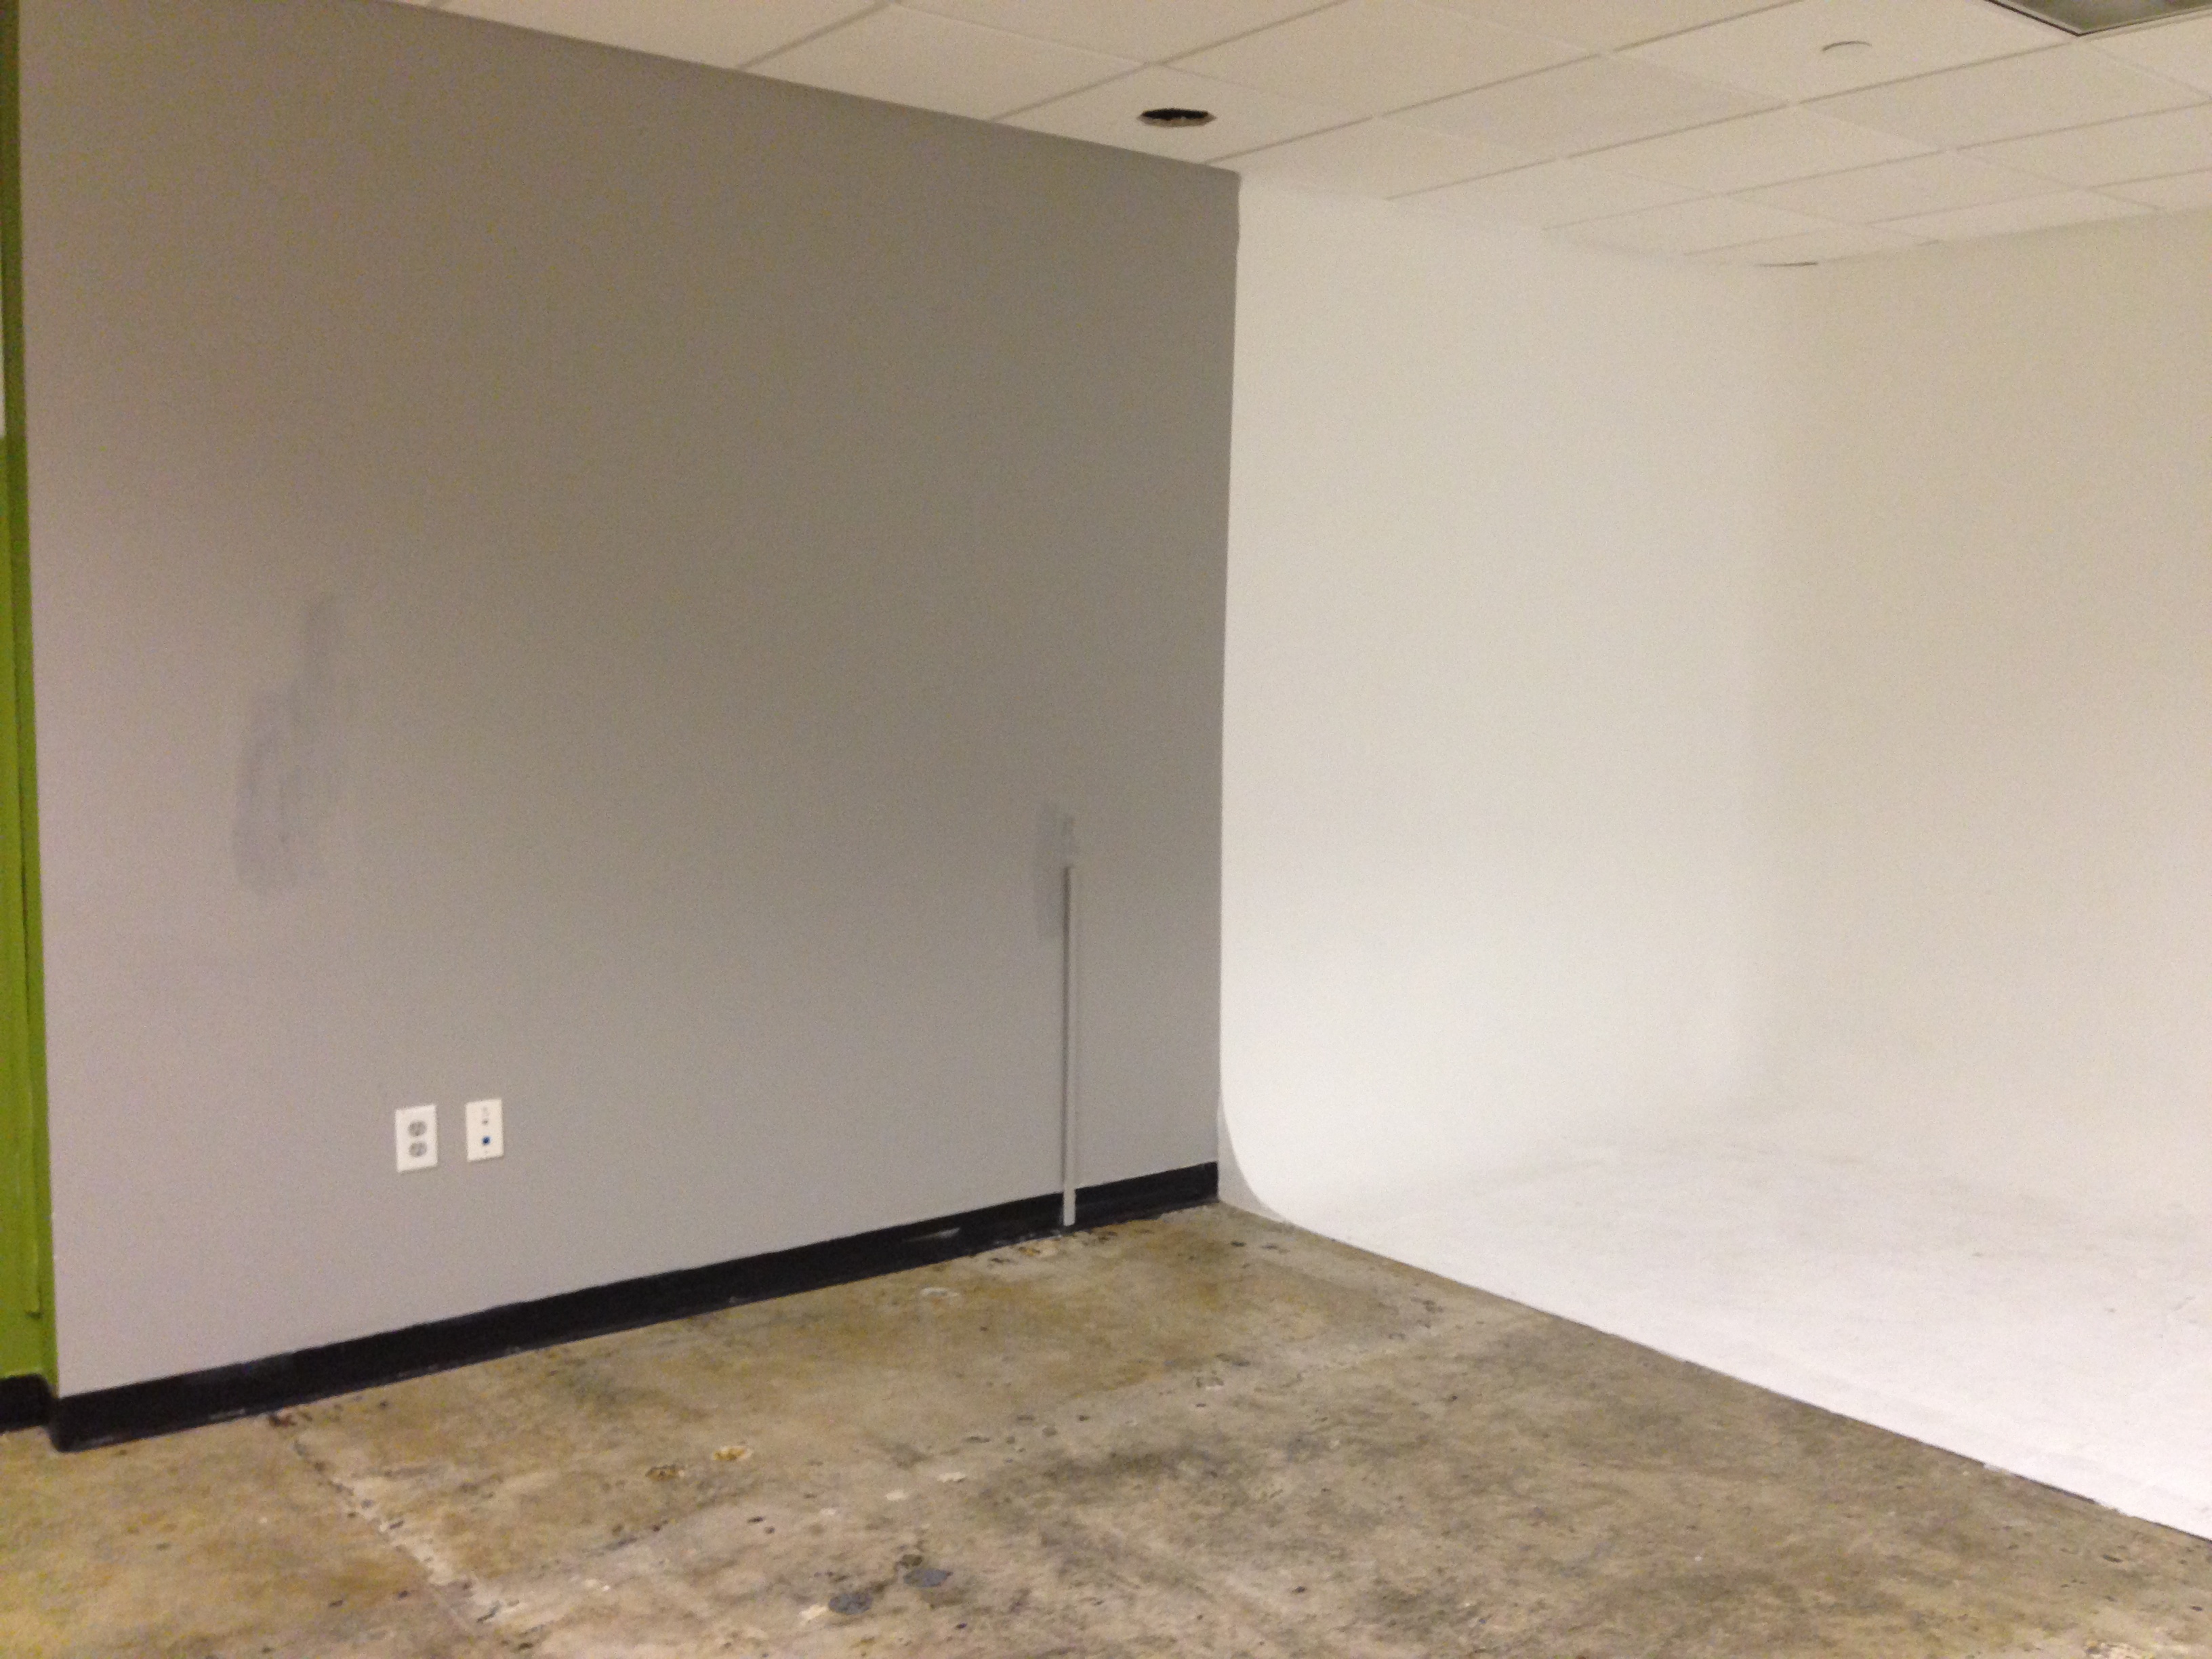
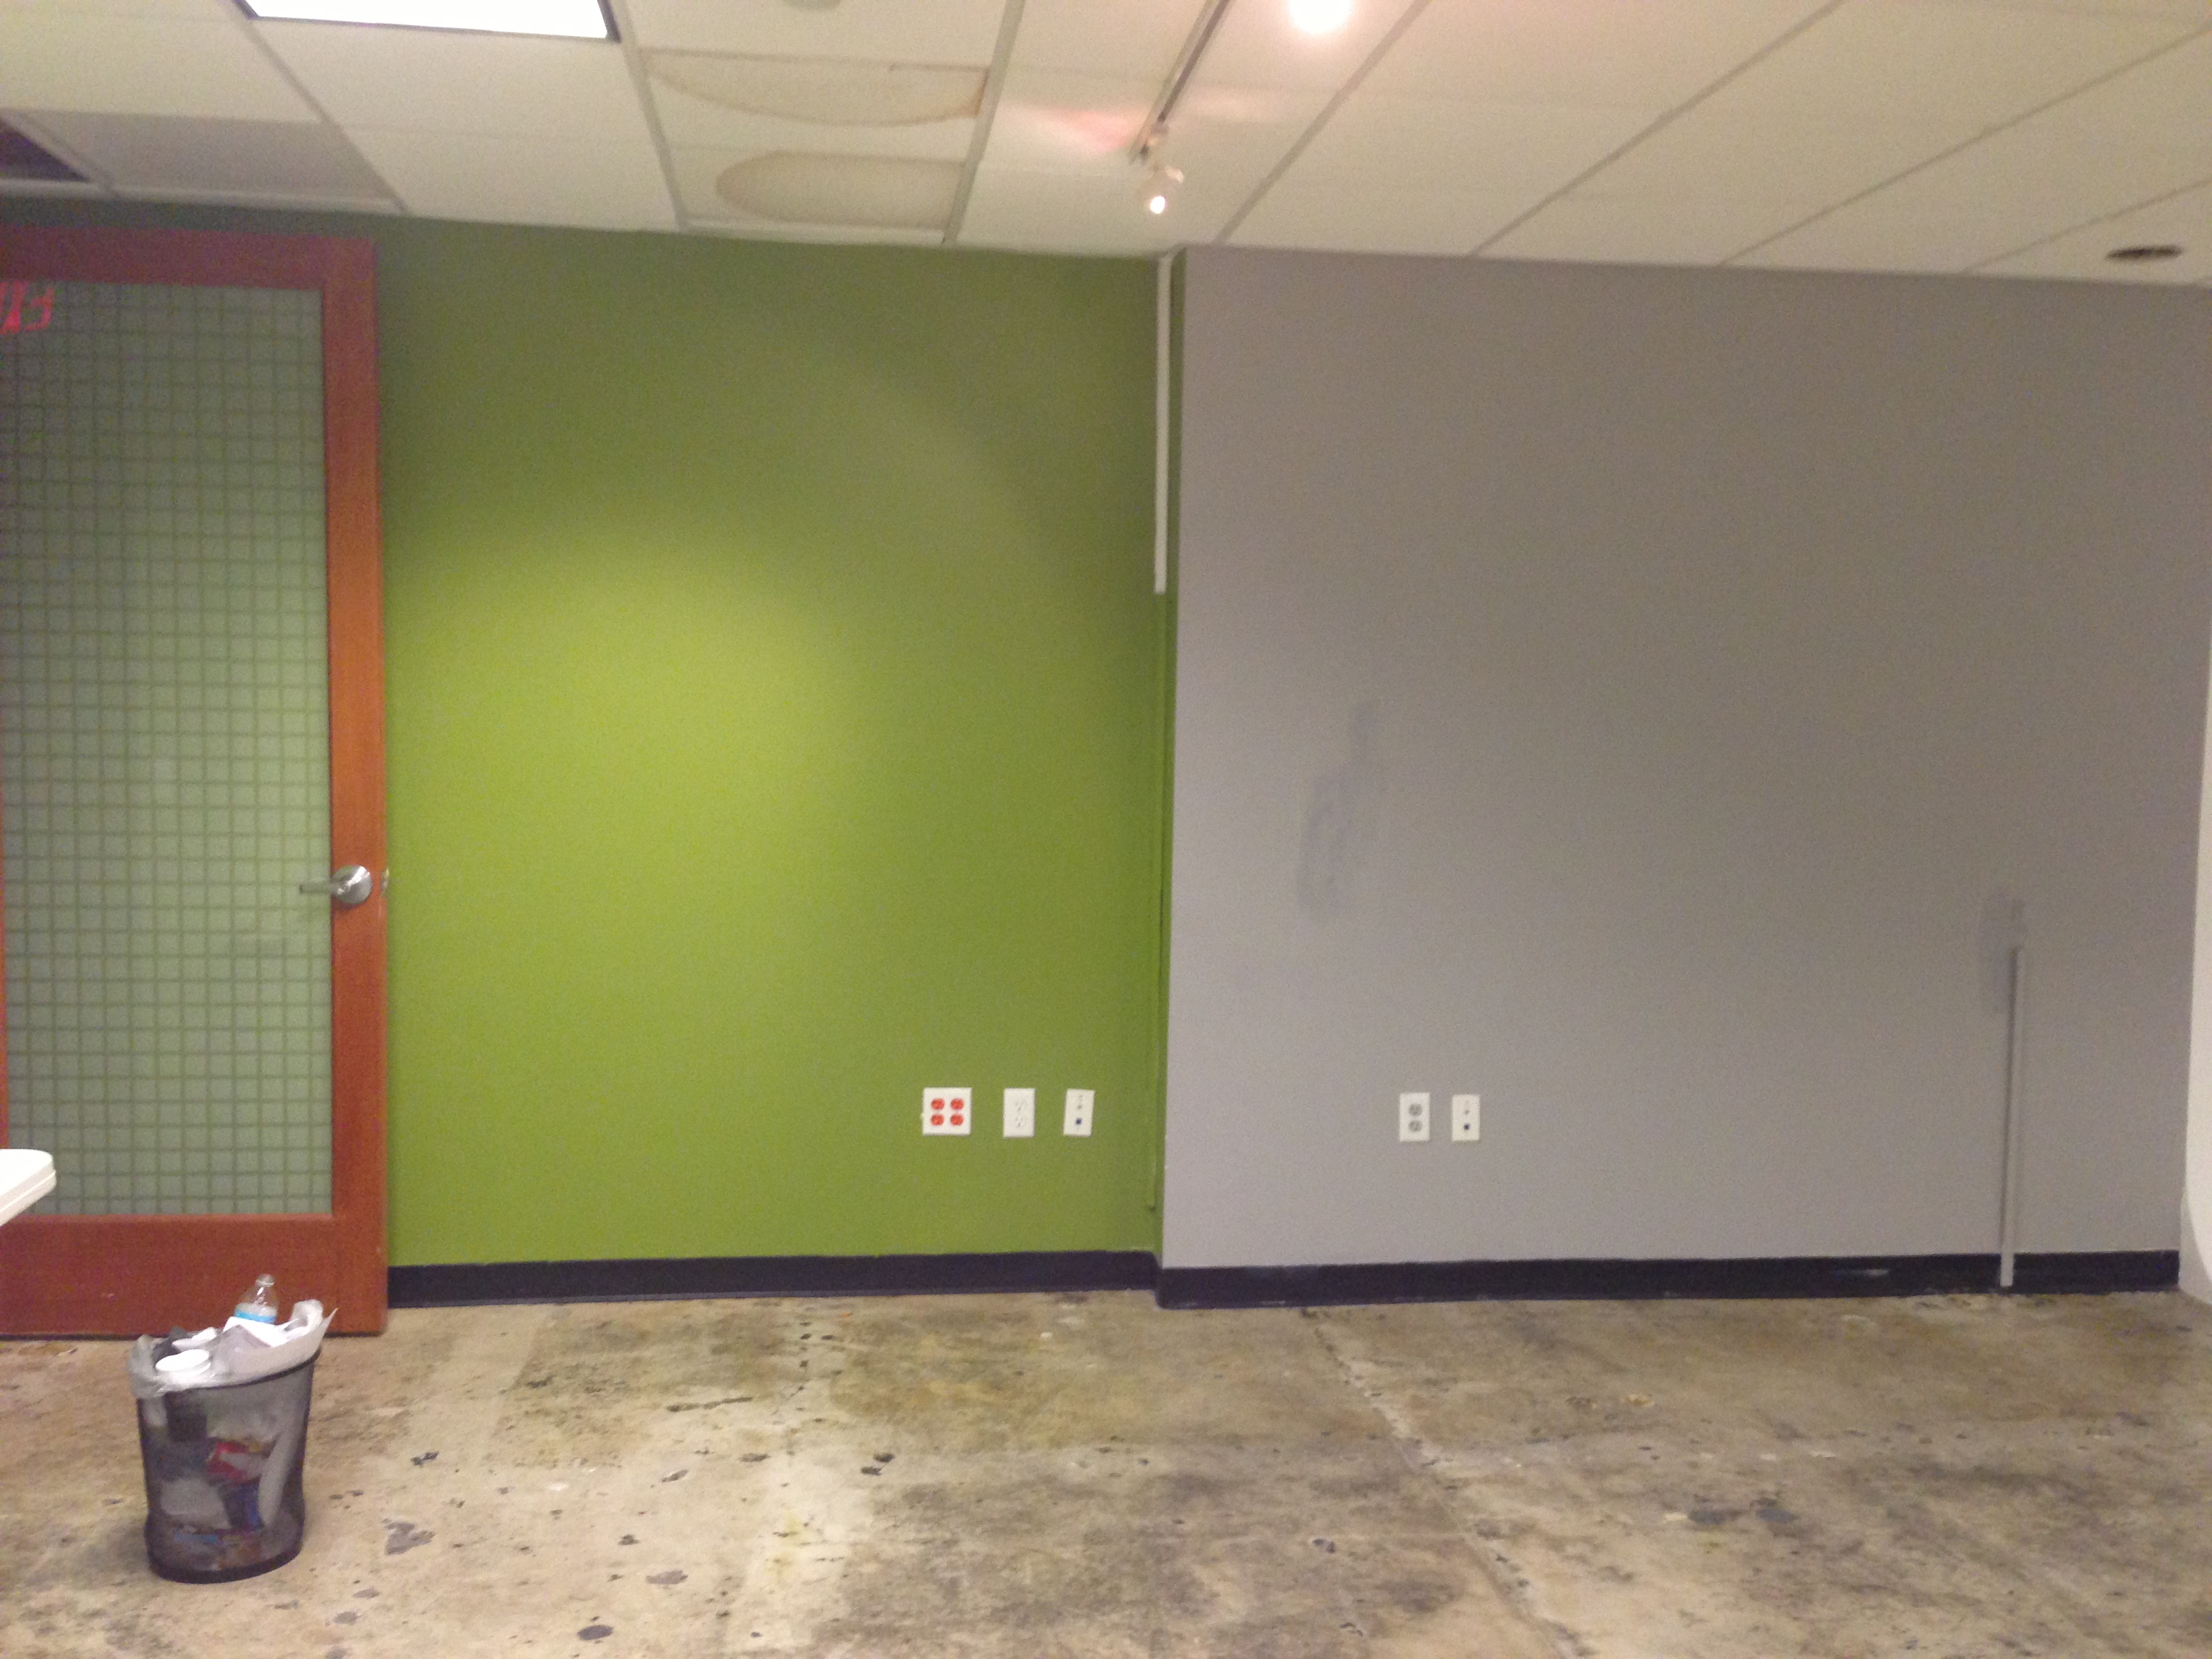
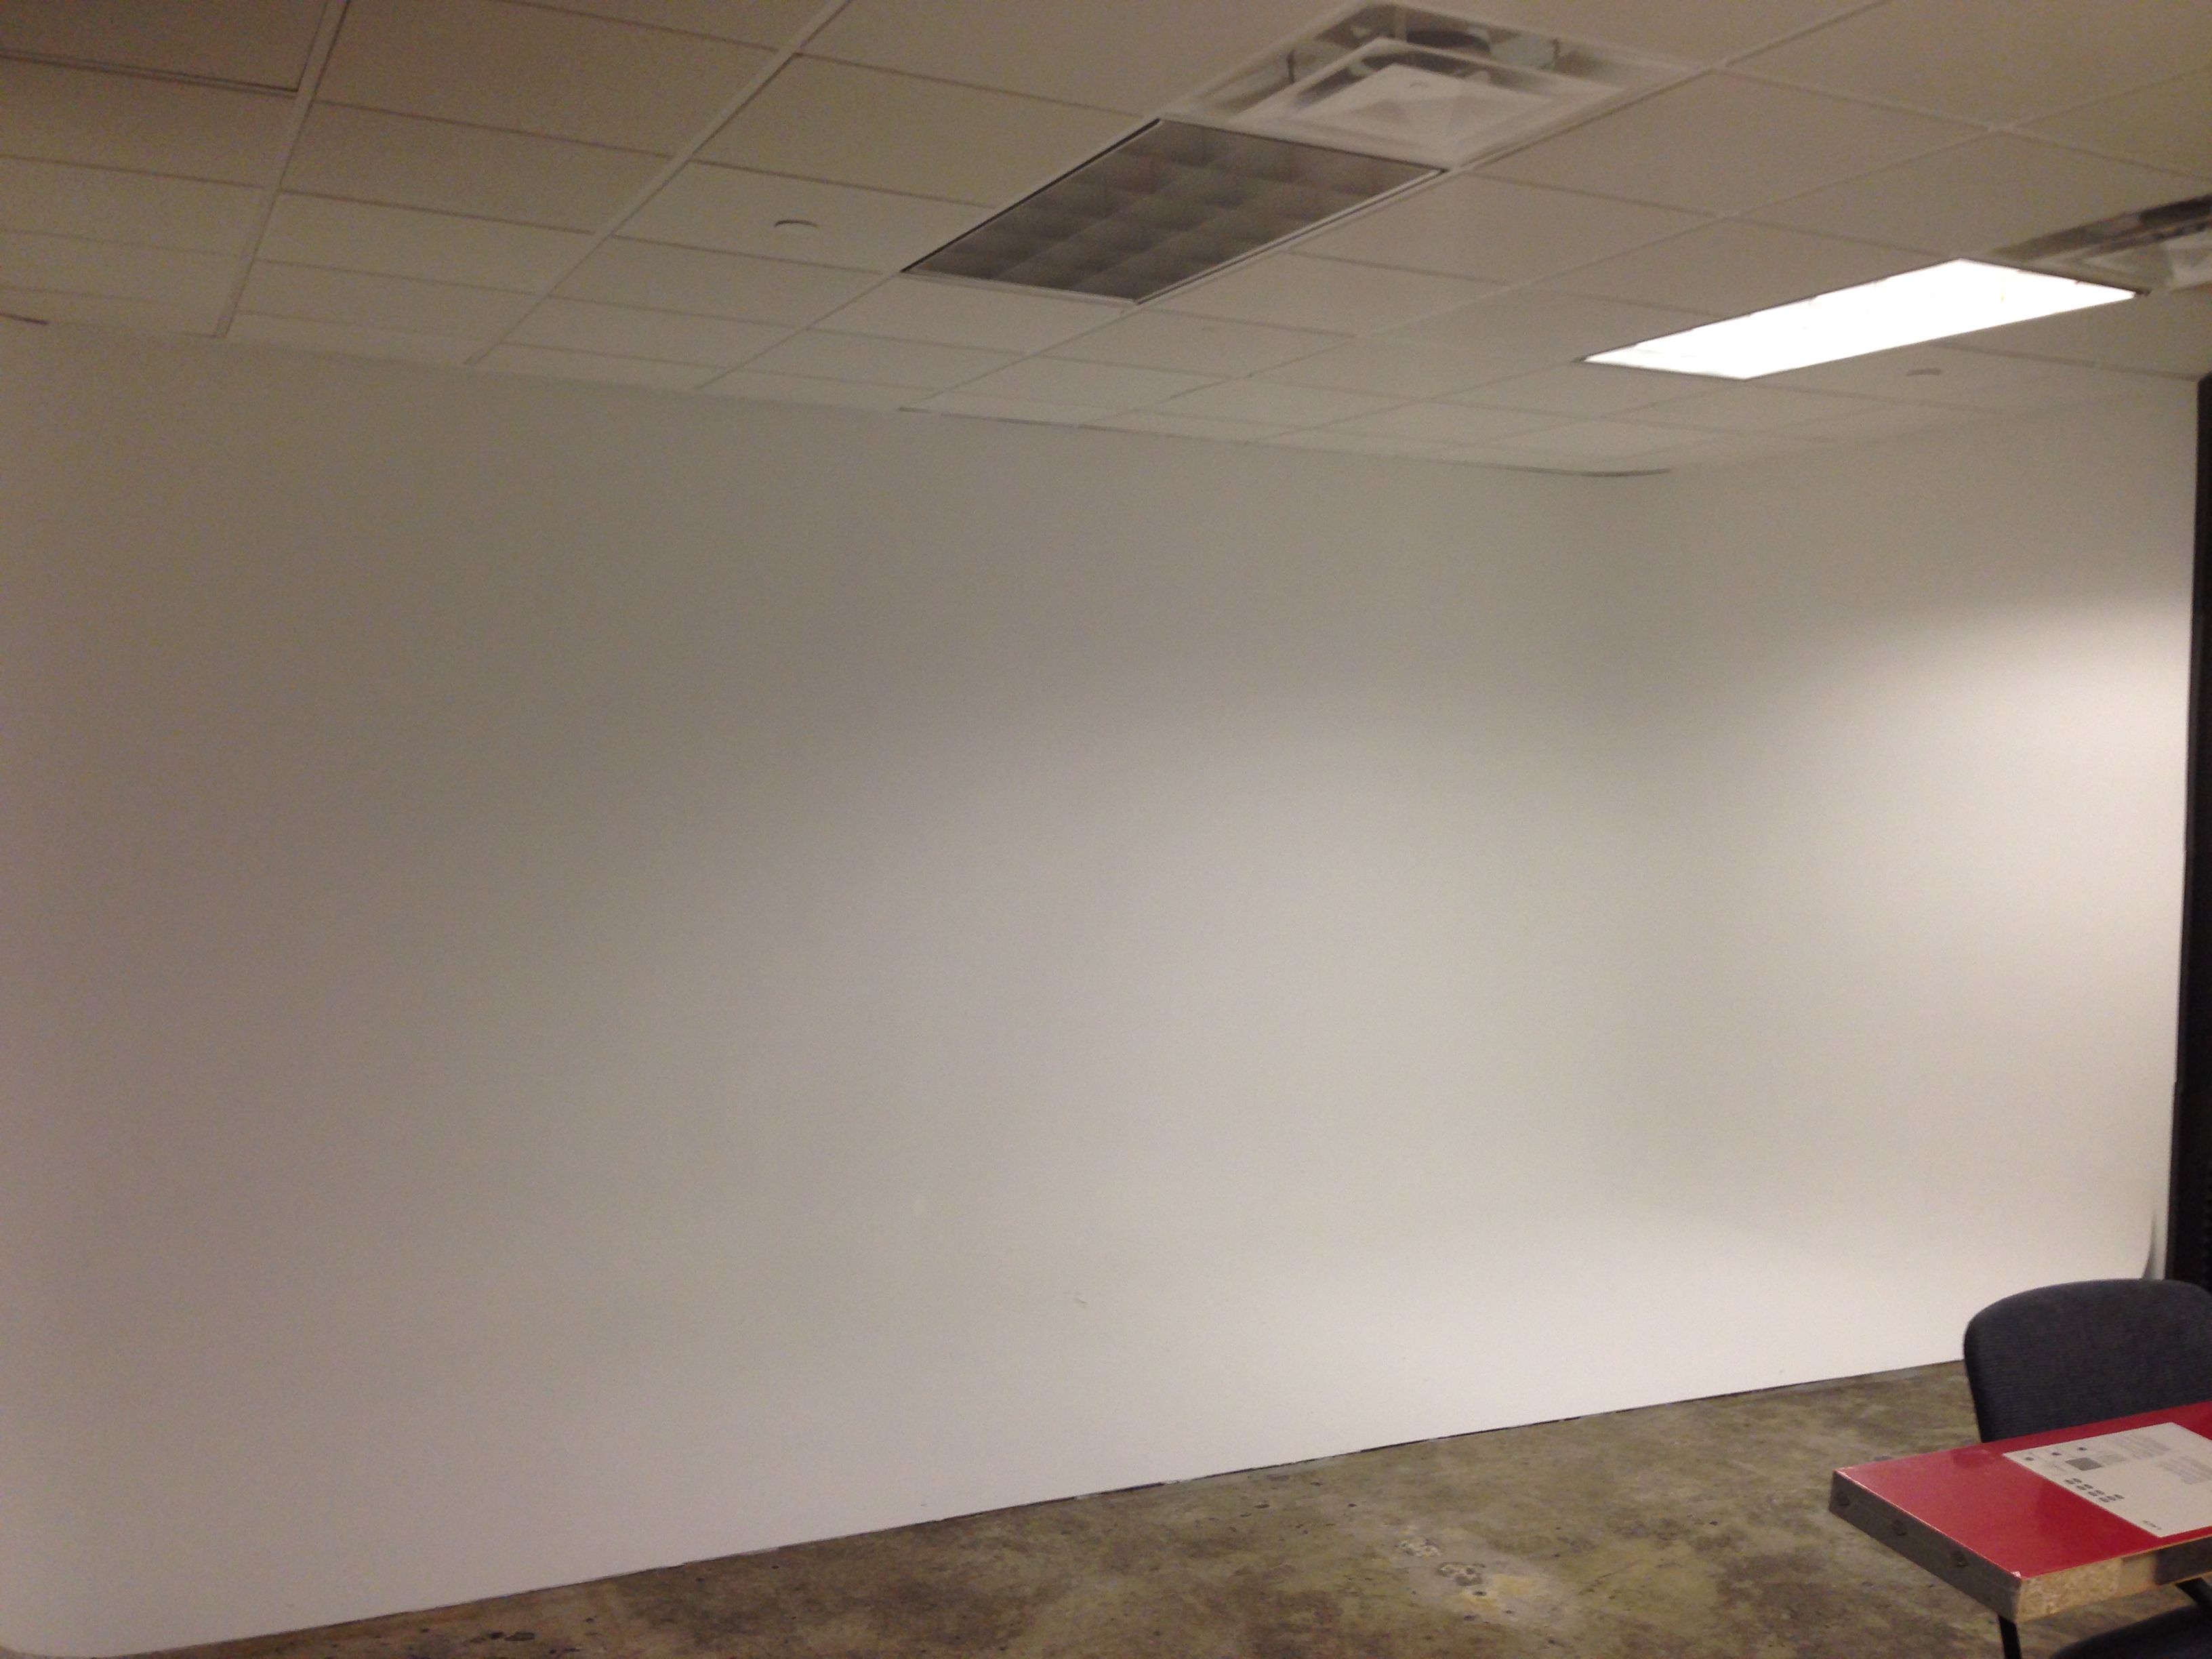
This is what the place looked like in its original state.
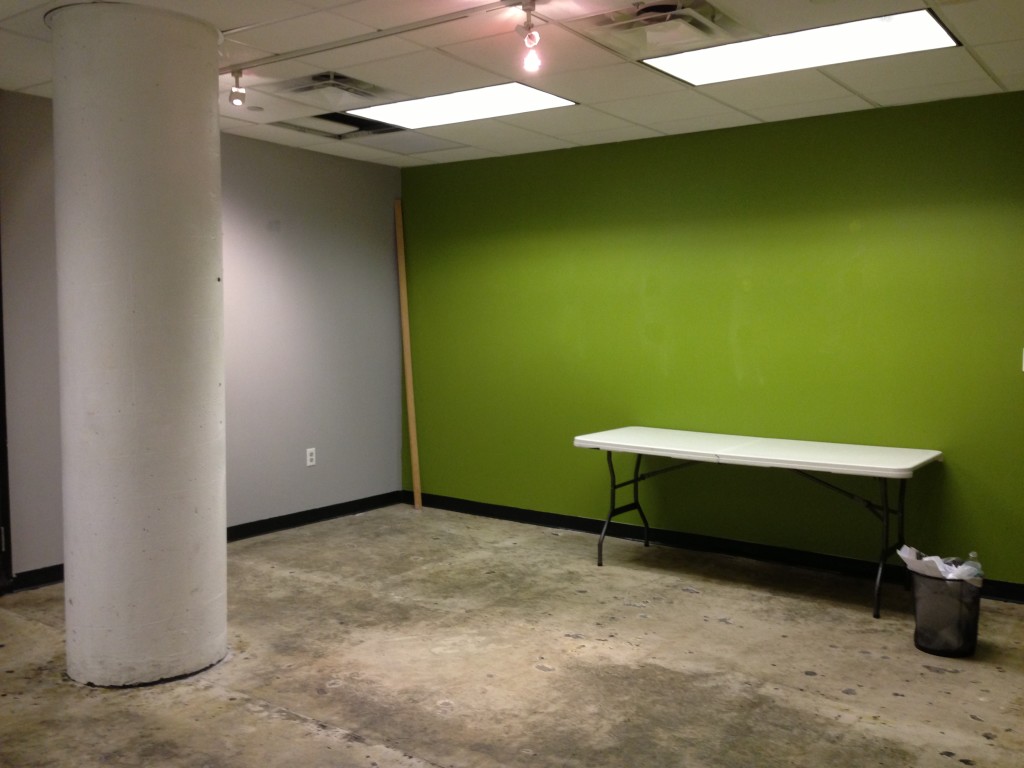


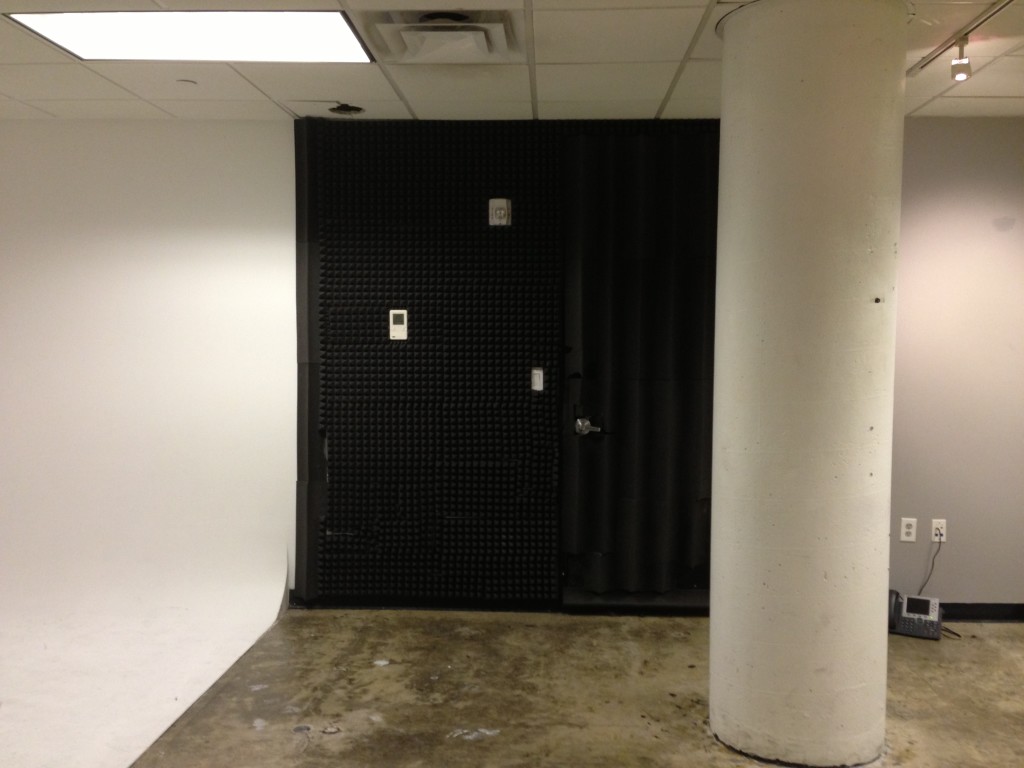

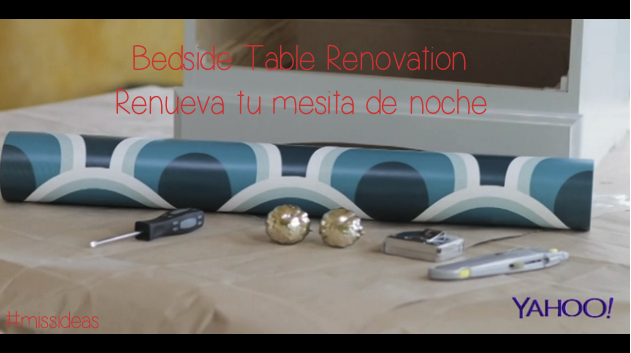
 This place needed some serious tlc, don’t ‘cha think? And guess what? I had TWO WEEKS to pull this off!!! No joke!! This means that every piece needed to be in stock, within the budget, and delivered within this time frame. Insane. Oh, and this all needed to happen while I was also attending a two day conference in Orlando and then shooting an episode of Miss Ideas for Yahoo! This was right about the time when I asked the décor Gods, “May I get an HGTV crew here with me asap?” No reply. So, I just repeated the following to myself, “Make quick decisions, breathe and go for it.” That’s exactly what I did and I ended up enjoying the process.
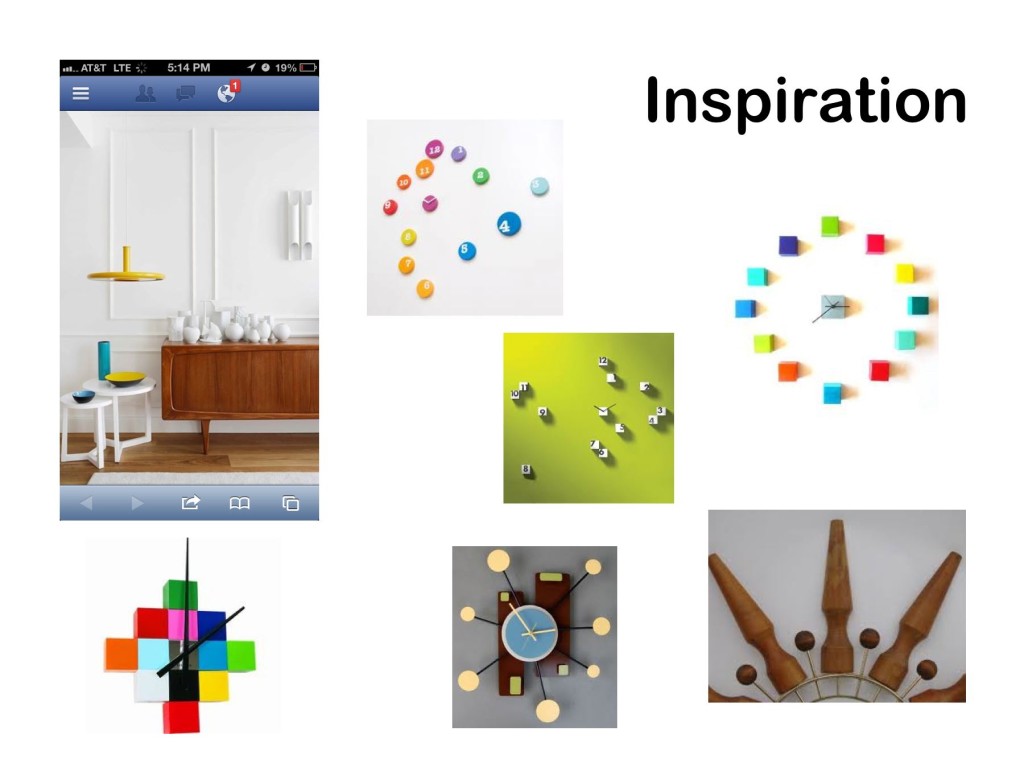
My inspiration was the mod style, colorful with a vibrant vibe. Neutral backdrop with pops of color. Modern. Clean. Bright. Geometric. Some of those things ended up happening, some didn’t but that’s usually how it works. Lots of things change during the process.
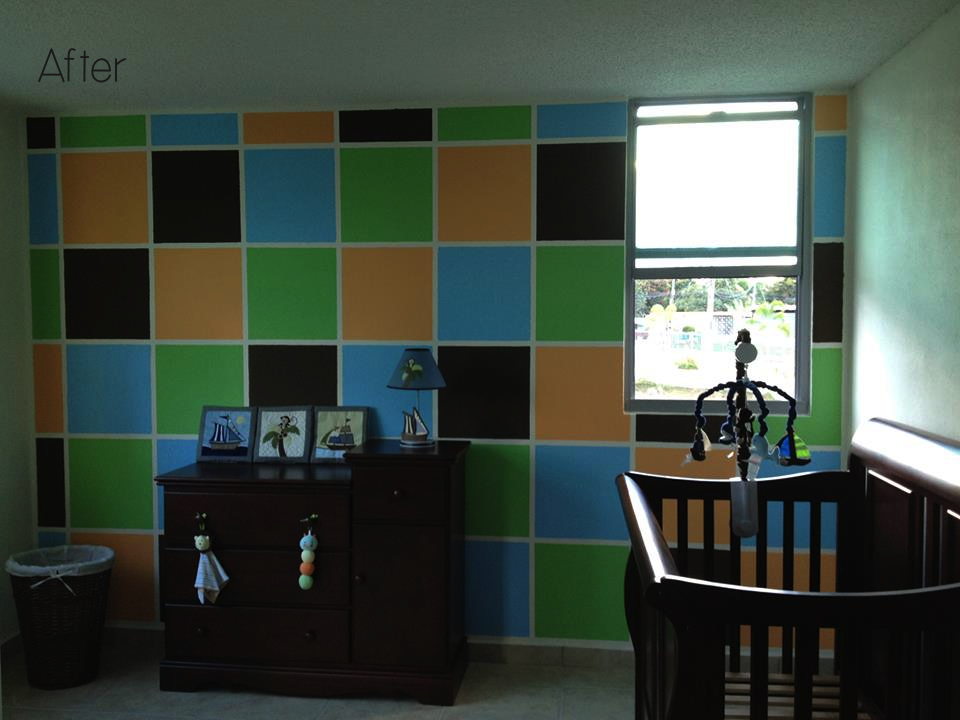
 This was the draft they liked from my presentation of the design concept for one of the walls. Simple design. Lots of potential.

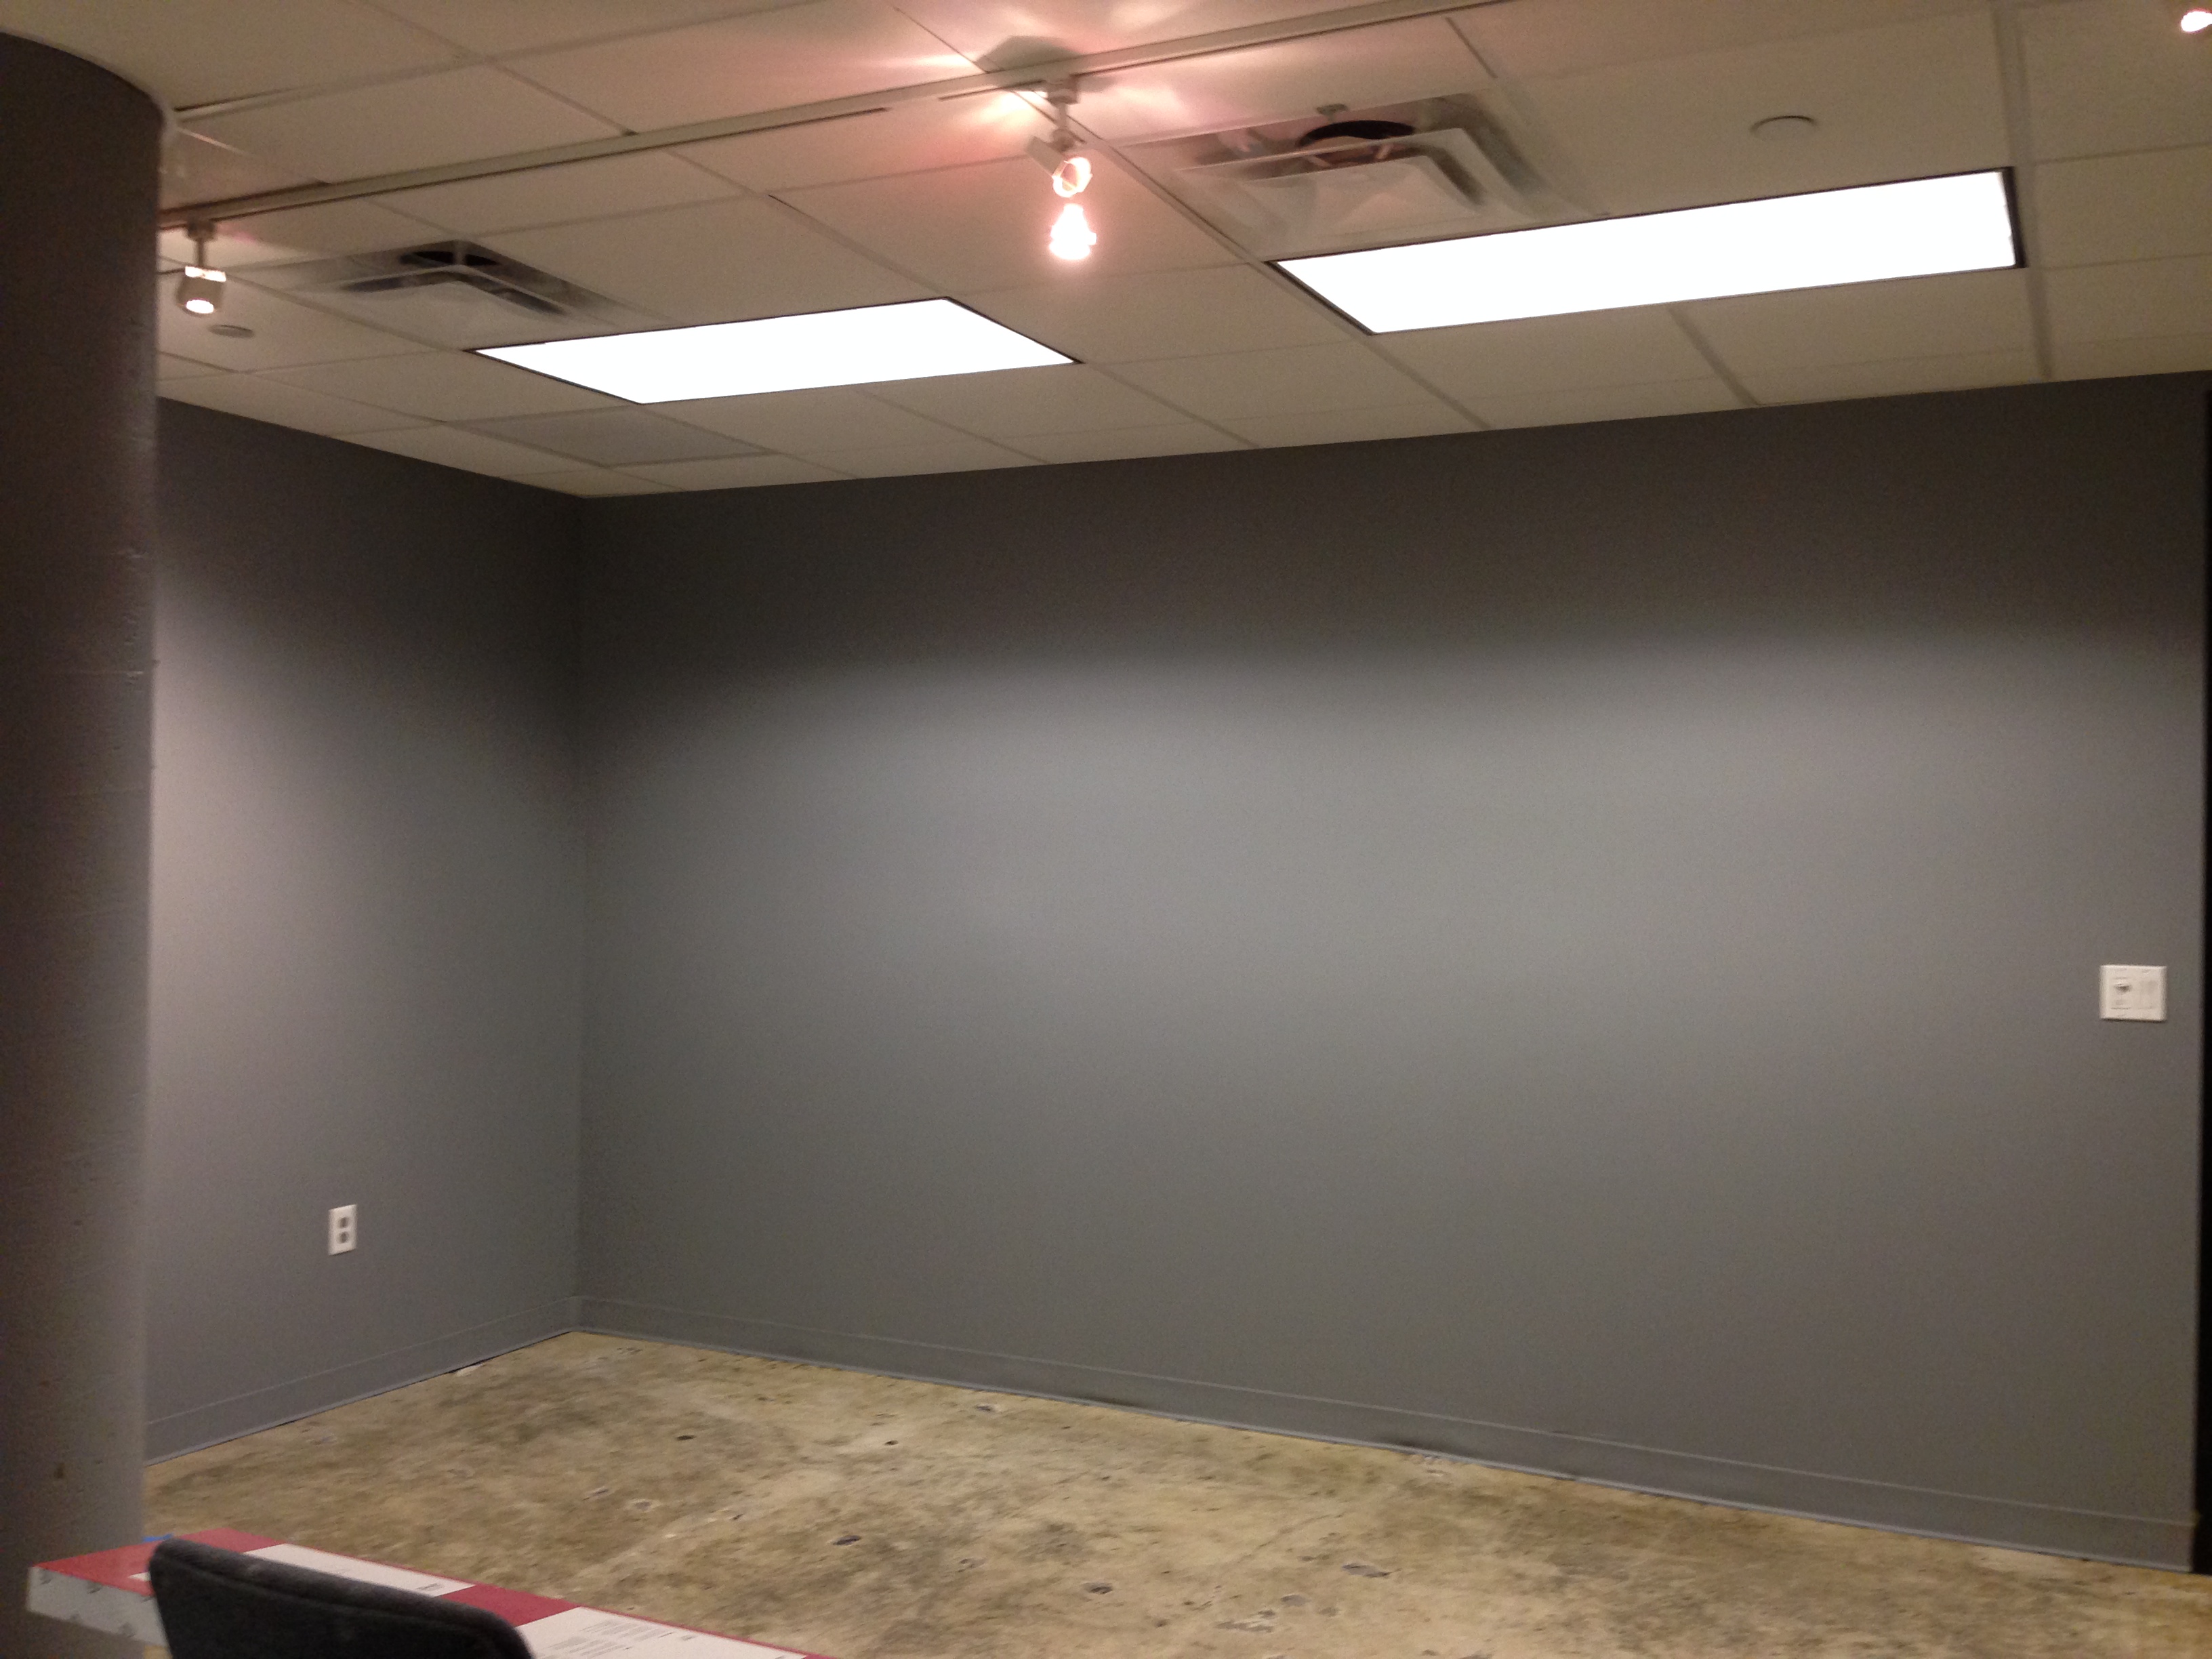
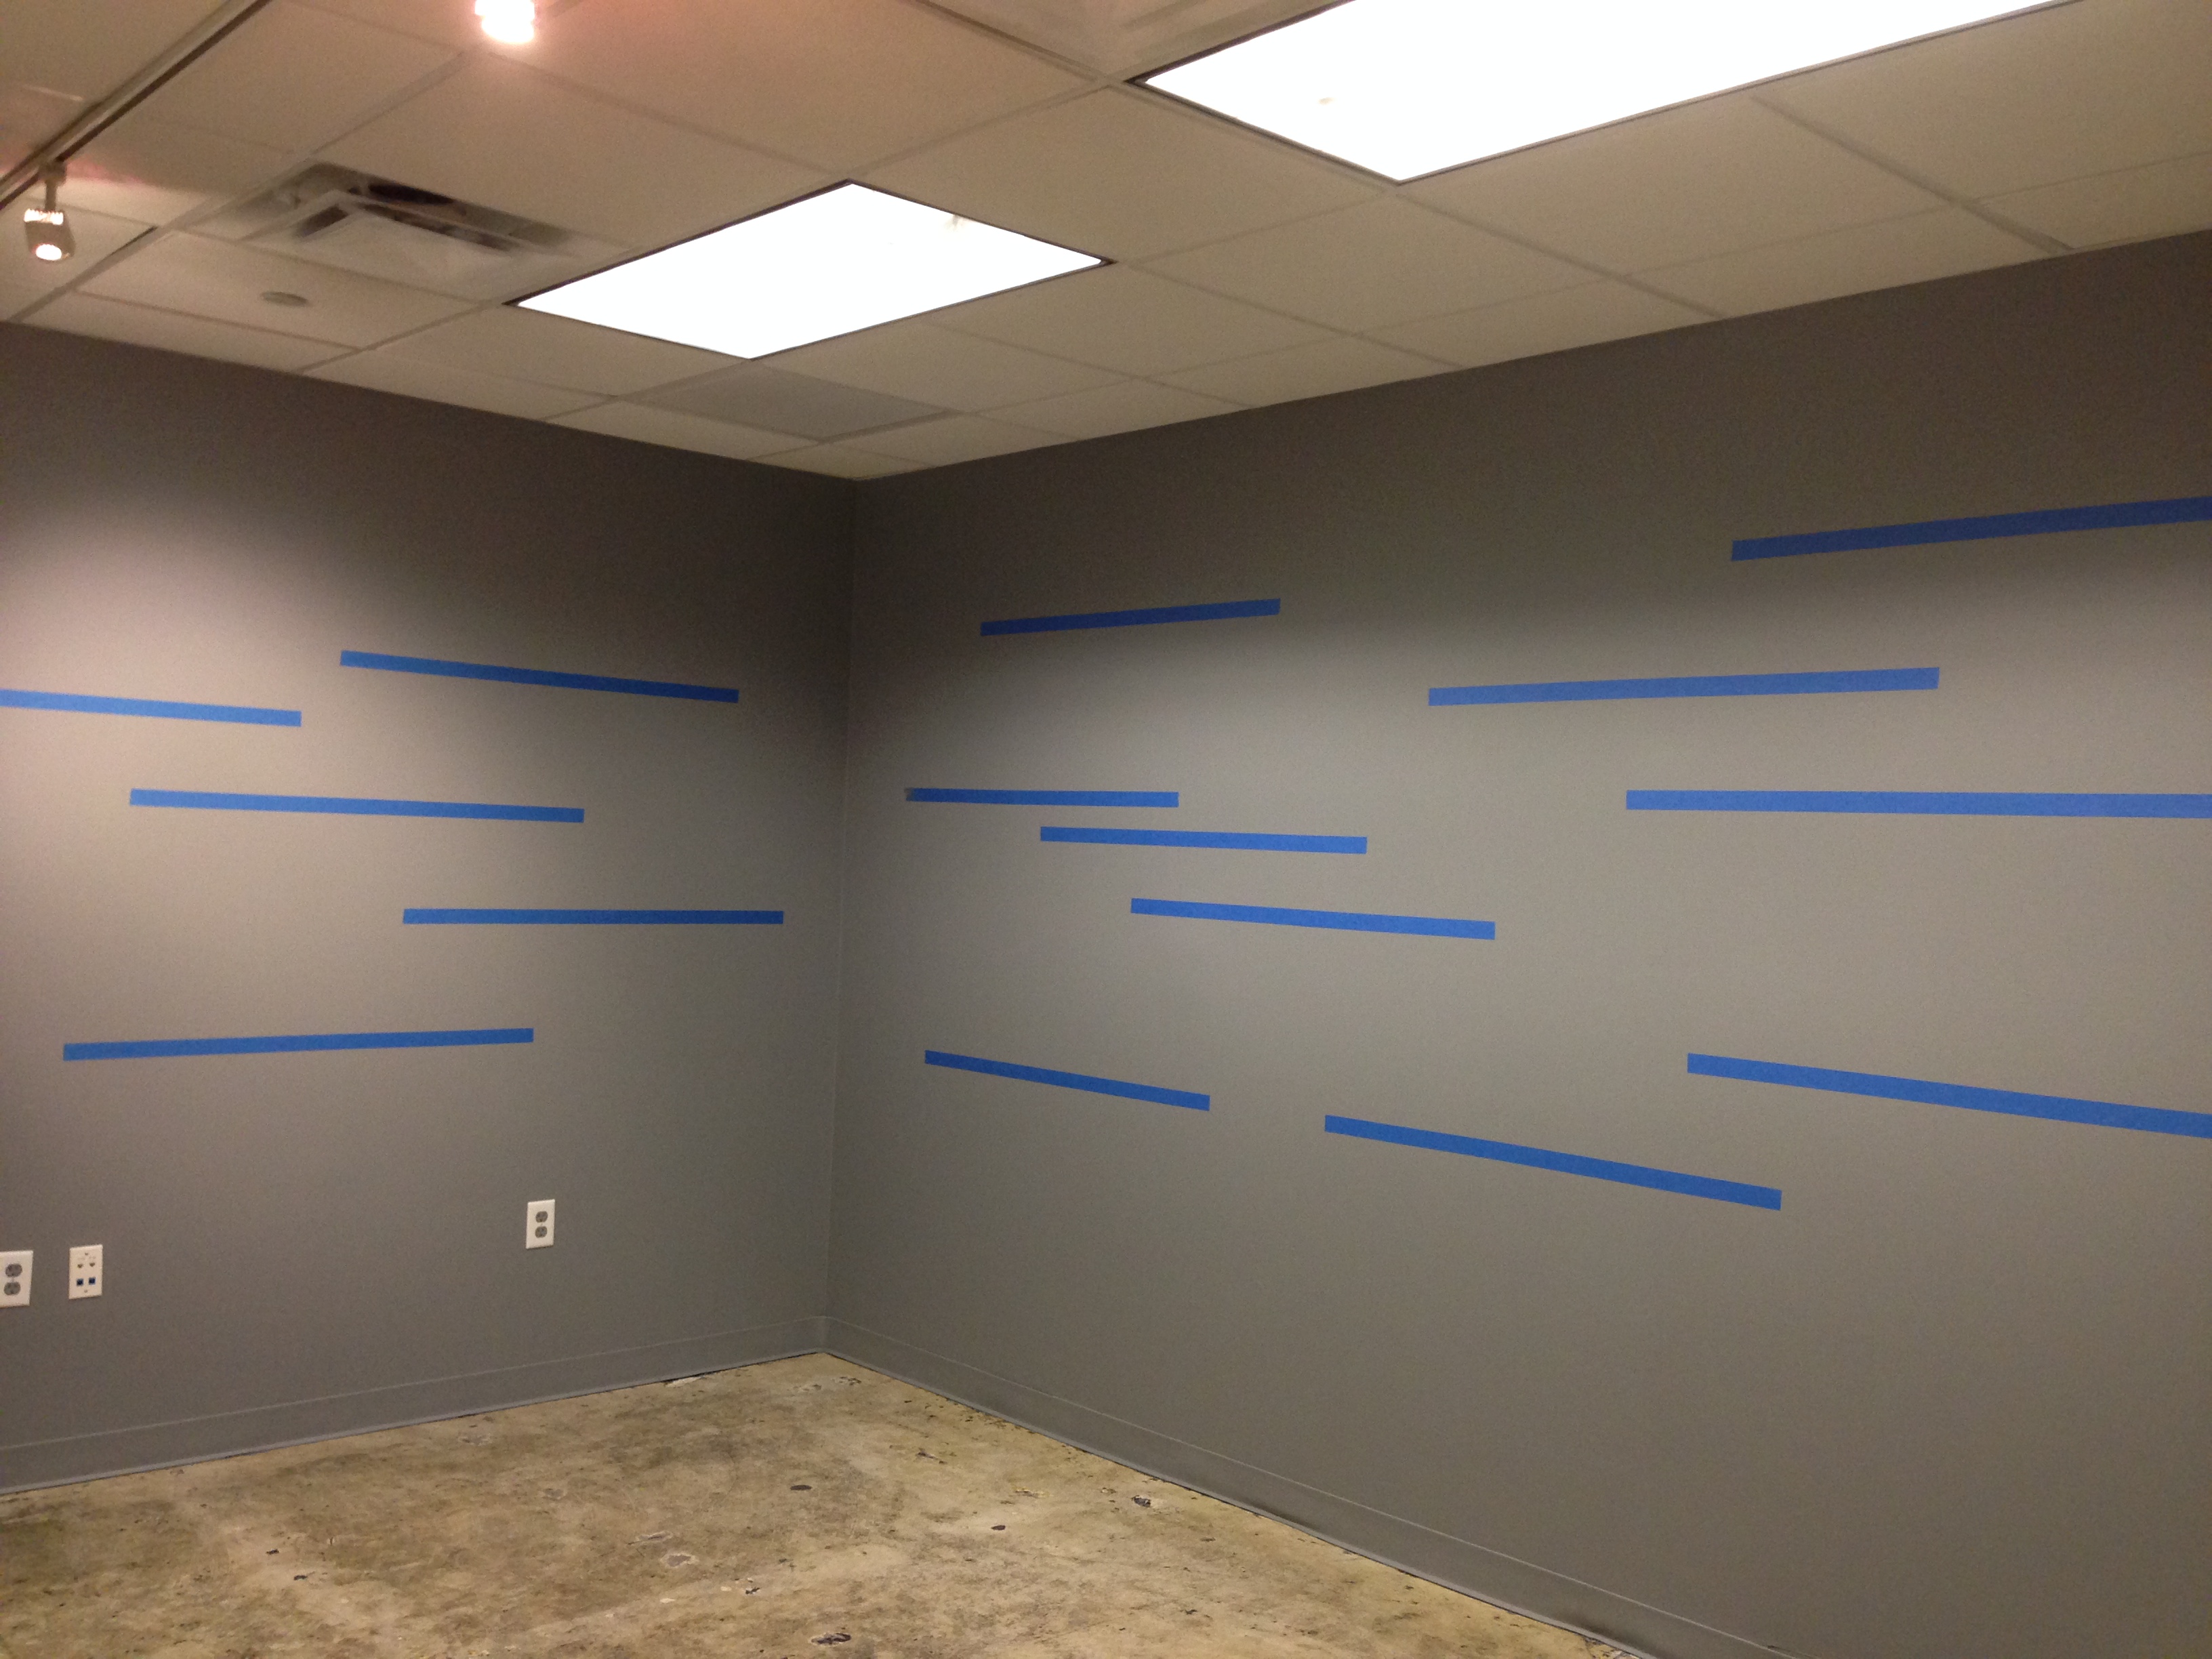
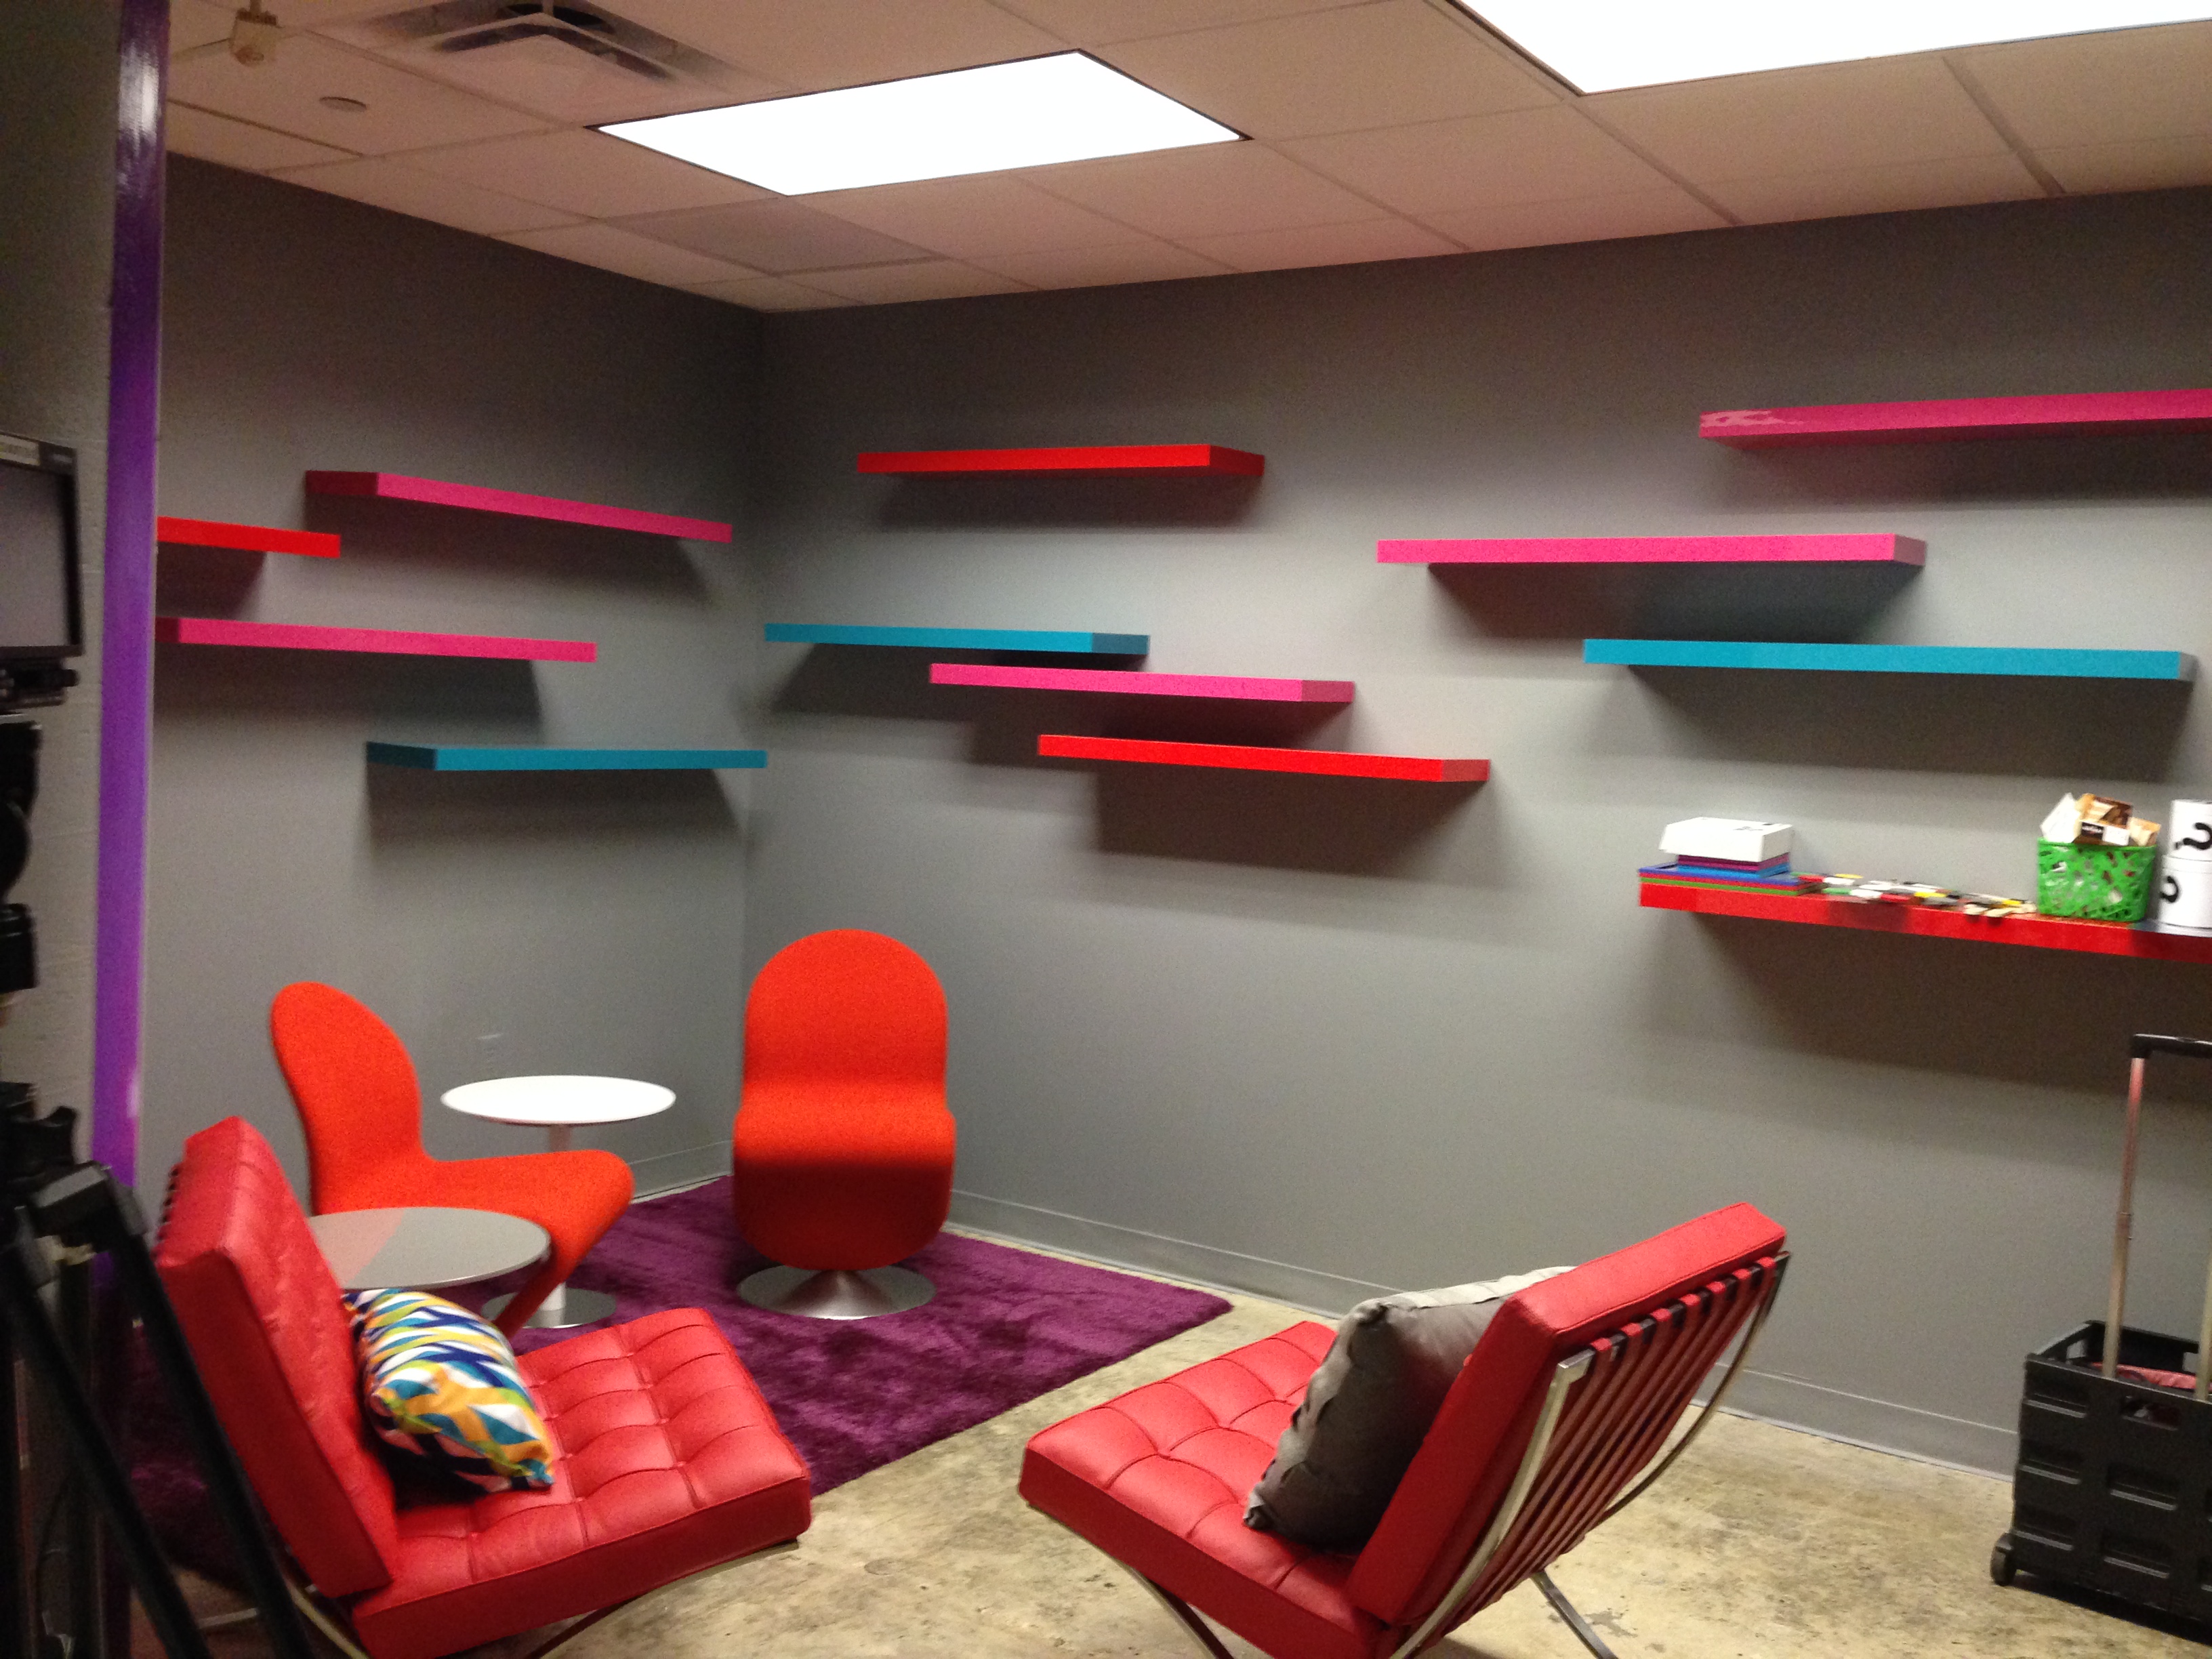
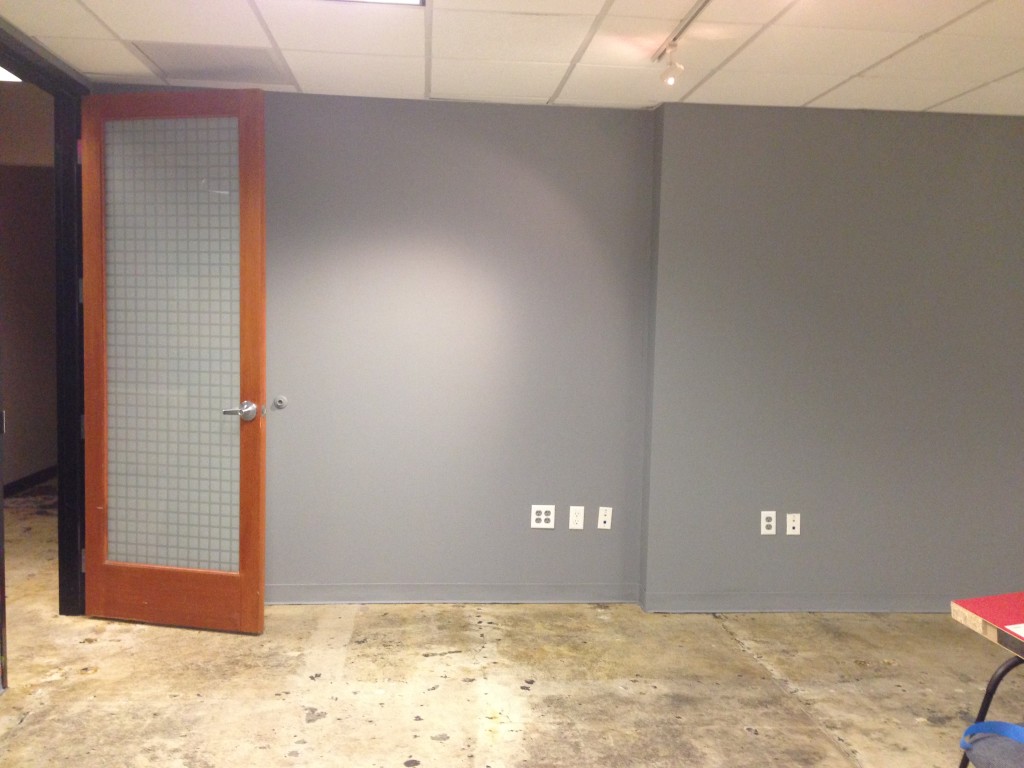
The office handyman, Efren, patched up the walls, smoothed them over and then painted. We picked Gray Area 770F-4 from Behr in a flat finish from Home Depot as our grounding color for the walls. They would hold up colorful shelves and a series of accessories, so this asks for a neutral backdrop. The outlets and switches were later painted gray too in order to have that seamless flow on the wall. We didn’t want those standing out. We also painted the rubber foot board which was black. Removing it would have added more work, so in the interest of time, that was not an option.

 The original white backdrop was totally busted so we repainted it with Ultra Pure White 1850 (W-B-500) from Behr in a flat finish from the Home Depot. It was soooo white that you couldn’t even determine the depth of the space! Creepy!
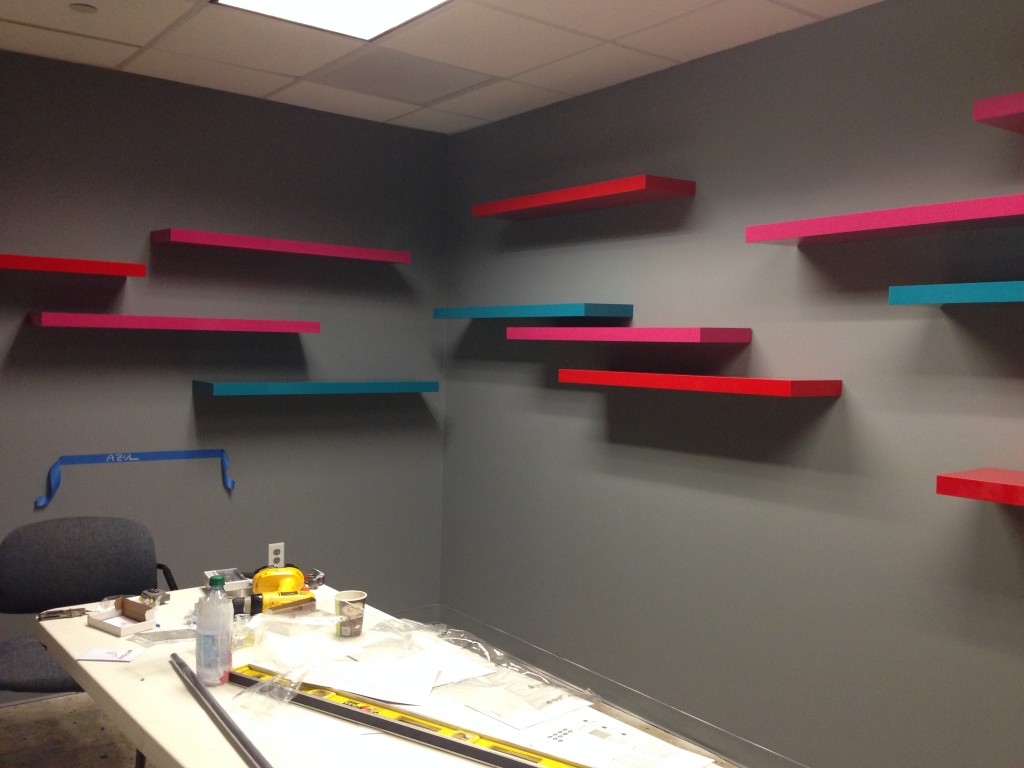
Then I placed painter’s tape on the wall where the shelves were going to go. I also wrote down the color of the shelves on the tape as a reference for me and Efren.


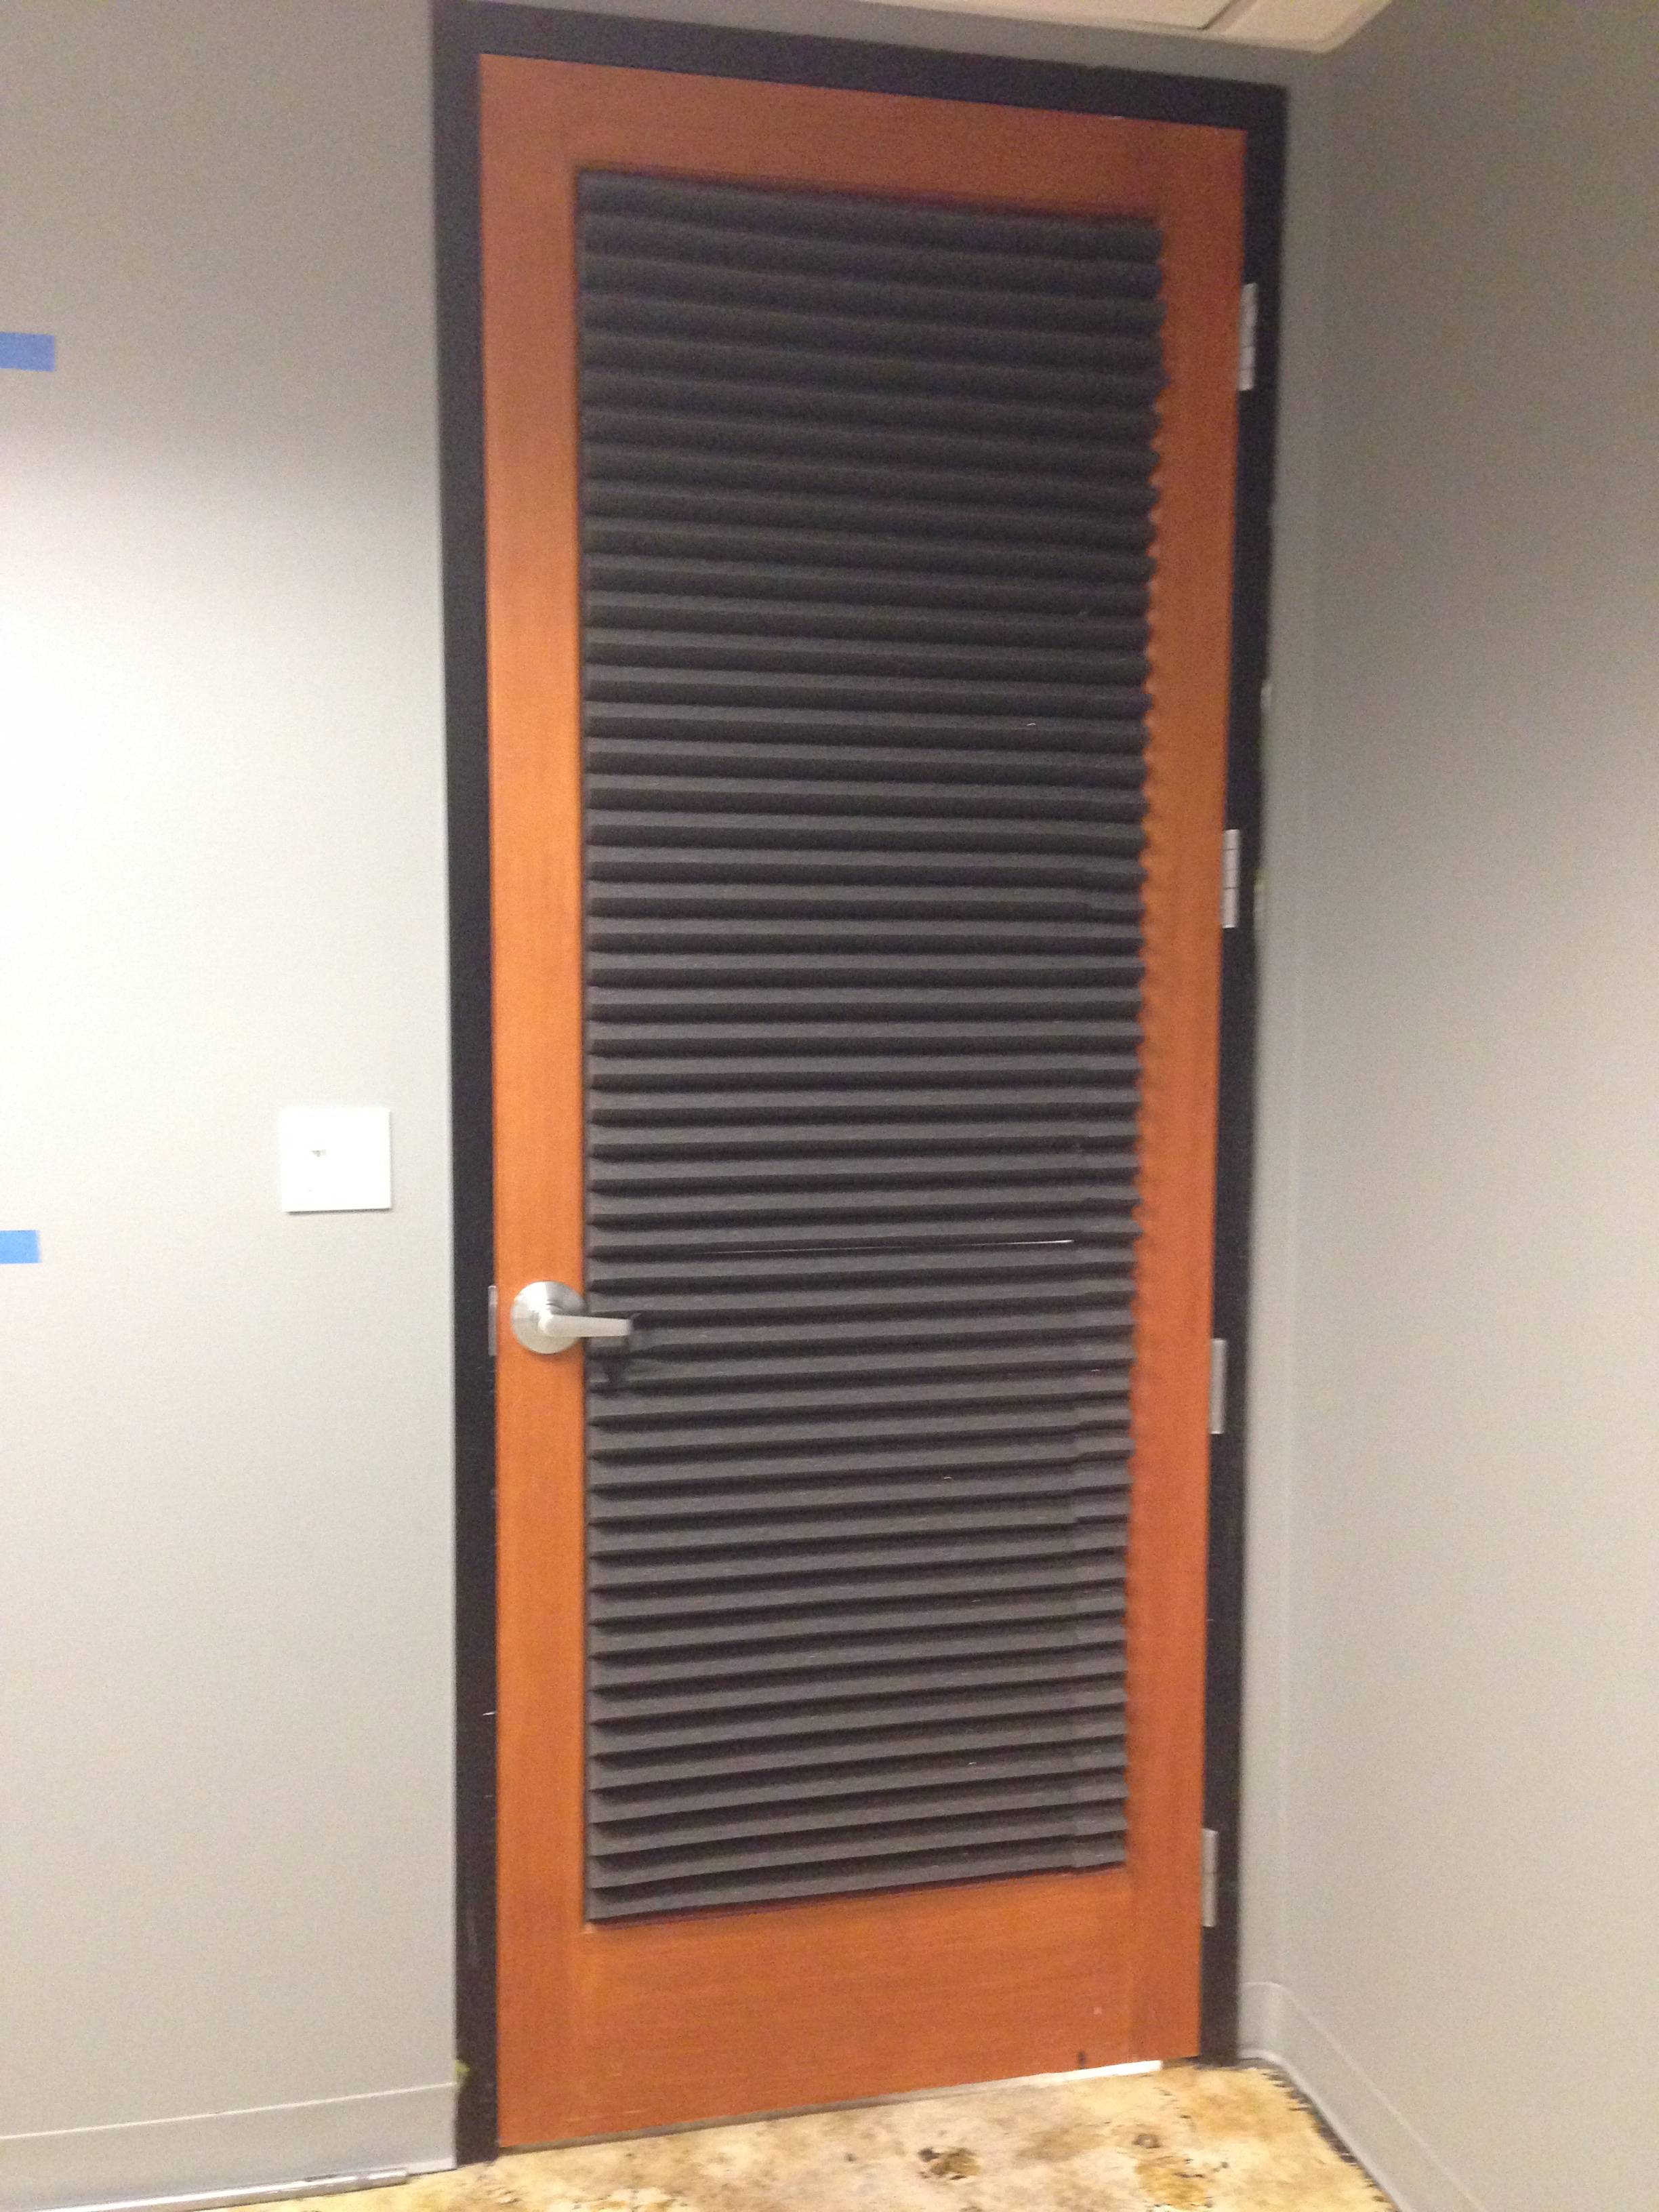
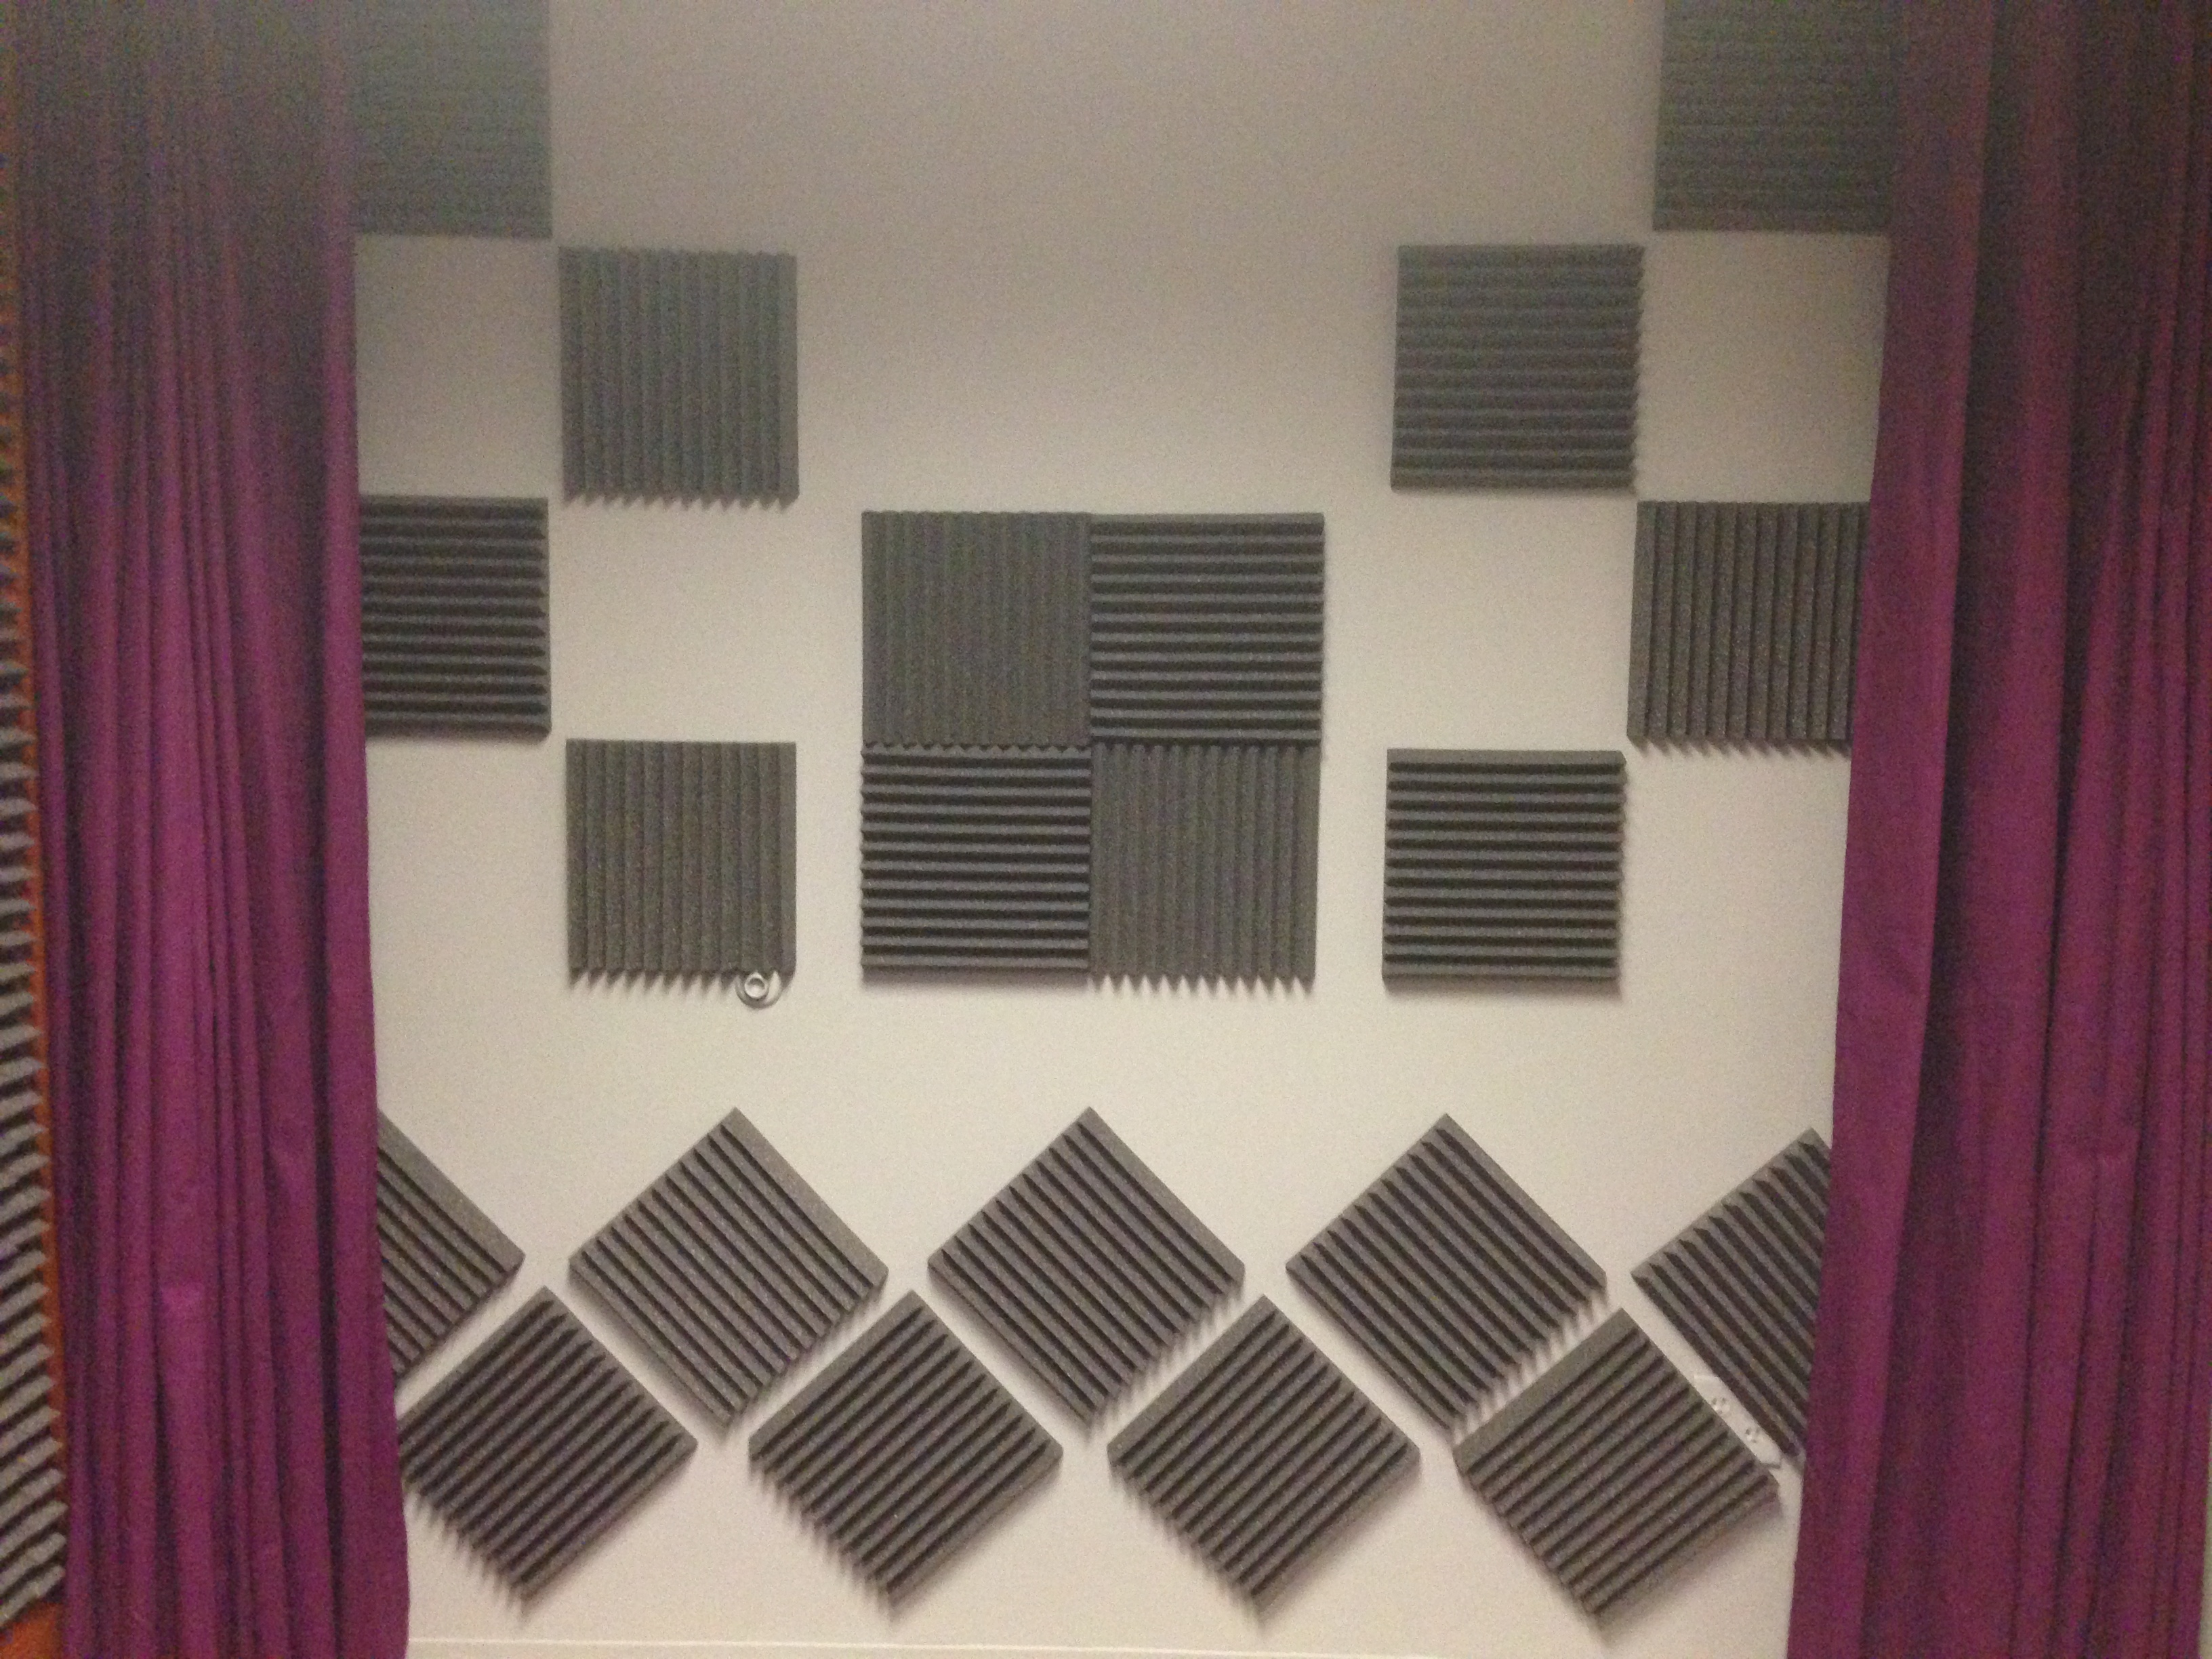
 I installed the Wedgies from Sam Ash on the door and adjacent wall. Not only do they improve the acoustics in the room, but they also have a nice sparkle once the light shines directly on them. They wanted a design pattern so I attempted two. They ended up with neither, but more on that later.


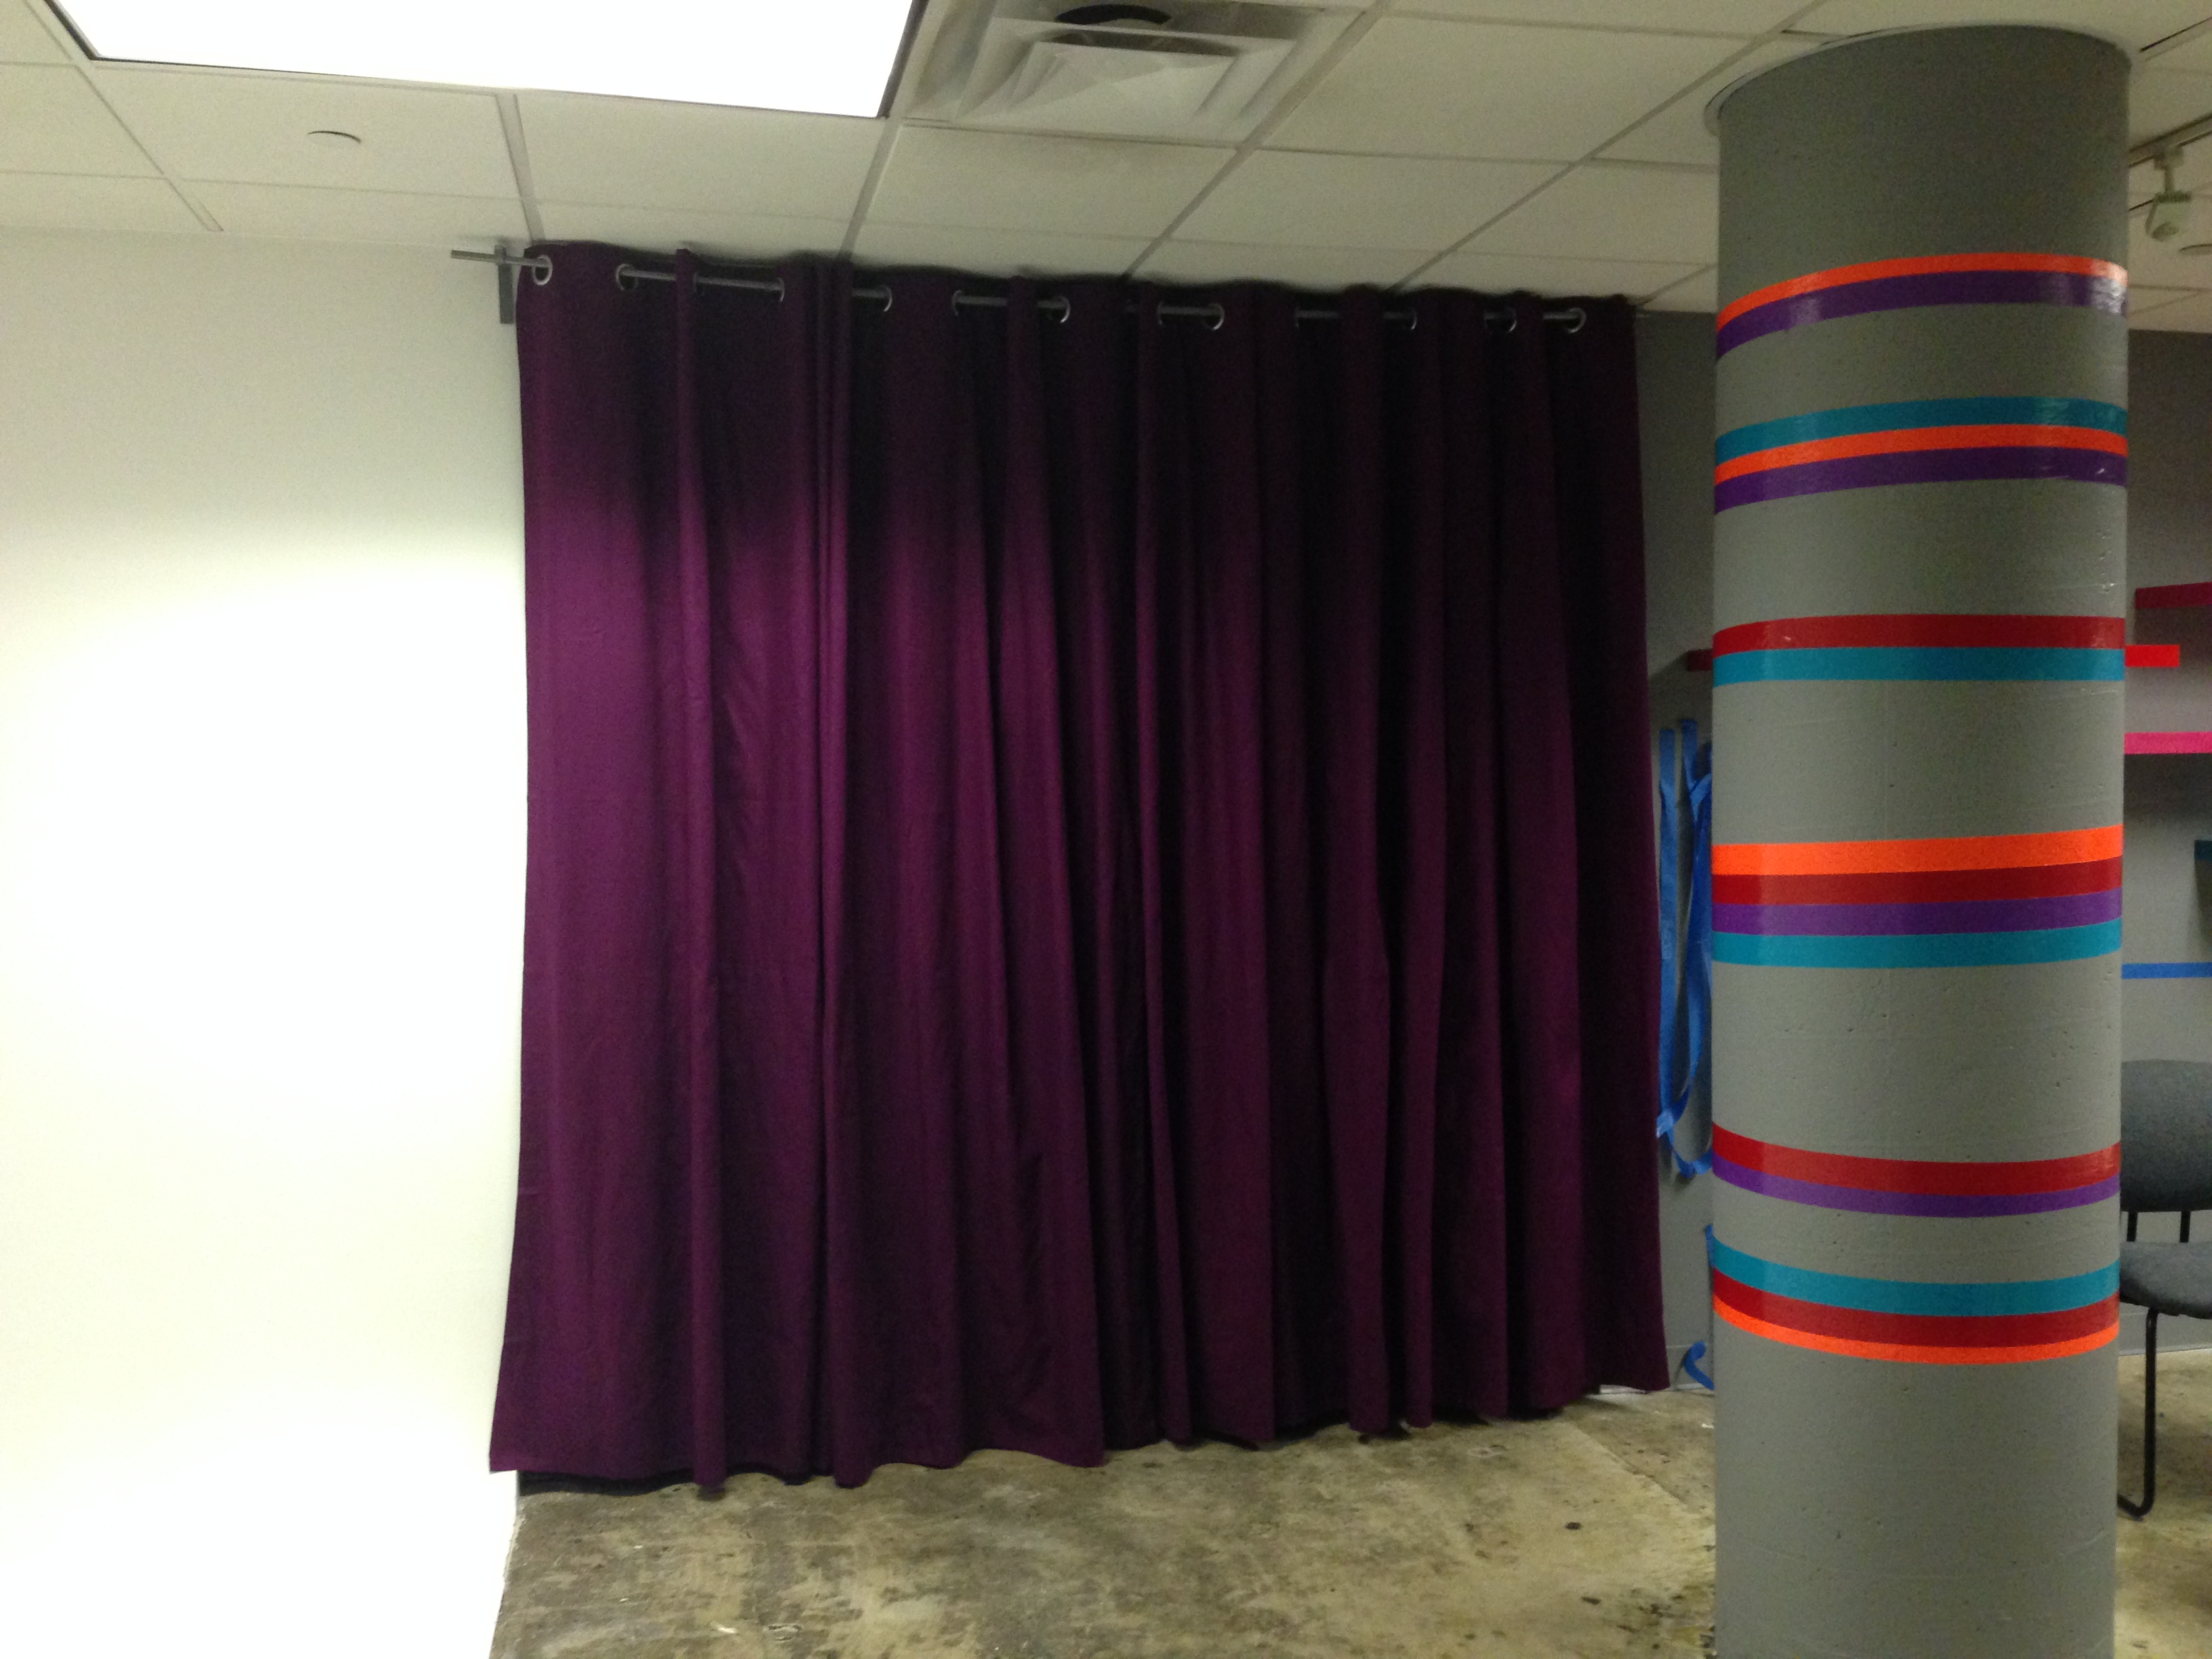
 Soon after the wedgies were installed, we put up the curtains. These Mariam curtains are from Ikea (sorry couldn’t find the purple listing online but they have them in store). They are thick enough to block light and they also absorb sound. We installed them over the doors and the sound proof walls in order to create another set within the set. The rods are also from Ikea.
 As you can see, I attempted to decorate the column in the middle with like color duct tape. I removed those because none of us liked them.
Then the furniture started arriving…
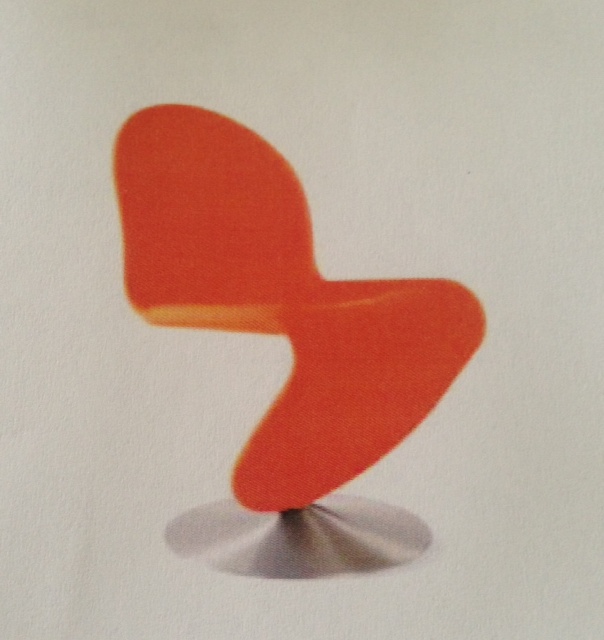

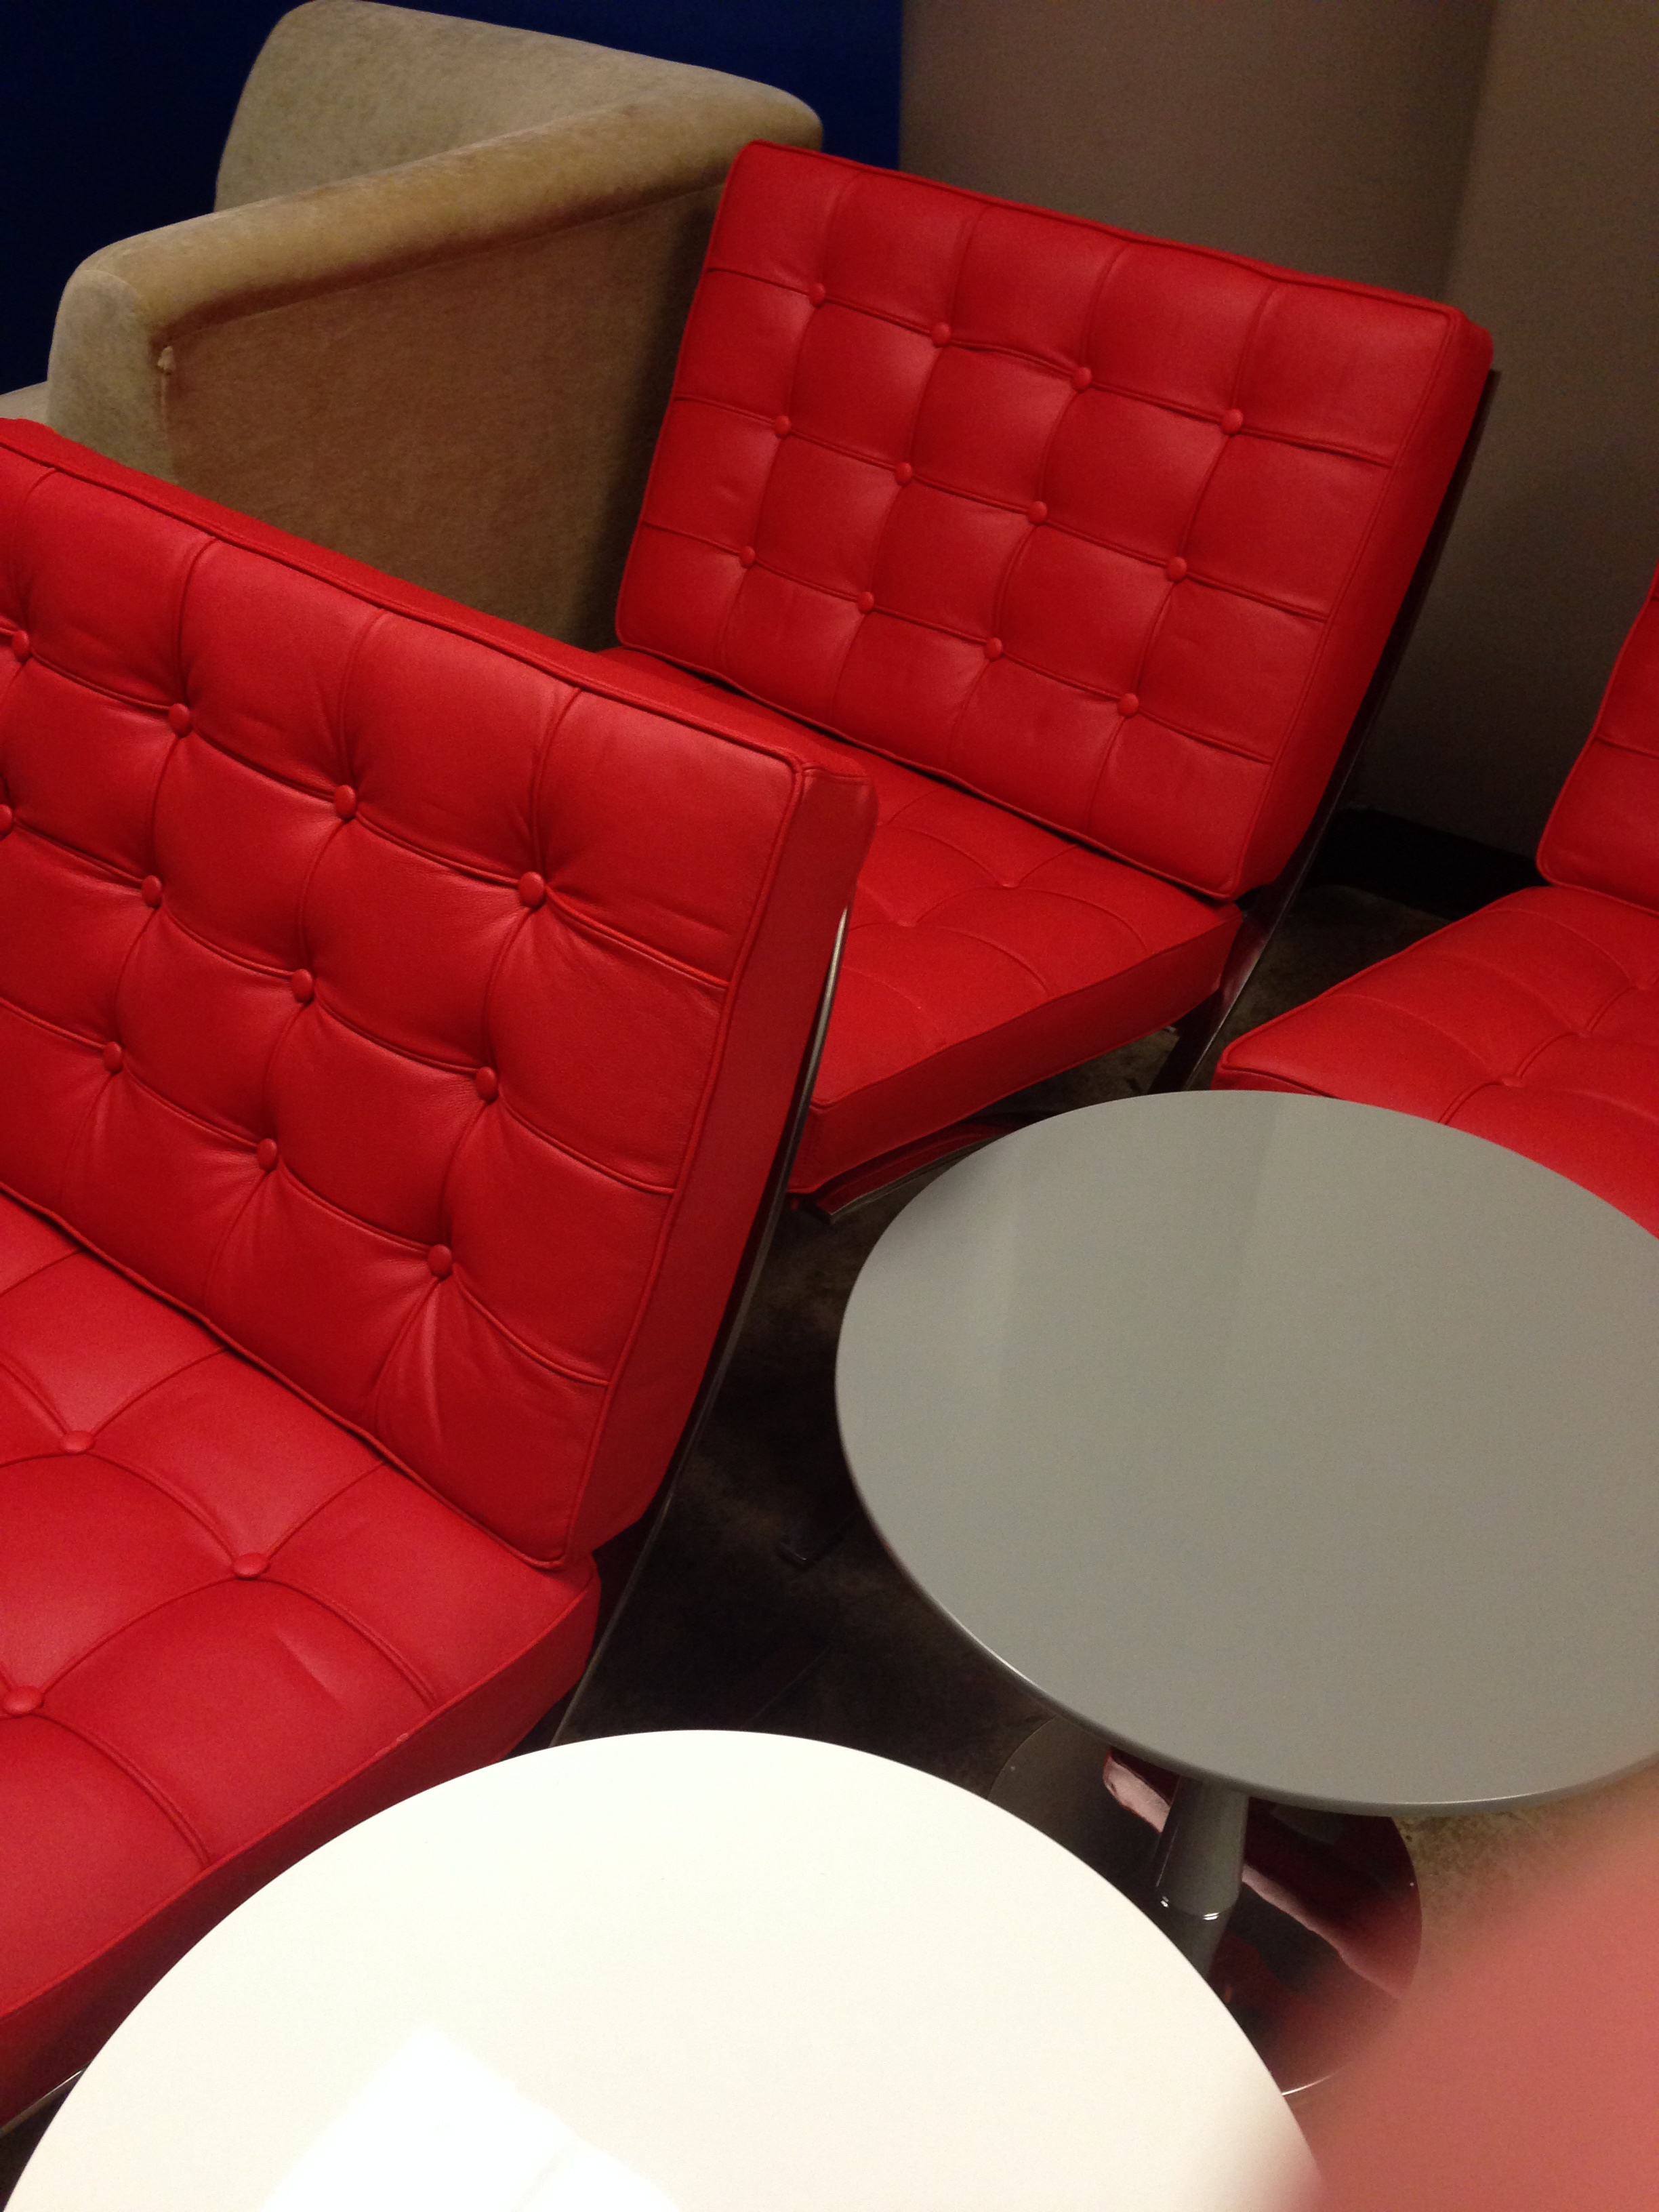
 The orange chairs are called System 1-2-3 Dining Chair from Design Within Reach. I fell in love with these chairs the moment I saw them. They fit the space perfectly since they are low enough to sit comfortably in, they are swivel (so cool) and they don’t have arm rests which makes it easy for any guitarist to play without being uncomfortable. The red chairs are the Catalunya chairs from Modern Home to Go Miami as well as the two Piro side tables.
So this is all I’m going to show you for now. Awww! But don’t worry, keep checking back for more on the “during” part of this challenging project and then the final “After”.
Thanks for reading!