Scarves, Recycled Place Mats & Gift Wrapping Tutorials

Hi everyone!

Exactly a year ago we launched Miss Ideas on Yahoo! It was a very fun project that included many DIY tutorials, beauty tips and much more. I am going to re-post them during the next several weeks so that you can get a refresher! If you haven’t seen these you can click on them below to view or you can go to this link here for all 22 episodes. Here is the scarves, recycled place mats and gift wrapping tutorials! Enjoy! Continue reading “Scarves, Recycled Place Mats & Gift Wrapping Tutorials”

How to Make an Envelope Pillow With Glue

Hello there!

I have great news! This post right here marks Zania.net’s 100th blog post!! Woo hoo!! And to celebrate, I’m sharing with you one of my favorite DIY projects EVER!!! This is how to make an envelope pillow with glue!

I love changing things around my house all the time and one small item in any home that can immediately alter its style are the decorative pillows. Would you agree? Using these pillows in your home is a very simple way to update a room or change it’s mood. However, some of these covers and pillows can be ridiculously expensive. Being a DIYer at heart, I wanted to take on this challenge. However, since I don’t know how to sew, I wanted to find a tutorial where I didn’t need to use any needles, threads or sewing machine. So… I set out on a mission. Finally, after some digging, I found this wonderful post on LiveLoveDIY that changed my life!  I knew there was a way to do this! Now I share this with you because it’s too good not to share!

Materials

  • Fabric
  • Scissors
  • Measuring tape/ruler whatever you want to use
  • Liquid Stitch glue or Unique Stitch glue

Envelope_Pillow_1 Continue reading “How to Make an Envelope Pillow With Glue”

Before & After: TV Tray Tables

TV_Tray_Tables_1Hi amigos!

How ’bout those TV tray tables you have at home? Do they look like my ‘Before’ picture? Well… These handy dandy tables are not necessarily the best lookin’ ones right off the shelf but like every other piece of furniture at home, they are not to be neglected! They get a lot of abuse here in my household and after several years of wear and tear it was time to beautify them and give them some serious TLC.

I used several tribal rug prints as well as geometric wall tiles as inspiration. I wanted to use the black and white color palette because it is classic and it was the paint I had available. I also didn’t want to spend a dime doing this so therefore I used what I already had at home. In the end, they turned out fabulously glam! Don’t you think? Here’s how it all went down!

Continue reading “Before & After: TV Tray Tables”

10 Last Minute Valentine’s Day Ideas

It’s not too late!

Valentine’s day might be a “Hallmark Holiday” but I think it is a great way to say I love you to those that matter most to you. Saying positive and feel-good things is never a bad idea. In case you haven’t planned anything yet, here are some last minute ideas that might help you out no matter what your relationship situation is. Oh and you know what? I also made a playlist on Spotify of lovy dovy songs to share with you! Check it out HERE! Continue reading “10 Last Minute Valentine’s Day Ideas”

Behind the Scenes “No te necesito” Video Shoot Part 2

Styling_BarHi!

So I wanted to show you a little more of the “behind the scenes” from the music video for one of my songs, “No te necesito”, that we recorded some time ago. The video is in the final stages of post production and I should be getting the final copy soon. Yay! In the meantime, I wanted to share with you the good and the bad of the transformation of the space. I will always be honest here and part of that is accepting your mistakes and showing you that I’m human too.

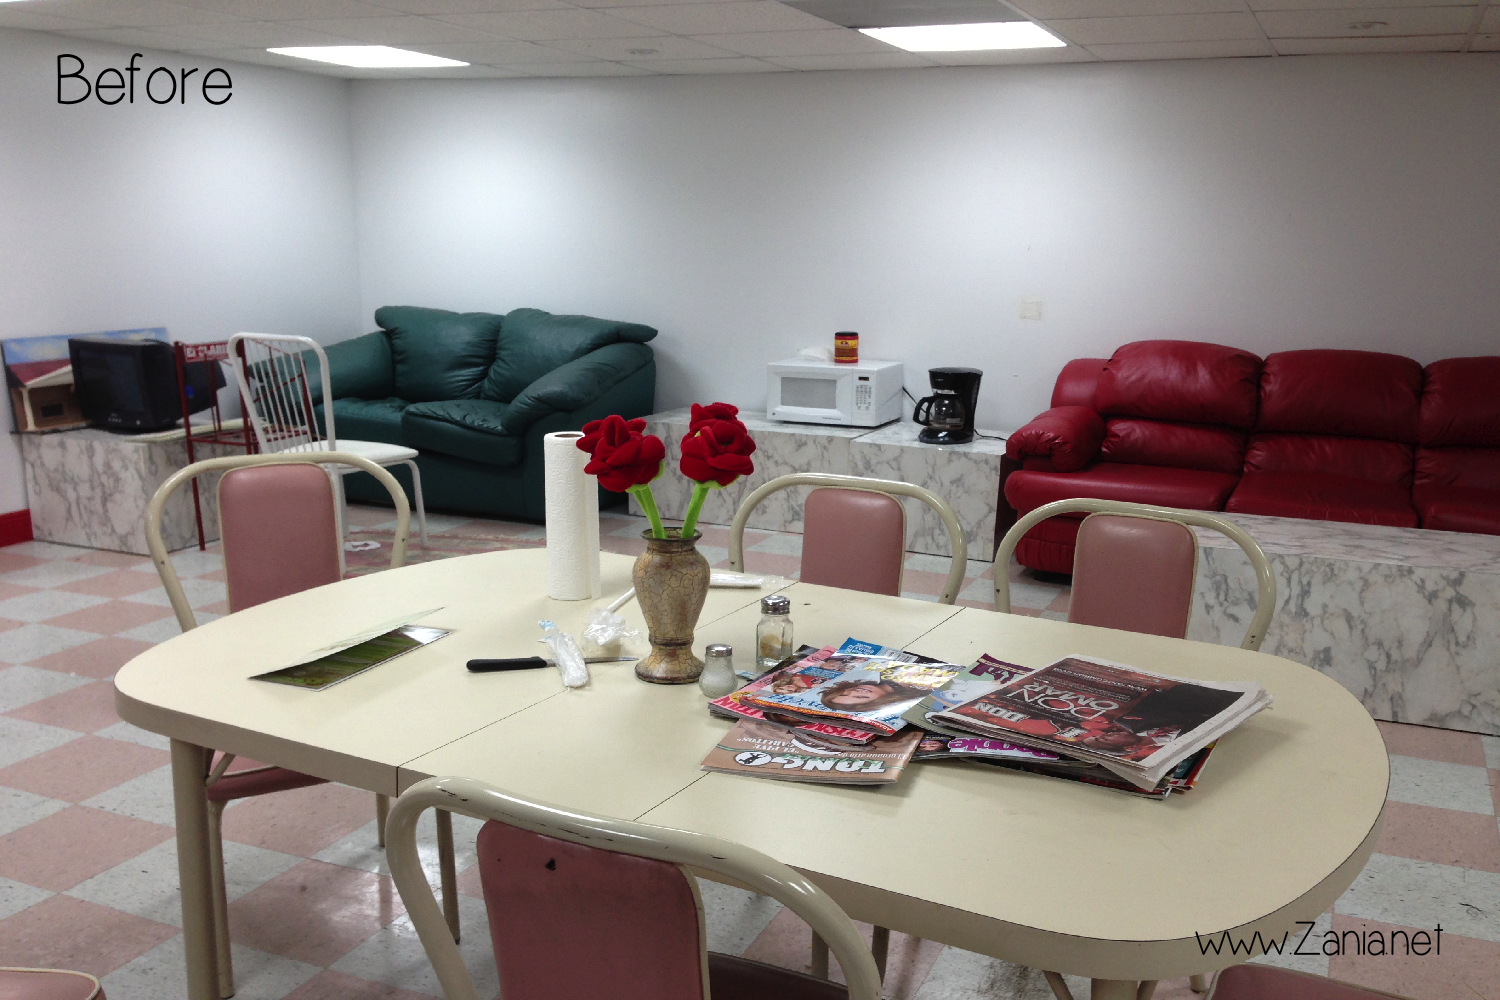
Like I mention in the first blog post about this music video, I didn’t want to spend a lot of money on it, since the purpose of this video is just to have fun and promote my music using visuals. That said, the space used to be a green room where artists would hang out while they waited to perform their music in the CD store below. (Yes, there is still a store selling CDs in Miami. It’s called “El Museo del Disco”).

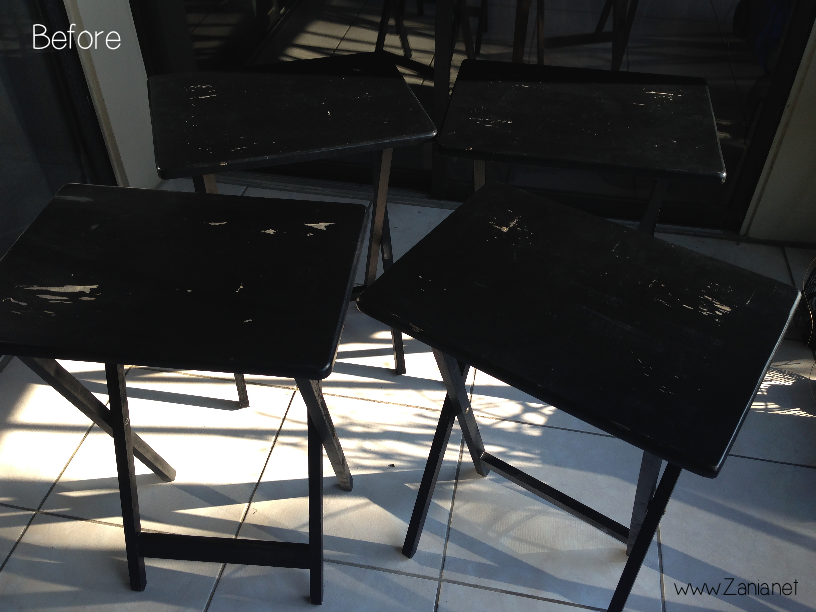
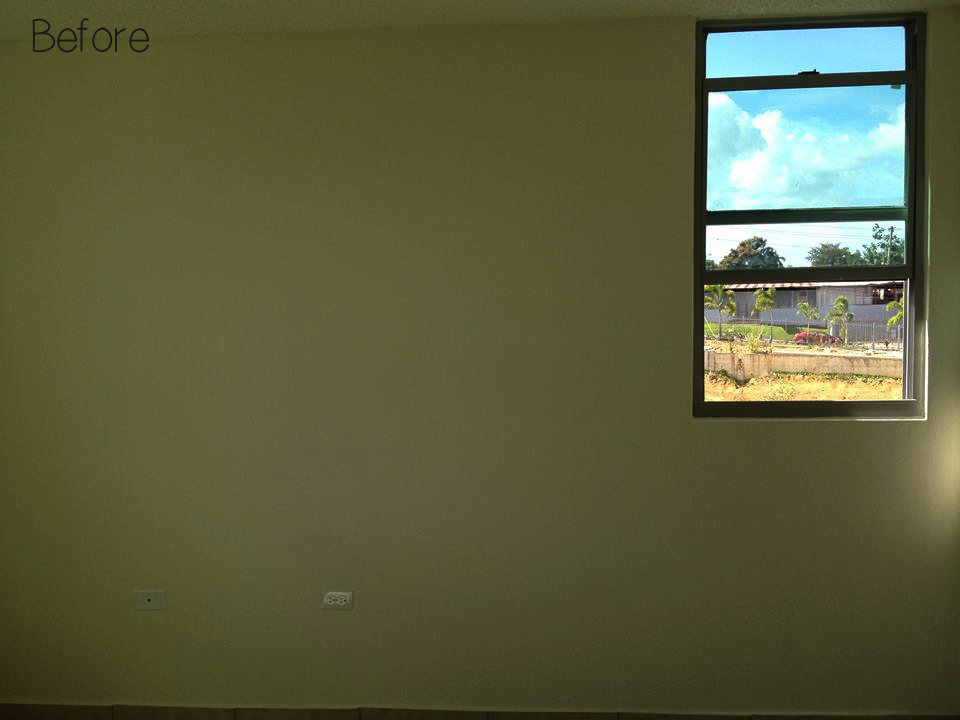
Here are the Before pictures of the bar and stage (respectively);

Before_Bar Before_Stage
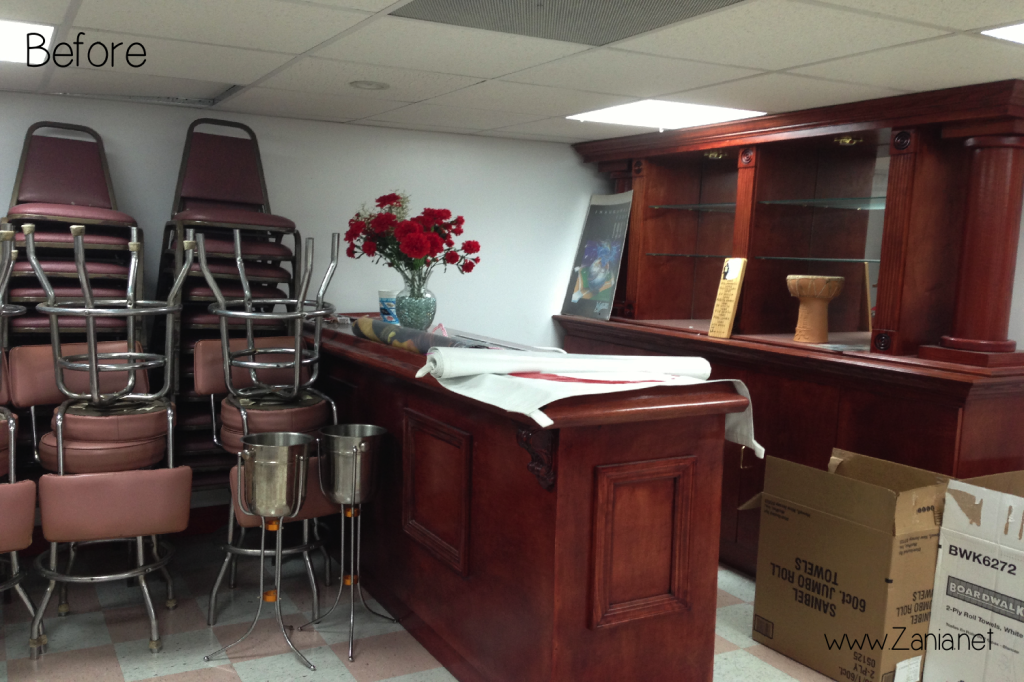
I mean… seriously… neglected. But it was free and we were able to pretty much do whatever we wanted, for however long we needed, for FREE. Free sounds good to me.

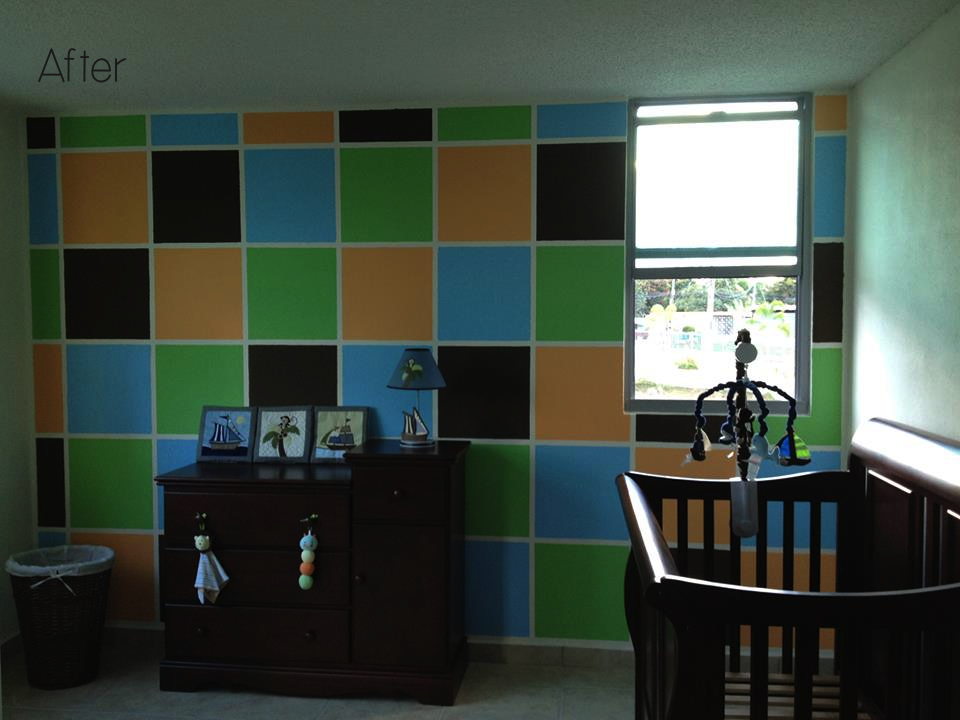
I was inspired to create an “underground” lounge/bar scene where an audience would go to watch a multitude of amateur talent on open mic nights. I think I did an ok job given the tight budget and the resources, but looking back, there are several things I would change.

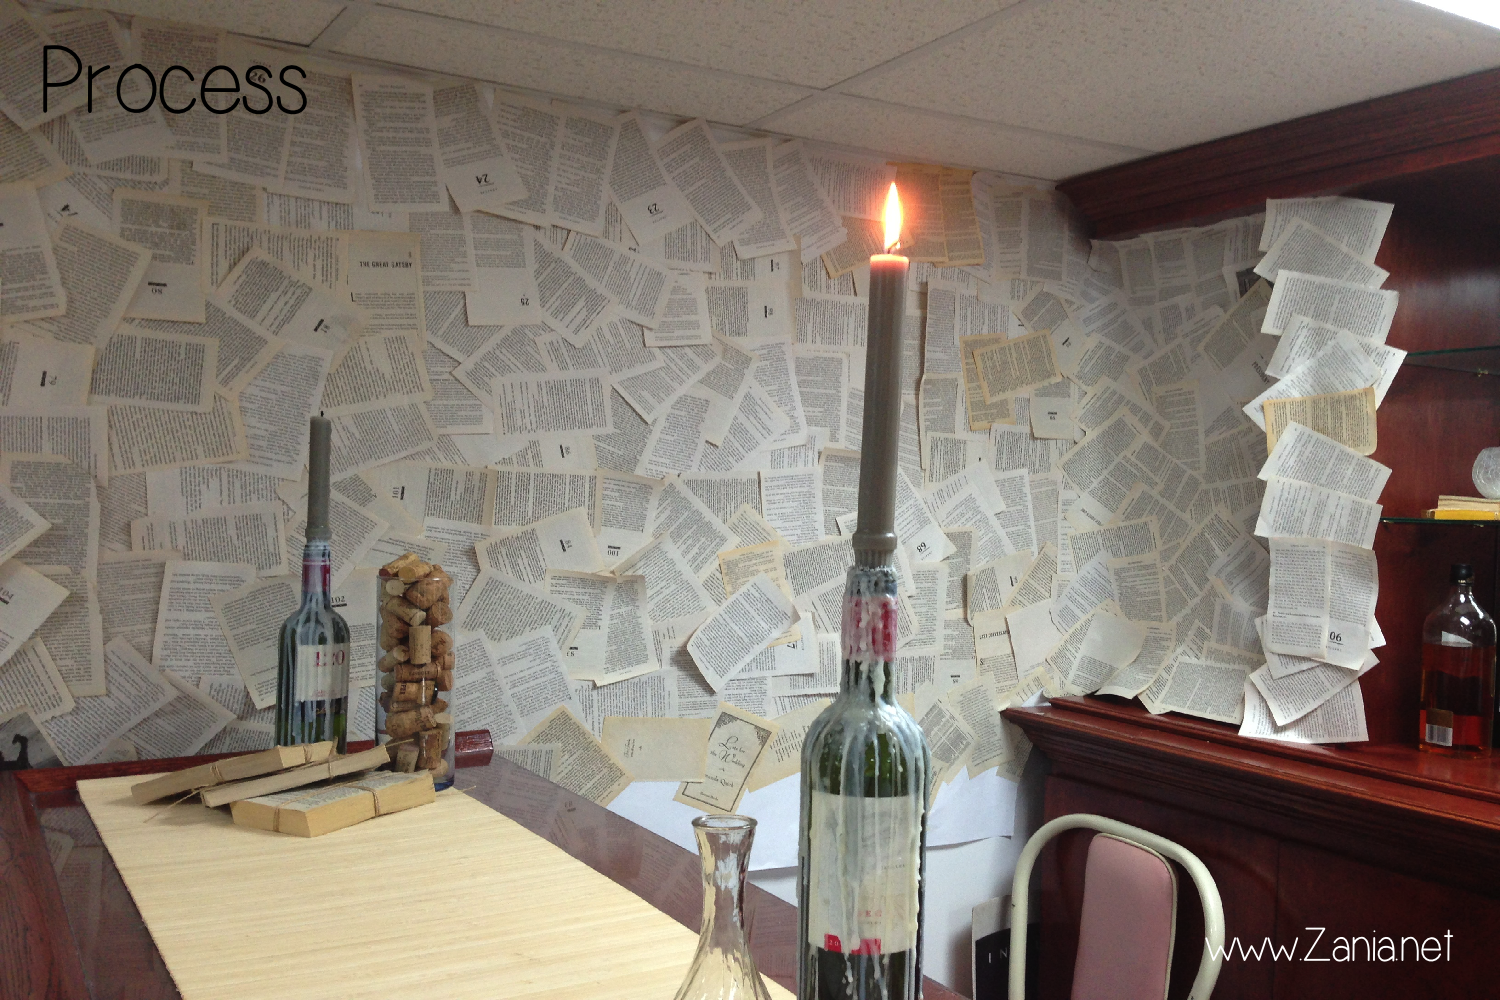
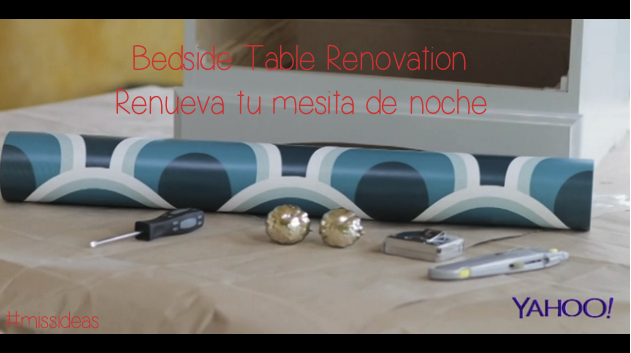
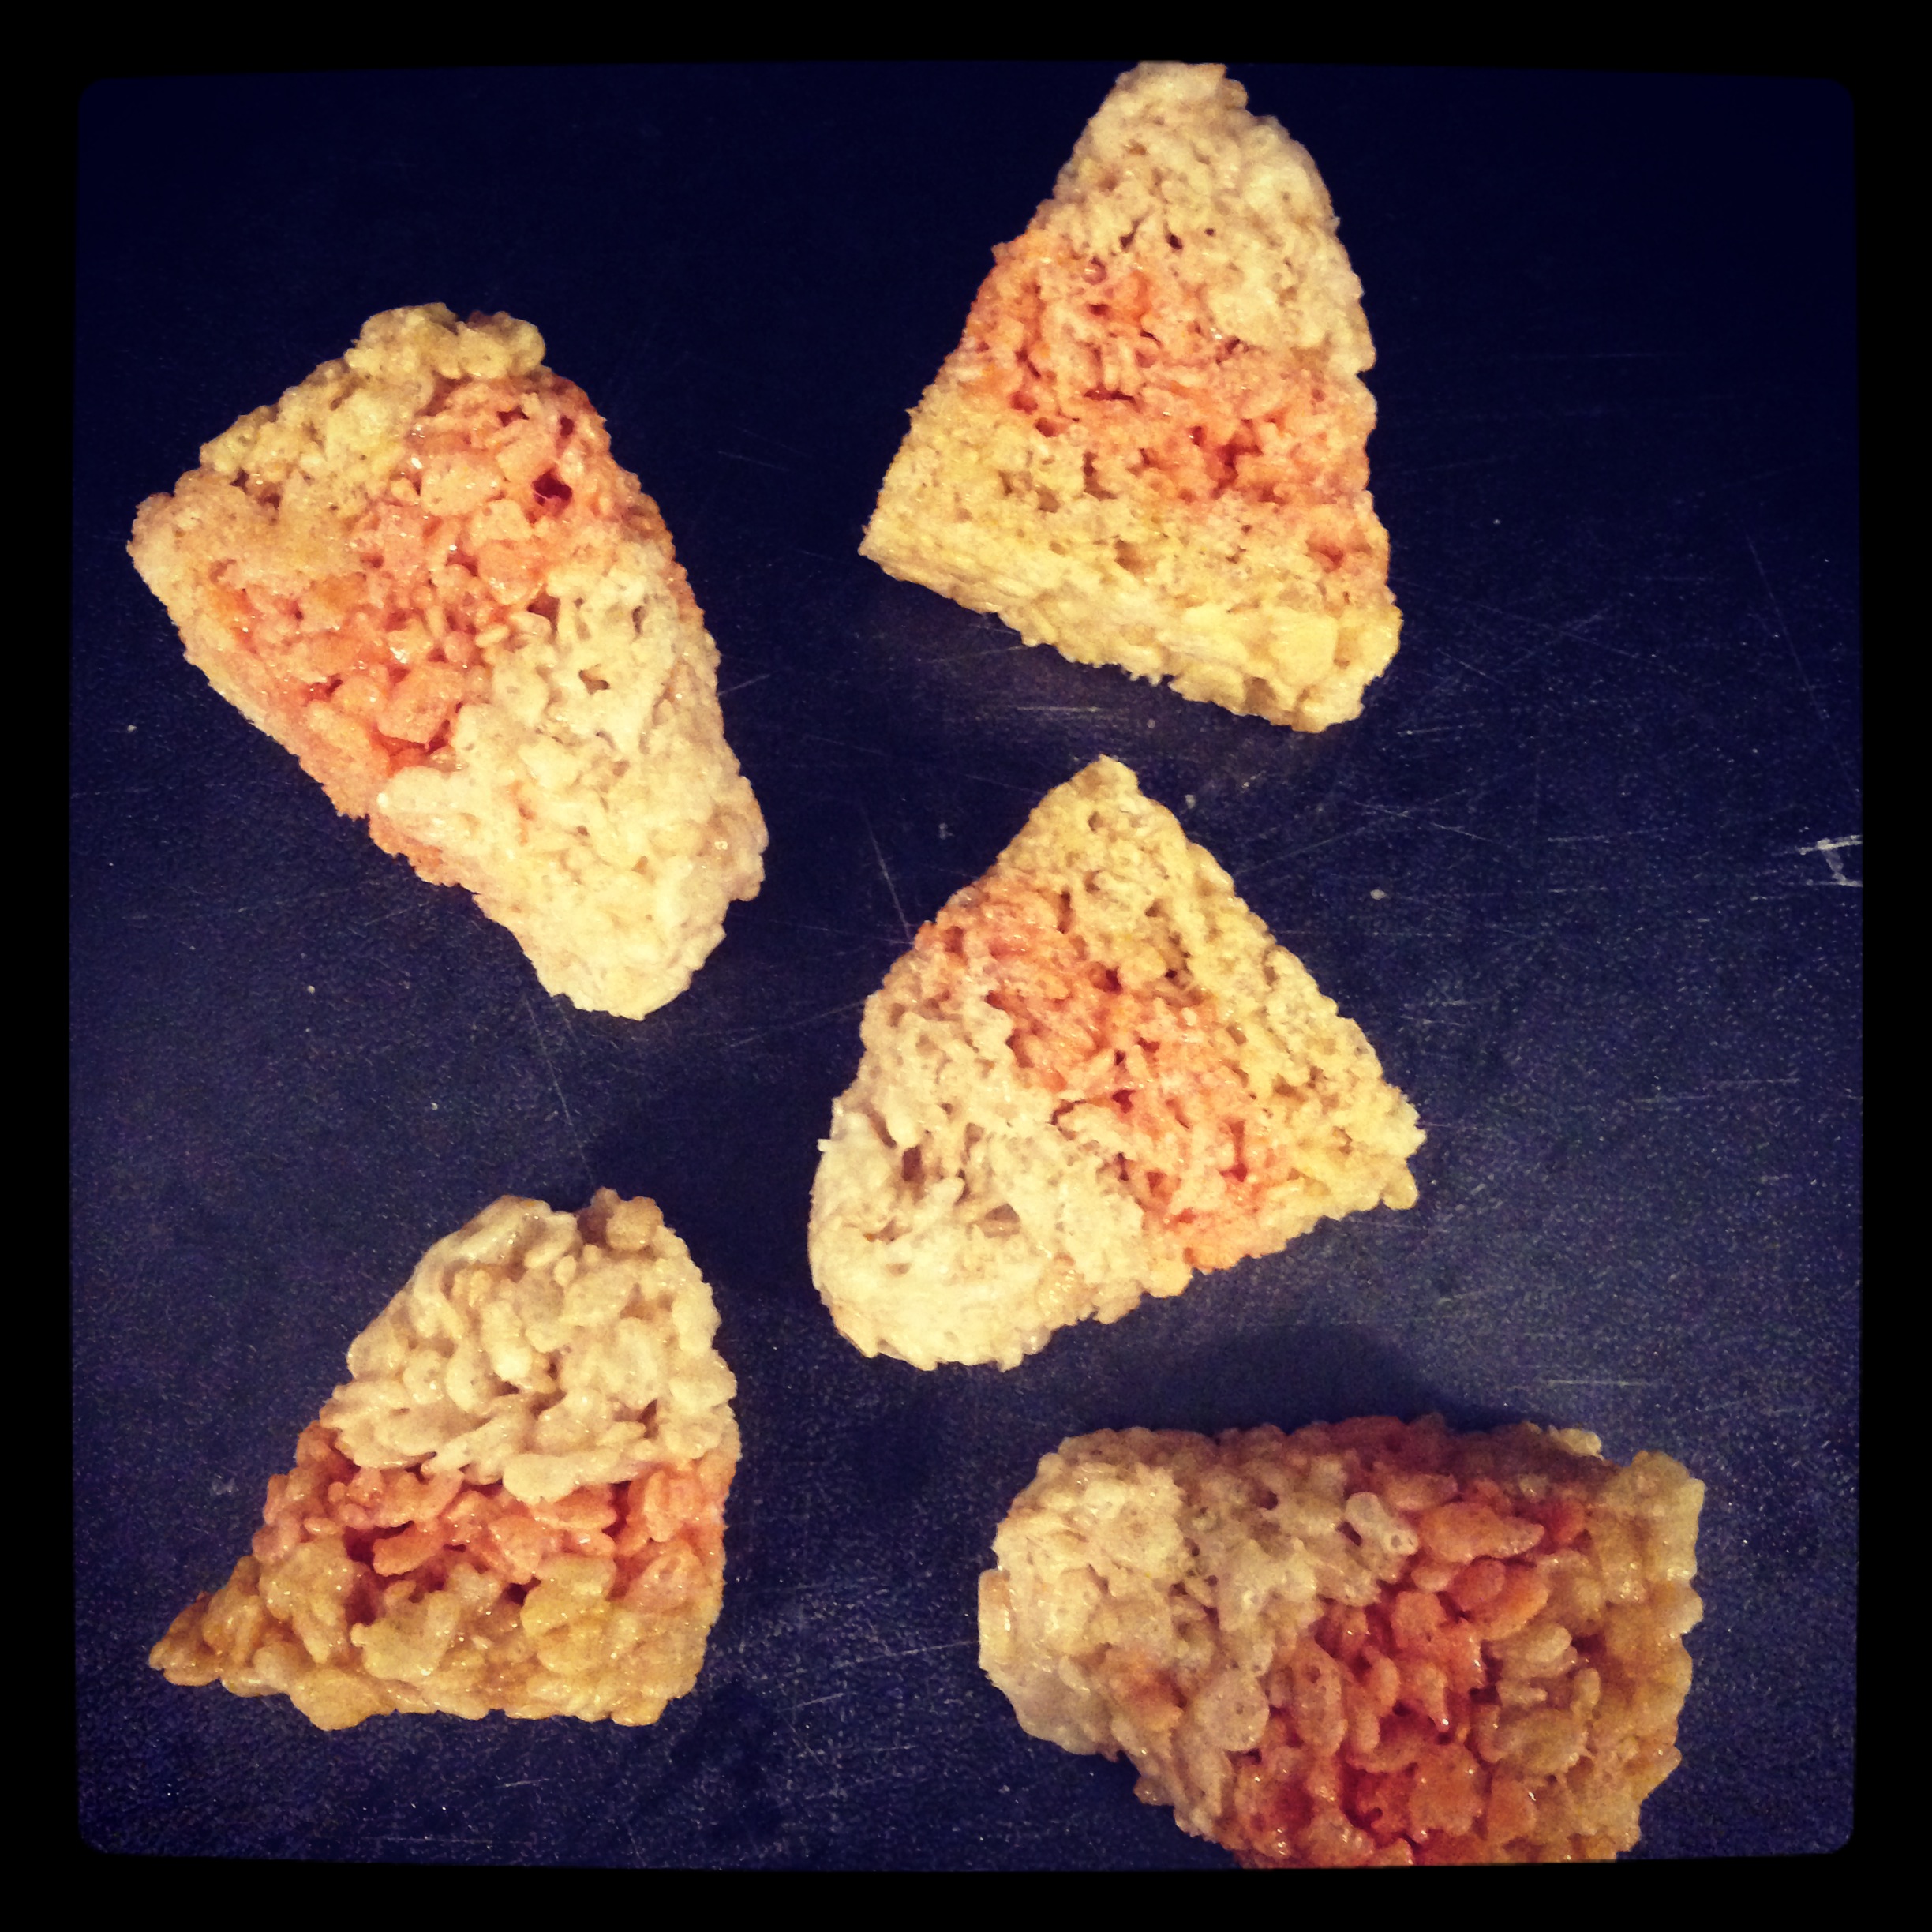
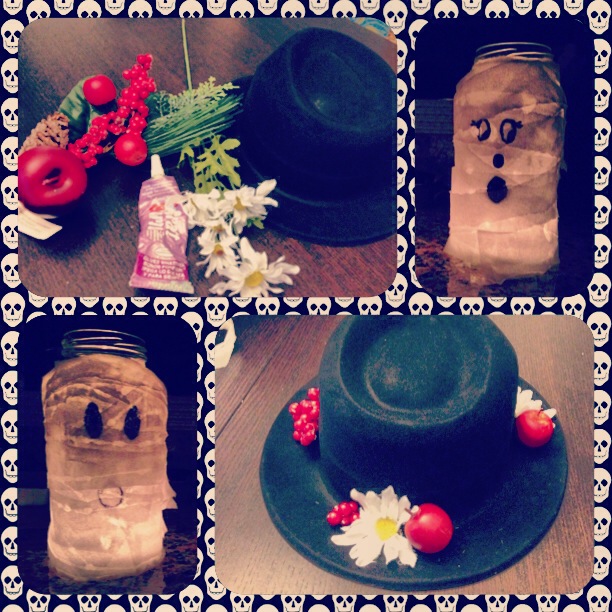
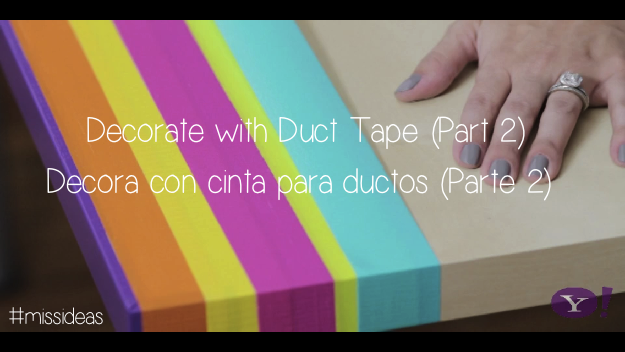
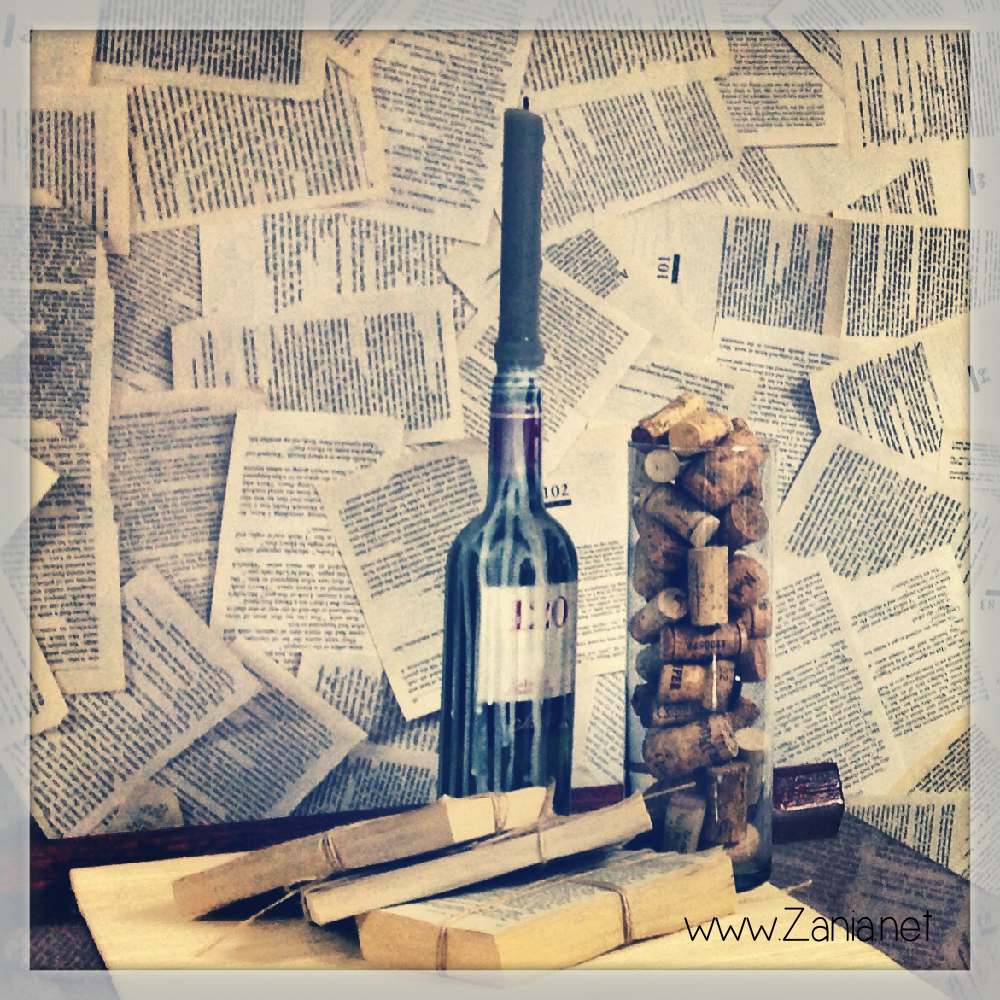
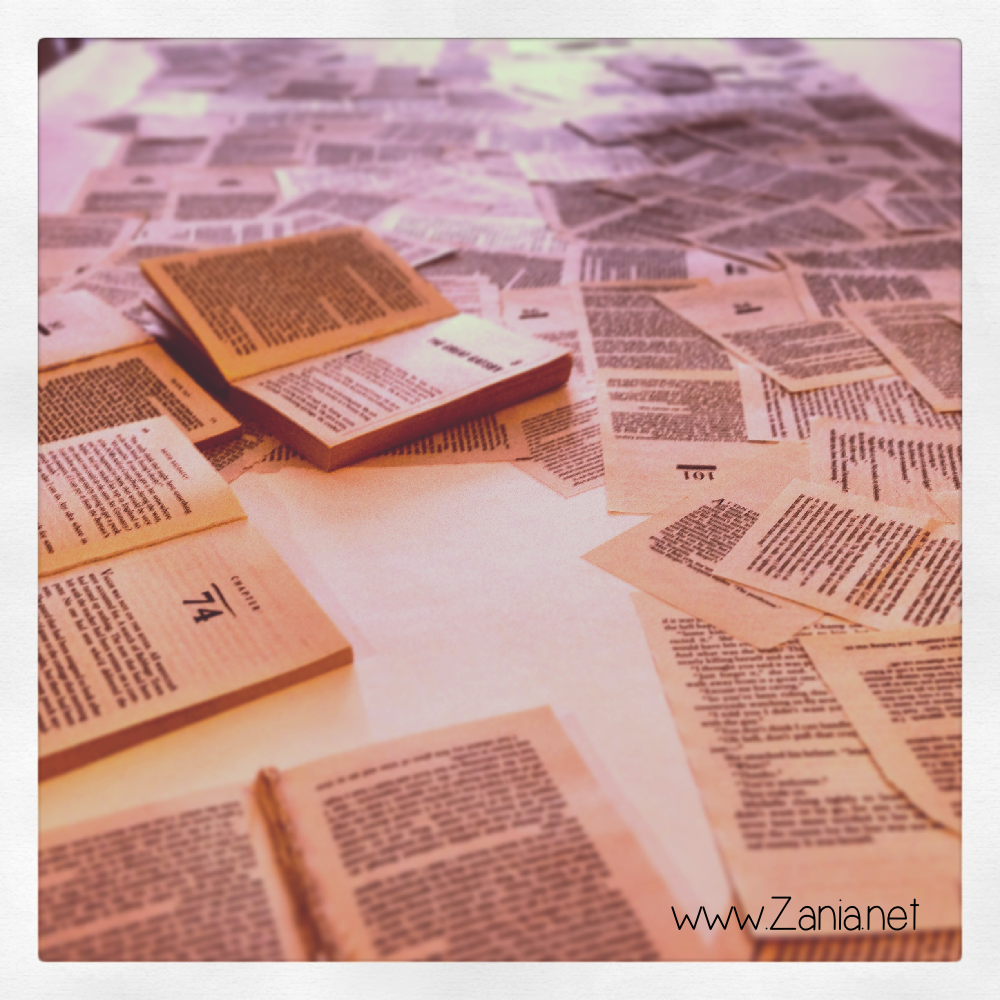
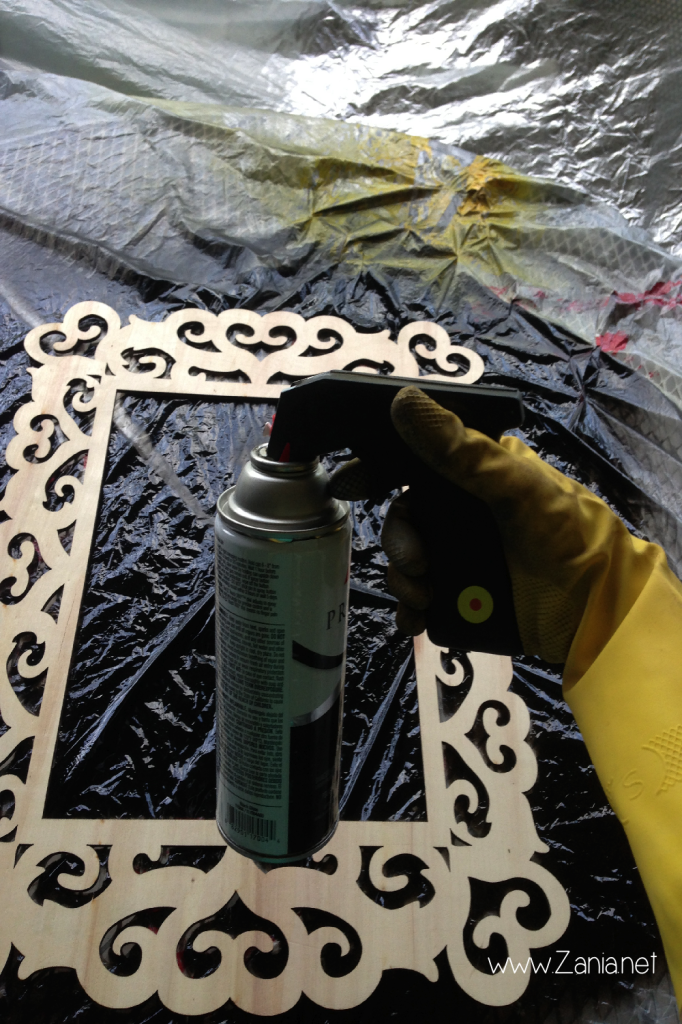
First, I spent a lot of time planning. Lists and lists of things to do, as well as what to take to the set. The list was enormous. Get ottomans from friend… spray paint wooden frames… clean wine bottles… melt wax on them to give them an old world looky look… spray adhesive to each and every book page… (I had Oprah’s Masterclass playing for audio entertainment. Multitasking)… It was a lot, but it got done with time to spare. These are the pics I posted on Instagram.

Glueing_Pages Spray_Painting_FramesThen it was time to set up. Princess Prius (my car) was completely filled with furniture and stuff, to the point that the guard from my building asked me if I had scheduled a moving-out date on the calendar… LOL! No, sir. But BTW, I’m doing this again in a week to get everything back home. See ya!

Then it was time to set up. Like the Tr3s Top 20 set I previously designed, decorating a set is very different than a residential room. I wrote about those differences HERE. I was confident with my design idea because it was clear and precise, but I couldn’t help but doubt myself every now and then.

Process_Bar After_Stage
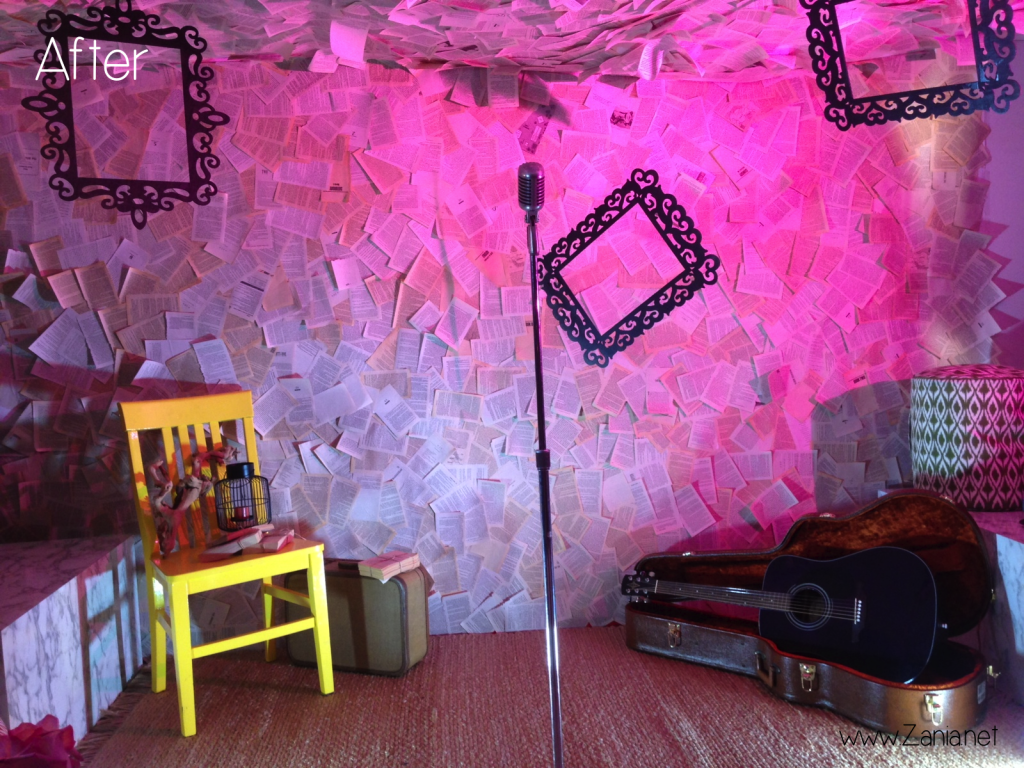
Now that I see the set, I think the bar area was better designed than the stage. I love the paper walls and the natural fiber rug, but the chair and the ottomans were too modern/bright for the space. The purpose of the chair was to add color, but it didn’t quite go with the design. I do like the vintage suitcase and the open guitar case. Those white boxes on the side needed to be covered in black or something, because they are very ugly. But hey, you live and you learn. Overall I think I did an ok job. Next time it’ll be better.

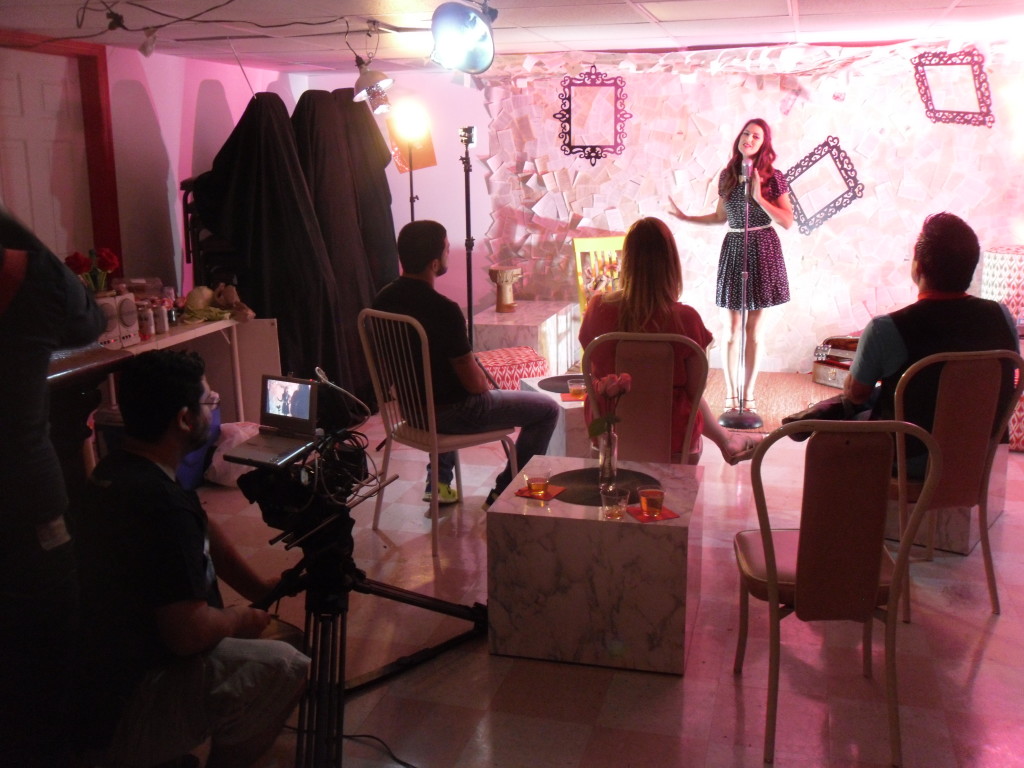
This was taken during the recording of the video.

Shoot Tearing_Down_the_Set
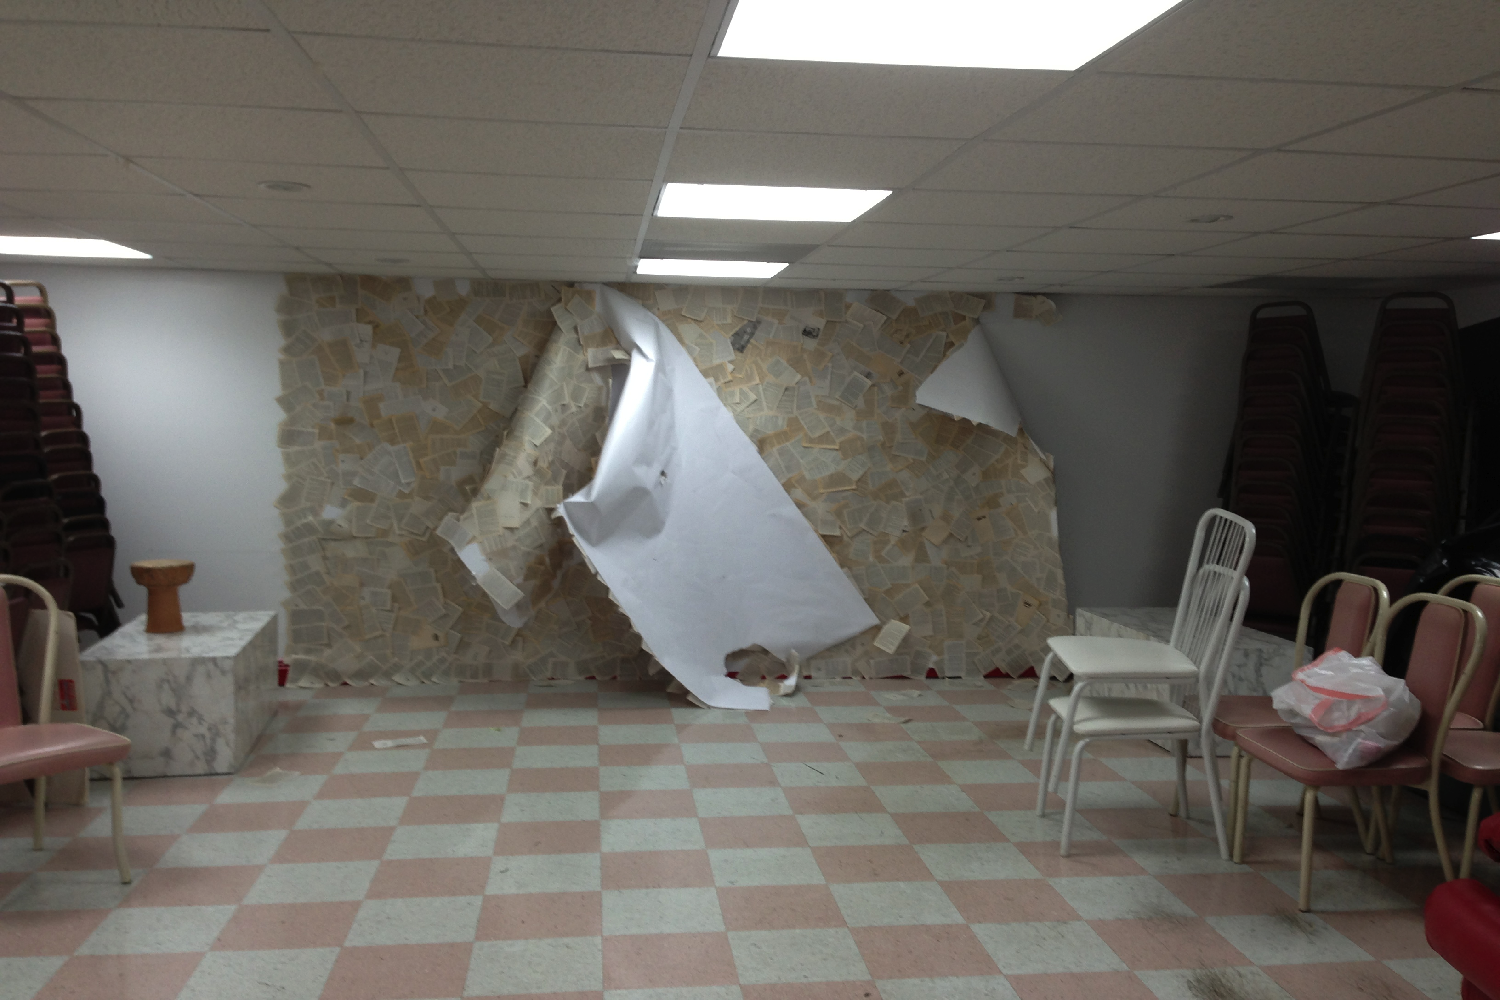
Then after all that work… it gets torn down in a second. Oh well. You’ll get to see the final product once the video is released. Stay tuned! I will be posting the video on YouTube and on all social media sites as well as here.

Thanks for reading!
Signature_Zania


Before & After: Alexander’s Nursery

Hi everyone!

Say hello to Julie, our second featured reader presenting her very own project for her son Alexander. This is one of those wall transformations that require a lot of measuring, leveling and patience! But in the end, the final product is so much fun. Julie says, “What’s my inspiration? Simply to impress my adorable husband and 2 year old baby boy.  I just adore that loving smile from ear to ear & that approving facial expression worth more than a thousand words every time they see a homemade project.” That’s why DIY projects are so worth it! Good job Julie!!!

B&A_Alexander_1_Before Continue reading “Before & After: Alexander’s Nursery”

Miss Ideas #22 – Bedside Table Renovation | Renueva tu mesita de noche

This is one of my favorite makeover projects that we did for Miss Ideas on Yahoo! en Español. Actually, it’s one of my favorite DIY projects ever! You know, there’s no need to spend a lot of money for great design. This bedside table only cost us $10 at a thrift store and then we glammed it up to make it look absolutely stunning. Take a look at the video and you’ll see how we turned a boring piece into a masterpiece! You’ll love this bedside table renovation! Enjoy! For sourcing reference on the wallpaper, go HERE.

Este es uno de mis proyectos favoritos de Miss Ideas en Yahoo en Español. Puedes transformar una simple mesita de noche a una pieza totalmente única y especial. Toma un poco de tiempo y dedicación pero te aseguro que vale el esfuerzo. Hazle click a la imagen de arriba para ver el video. ¡Quedarás super impresionada! ¡Que lo disfrutes! Para ver en donde conseguimos el papel de empapelar, puedes ir AQUI.

Signature_ZaniaPara mas videos de Miss Ideas vayan a ESTA pagina. For more Miss Ideas Videos, please go HERE.Miss_Ideas_Header_Banner_Yahoo


Happy Halloween 2013!

Happy_Halloween_White

We really enjoy Halloween here at Zania.net. To celebrate the festivities, I’ve made some delicious Crisp Candy Corn Treats (click HERE for the Martha Stewart recipe), crafted some DIY mummy jars, decorated my door with our gleeful skeleton, put together a low budget costume for myself but I have yet to carve a pumpkin! Oh well. At least I was able to put together a cute Jack O’Lantern post for all of you to see. If you haven’t seen it, you can check it out HERE.

photo 1-3 Skeleton_Halloween_breast_cancer_ribbon_pink photo 3-1

This year, we’re headed out to Lincoln Road in South Beach, FL  with friends. I will be dressing up as Mary Poppins! I love that Julie Andrews. I’m just going to have to stop myself from singing “just a spoonful of sugar helps the medicine go down…” Make sure to follow me on Instagram as I will be sharing my favorite costumes of the night!

What have you done this Halloween? Upload pictures of your crafts, decorations or costumes on my Facebook Page HERE.

Have a Spooky and Safe Halloween!

Signature_Zania

Not Your Average Jack O’ Lantern

After a recent binge pinning fest on Pinterest I ended up finding so many fun ways to decorate your Halloween pumpkin that I just had to share them with you! The only problem is now I can’t decide what to do! Here are several crafty ideas on how to create fun designs for your calabazas! Warning: image overload!

via HGTV
via HGTV
via BeadandCord.com
via BeadandCord.com
via Joann.com
via Joann.com
via MarthaStewart.com
via SweetPaul.com
via SweetPaul.com
via Shelterness.com Many more creative ideas if you click on this image link!!
via lgcfyi.com
via lgcfyi.com
via Lowes.com
via Lowes.com

Aren’t these great?!! They inspire me to do something out of the box with my pumpkin this year! Almost every year my husband and I carve pumpkins. Sometimes we get a little too competitive and more often than not we end up biting off more than we can chew. Needless to say, it ends up being a fun activity. Here are our crafty creations from 2010.

avatarpumpkin owlpumpkin_zania

After taking a 2 year hiatus from carving pumpkins due to our wedding and a much-anticipated trip to Europe, we’re ready to get our hands dirty again this year.

If you like what you see here you can view more on my Halloween board on Pinterest by clicking HERE. Enjoy! Happy Halloween!

Signature_Zania

Miss Ideas #21 – Decorate With Duct Tape (Part 2) | Decora con cinta para ductos (Parte 2)

Miss_Ideas_Decorate_with_duct_tape_part2_titlecardAnd here is Part 2 of our Duct Tape series on Yahoo’s Miss Ideas! This one is easy to do and can give any table a shocking makeover. Now I want to cover everything in duct tape! Click on the image above to view the video.  To view Part 1 of this series click HERE. Thanks for visiting my page!
To receive these posts directly in your inbox, click on the “Follow Zania.net” button on the right side of this page. 

Y aquí esta la segunda parte de la serie de decoración con cintas para ductos de Miss Ideas en Yahoo! Cuenta con una transformación increíble al cubrir una mesa con estas cintas. ¡Ahora me ha dado fiebre de cubrir todo con cintas! Házle click a la imagen de arriba para ver el video. Para ver la primera parte de esta serie házle click AQUI.   ¡Gracias por visitar mi página!
Para recibir estos posts directamente en tu inbox házle click al botón “Follow Zania.net” en la columna de la derecha. 

Signature_Zania

Miss_Ideas_Header_Banner_Yahoo