
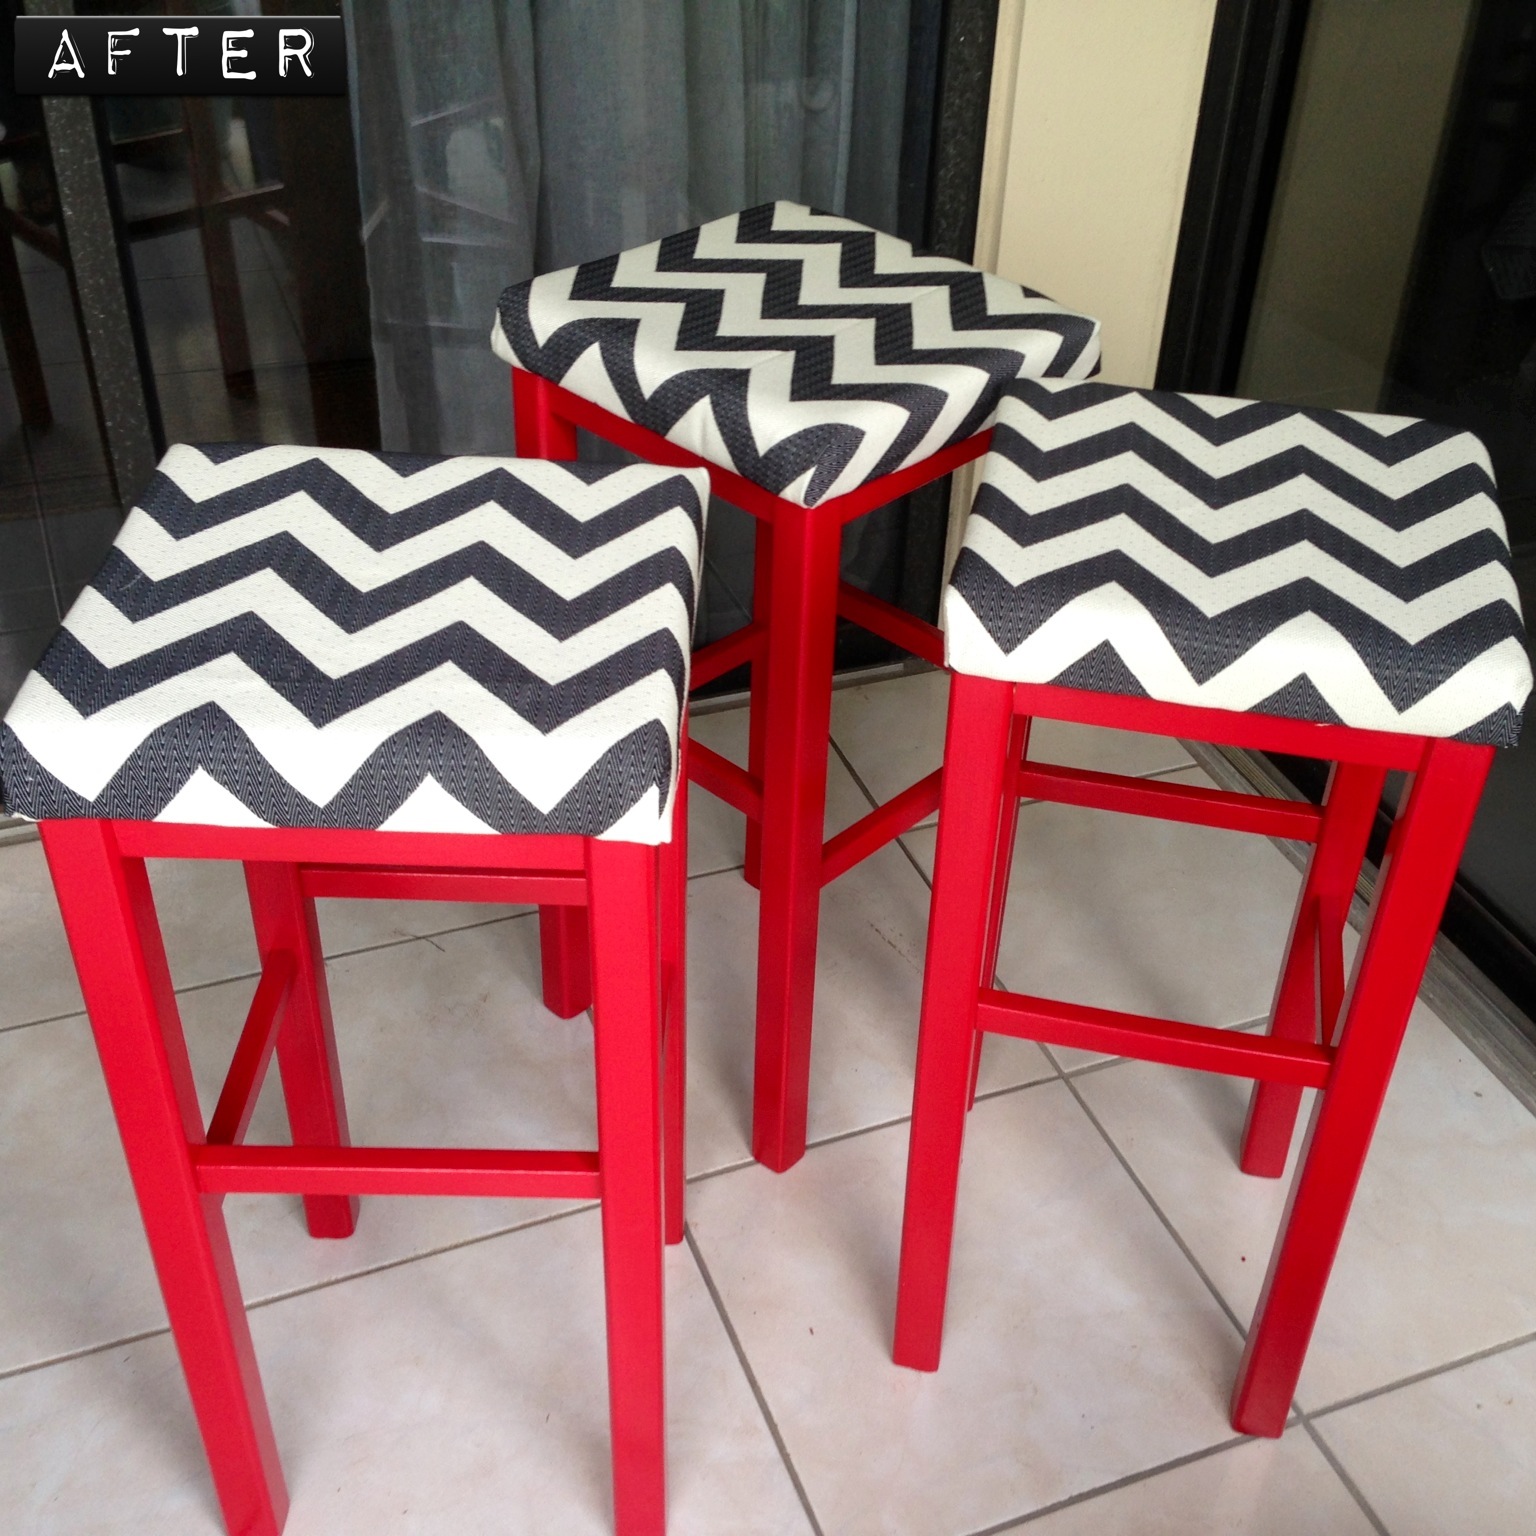

This month’s Before & After features some stools I made for a friend. It takes about a 5 hours to work on all of these (with some drying time in between) and one overnight drying period. Hope they inspire you to add some color to your home!
Materials

- Stools – My brother found these next to the dumpster. He knew exactly who to call when he saw them! Me!!
- Paint – I used BEHR Premium Plus Ultra in Candy Apple Red with Primer in Semi-Gloss
- Paint brush and/or small foam roller
- 100 grit sand paper
- Fabric of your choice – I bought mine at Joanne Fabrics. It’s from the HGTV line and it is made for upholstery since it is tougher than regular fabrics
- Staple gun
- Cloth
- Scissors
- Screwdriver
- Measuring tape
- Pencil
Painting the Stools

- Clean the stools with a damp cloth. Use some soap if necessary. As you clean, inspect the piece of furniture to make sure that it is in good condition I had to readjust some of the wooden parts of this stool with some wood glue because they were a little loose.
- Remove the cushion with a screwdriver.
- Sand it down as much as you can. You really want to do a good job here because the better the sanding, the better the paint will adhere to the wood.
- With a cloth, clean any excess dust from the stool. Make sure there is no residue left.
- Set up an area to paint your stools.
- With a brush paint a first coat. I like to use a brush first because i ca really get into the nooks and crannies of the piece of furniture.
- Let that dry and then go for the second coat. Here you might want to use the roller to give it a smoother finish.
- Let it dry completely!!
Upholstering the cushion


- Measure the cushion on all sides including the border. For example if your cushion is 18″x18″ and the entire border is 1″, then the you should cut the fabric 20″x20″). This leaves about an extra inch of fabric on all sides for the folding and stapling.
- Place the fabric facing down on a hard surface.
- Place the cushion in the center of the fabric making sure that the print (if you’re using print) is perfectly aligned.
- Start folding the sides over the cushion and stapling them. Use as many staples as you need. Corners are tricky, so I included some pictures to show you how can fold them. When you do this, make sure you fold them on the same side of the cushion as if you’re wrapping a gift.
- Once the stools are dry, screw the cushions back in tightly.
- Congratulations! You’re done!

Hope you enjoyed this Before & After! Thanks for reading!

Related posts:
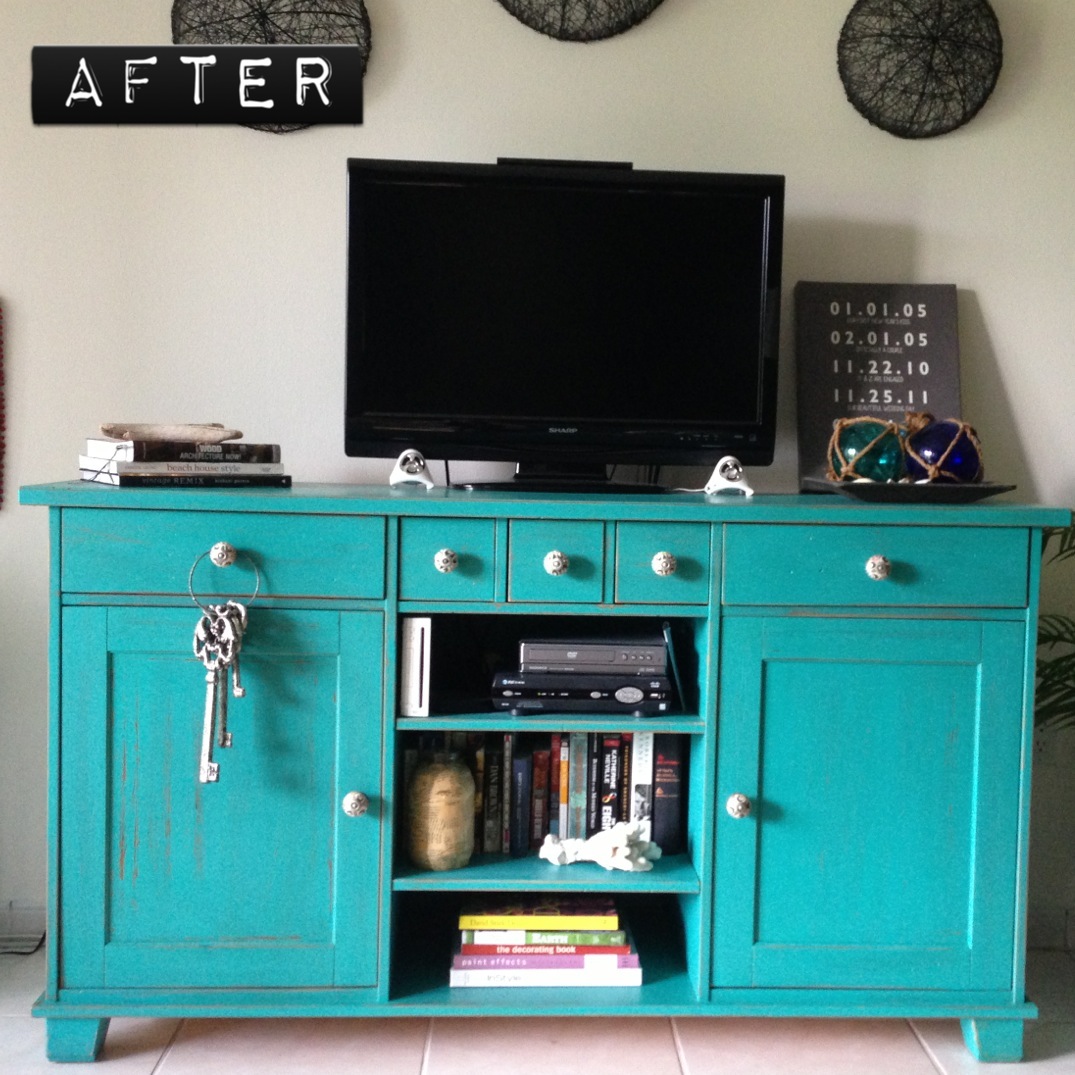 Before & After: Distressed Turquoise Media Console
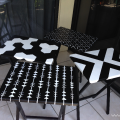 Before & After: TV Tray Tables
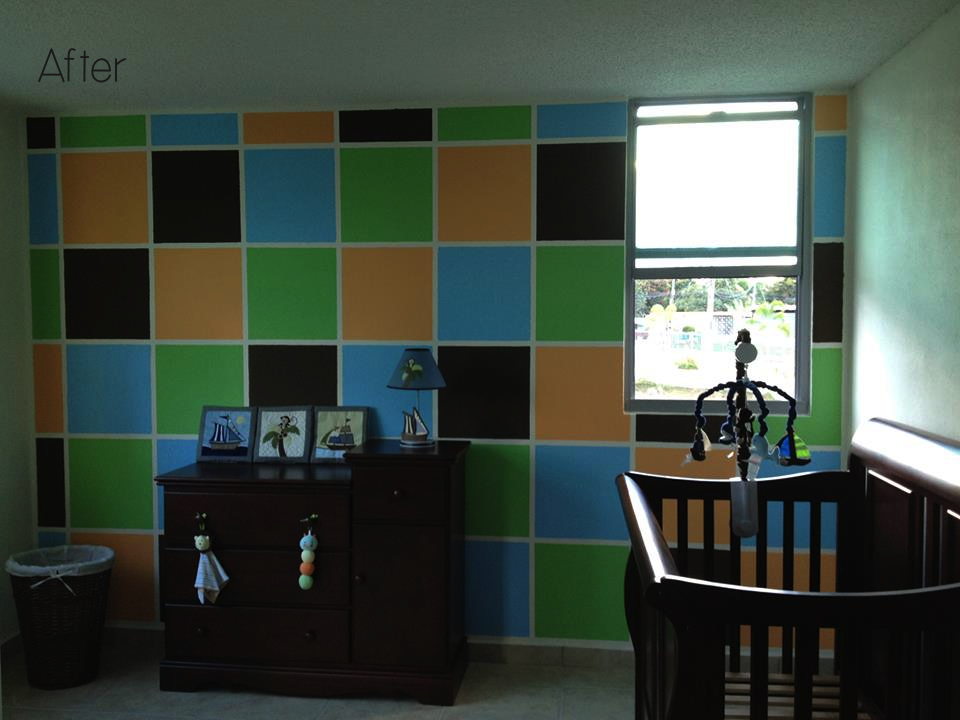 Before & After: Alexander’s Nursery
 Before & After: Floor Lamp
Related posts brought to you by YARPP.
Que bellos te quedaron!!!!
Gracias!! I’m very proud!
Espectaculares! Me encantan!
:-) !!