Hi everyone!
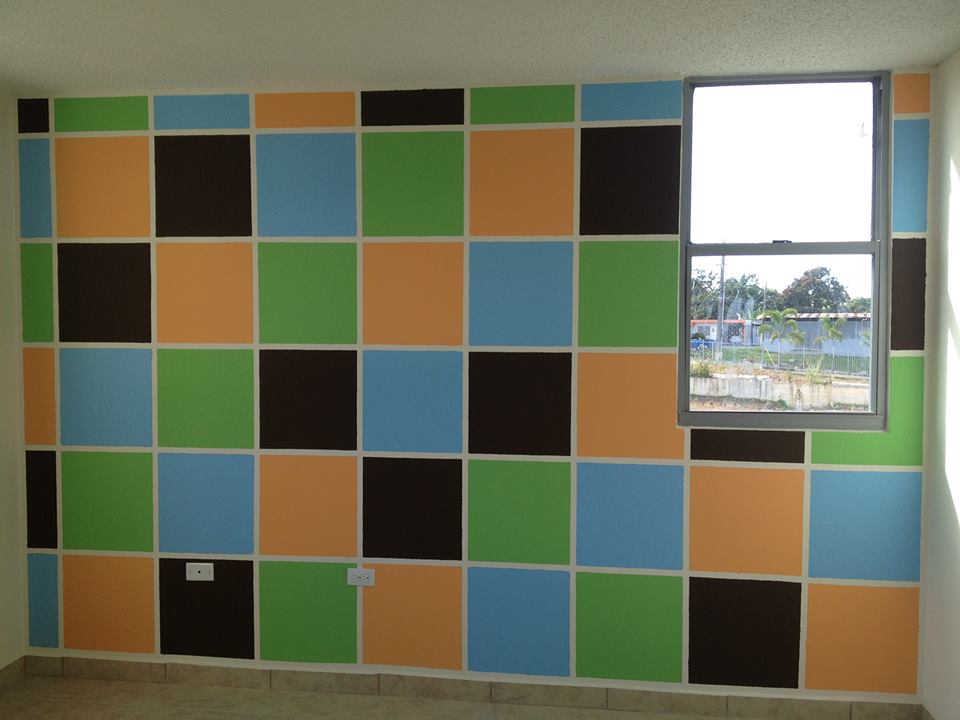
Say hello to Julie, our second featured reader presenting her very own project for her son Alexander. This is one of those wall transformations that require a lot of measuring, leveling and patience! But in the end, the final product is so much fun. Julie says, “What’s my inspiration? Simply to impress my adorable husband and 2 year old baby boy. I just adore that loving smile from ear to ear & that approving facial expression worth more than a thousand words every time they see a homemade project.” That’s why DIY projects are so worth it! Good job Julie!!!
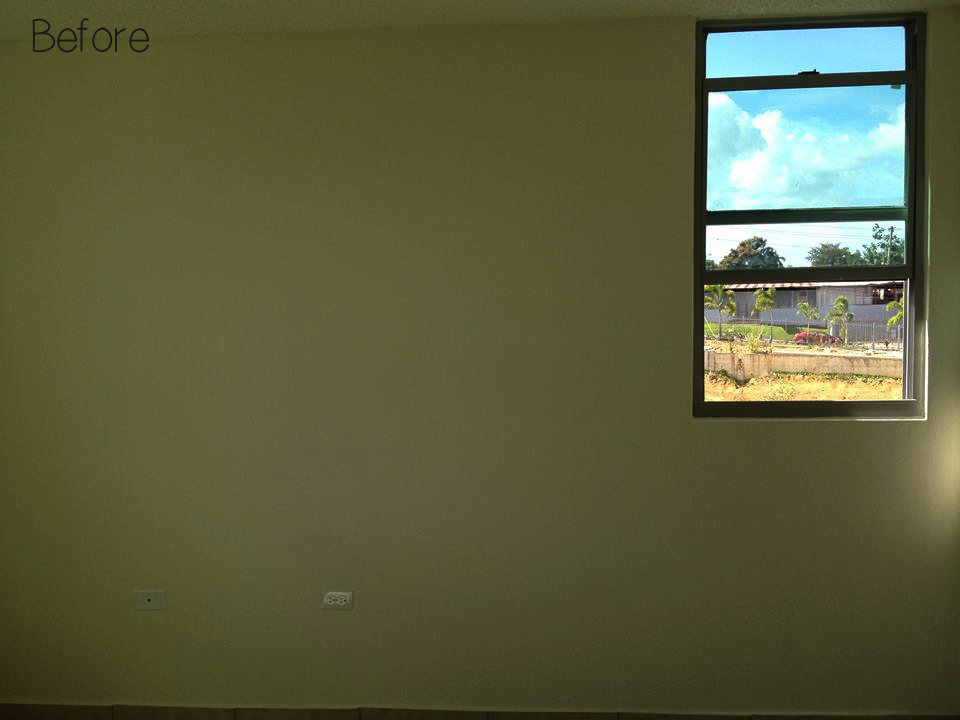 What do you need?
- Painter’s tape
- 4 different paint colors
- paint brush
- paint roller
- measuring tape
- level
Here’s how to do it
1. Tape up a grid on your wall. This takes some time, so pace yourself. Always make sure you measure correctly and all lines are level. Pssst, here you can also see little baby Alexander’s squishy feet! So adorable!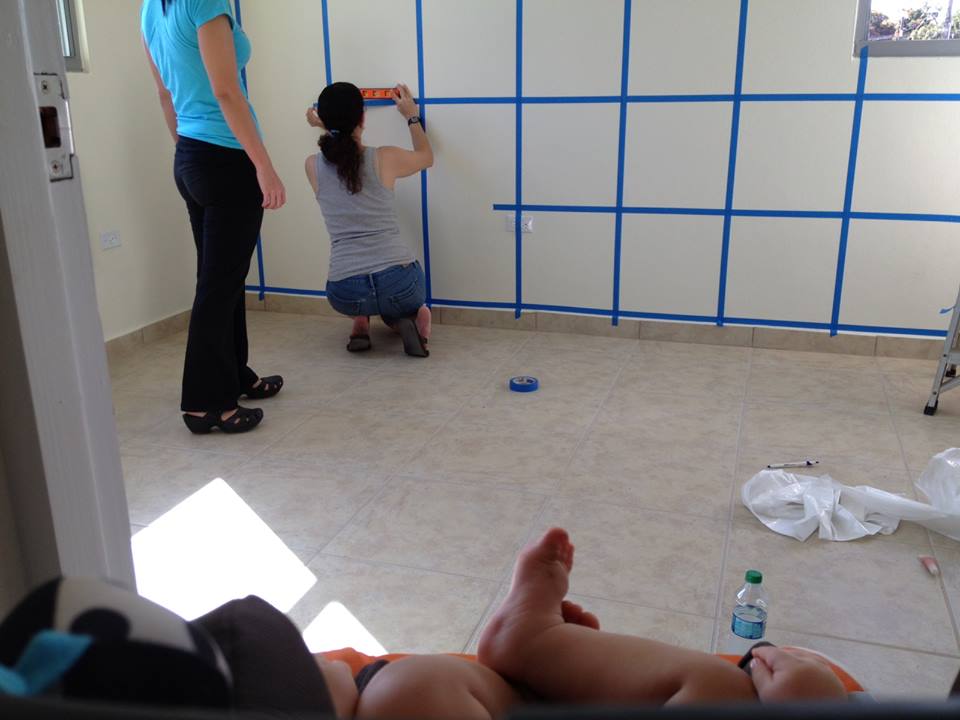
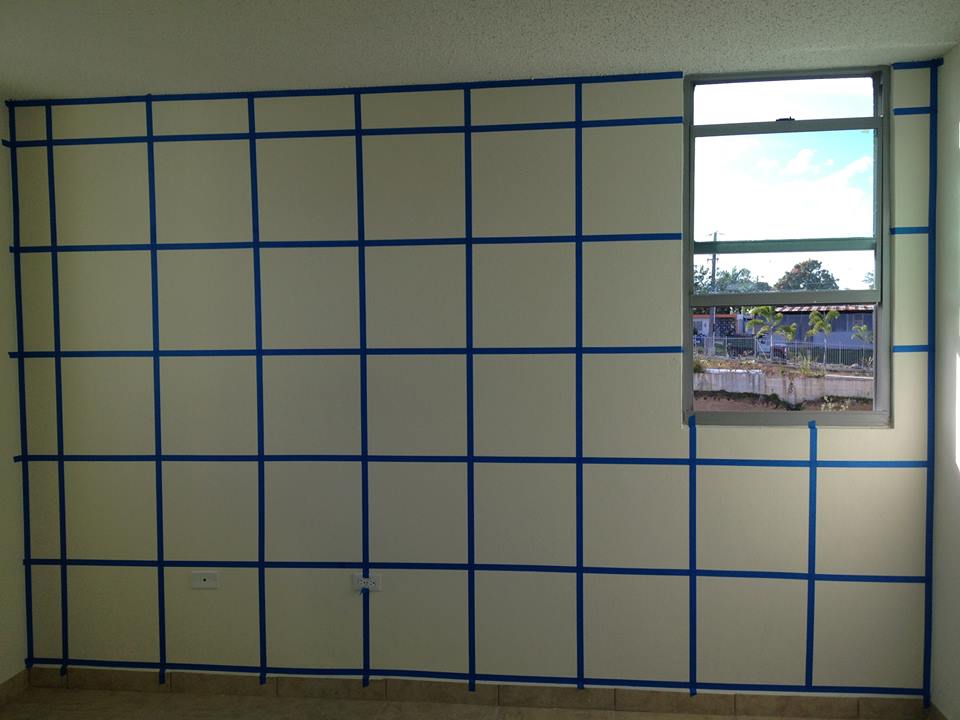
2. Pick your colors. Then make a grid on a paper and assign the colors to each square. Doing this helps to avoid any mistakes on the actual wall. Smart move Julie!
3. Start painting!
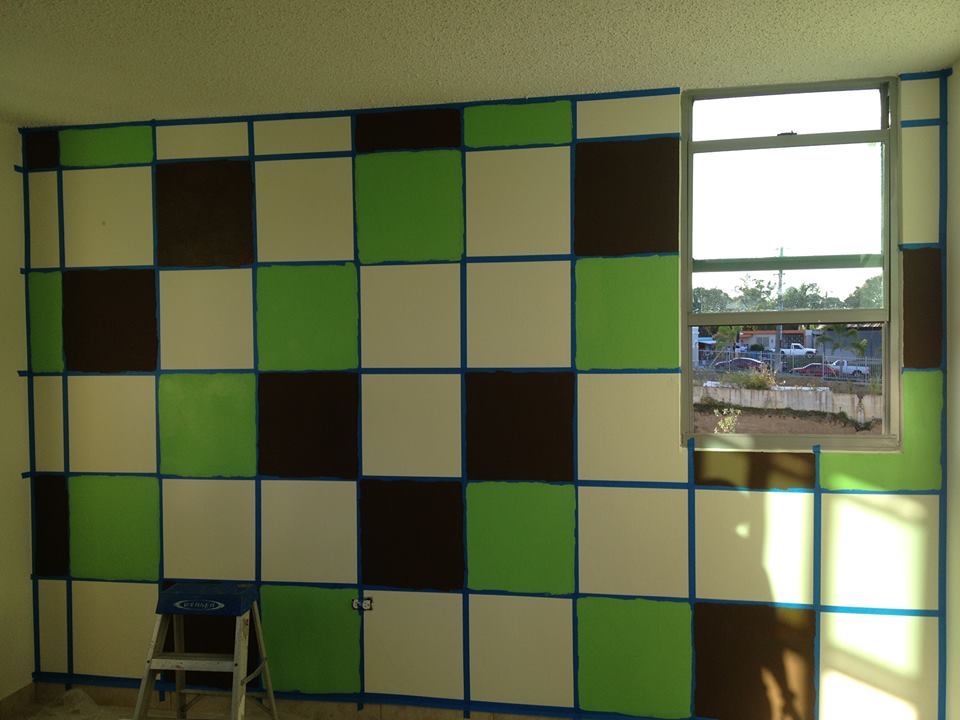
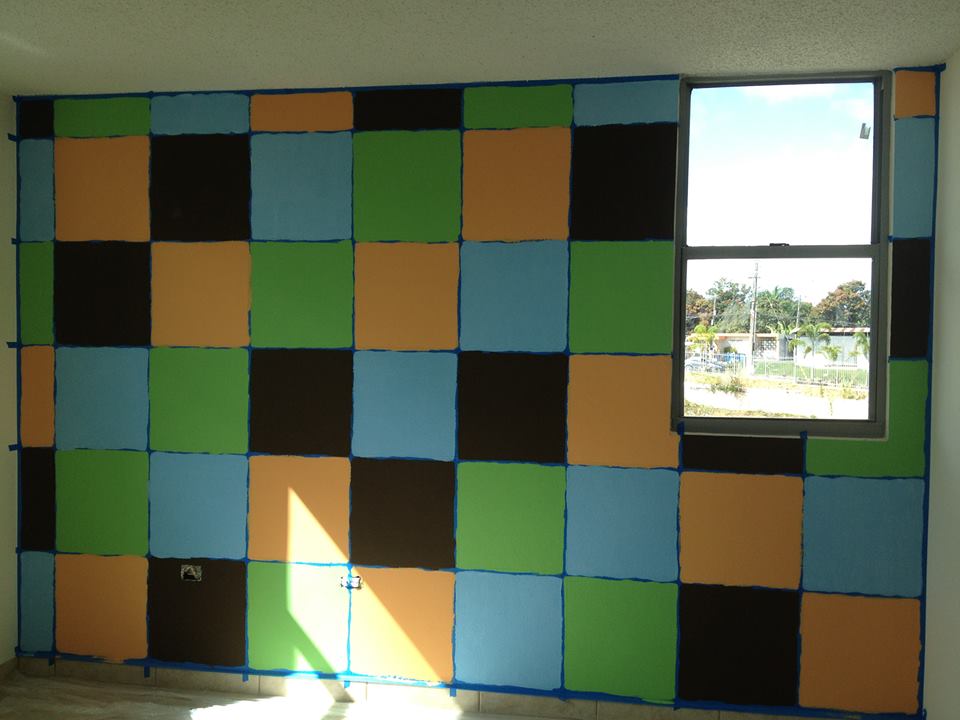 4. Wait until the paint is completely dry and then remove all of the tape carefully.
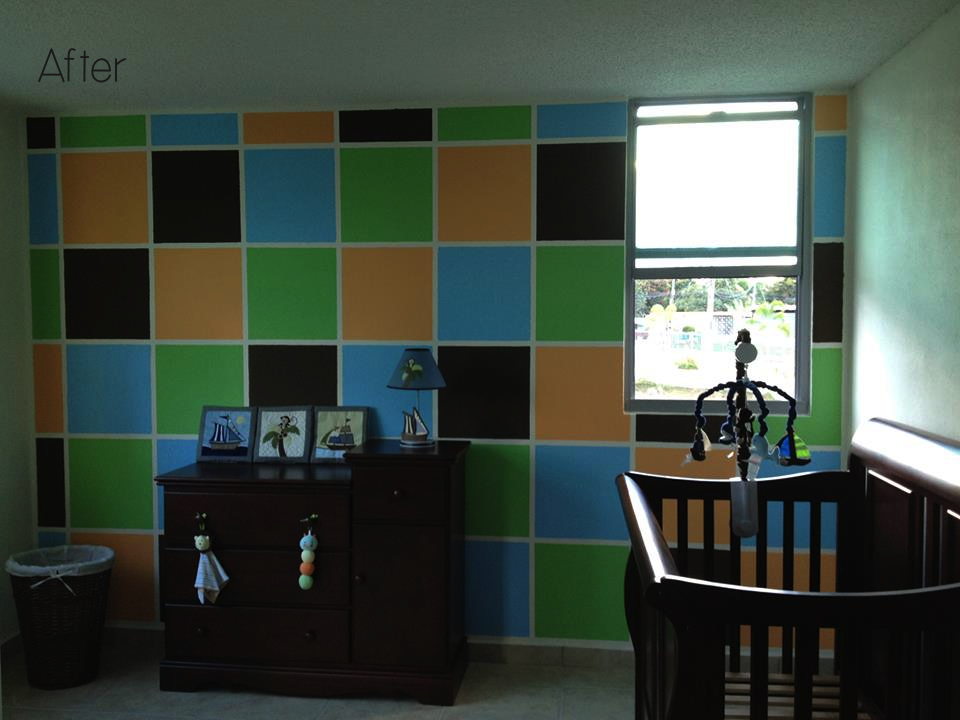 This project is so sweet! You could do this practically anywhere as an accent wall or even apply it on a small space like a bathroom! You could use different colors, different finishes… Oh… The possibilities are endless! Thank you Julie for submitting this wonderful project with us! xoxo
If you have a fabulous Before & After project that you would like to share on Zania.net, please take a look at this post to submit your projects.
If you like this post (or any other) please share it on your social media outlets by clicking on the buttons below: Spread Z love! Thanks you so much for reading and I hope you have a nice day!


