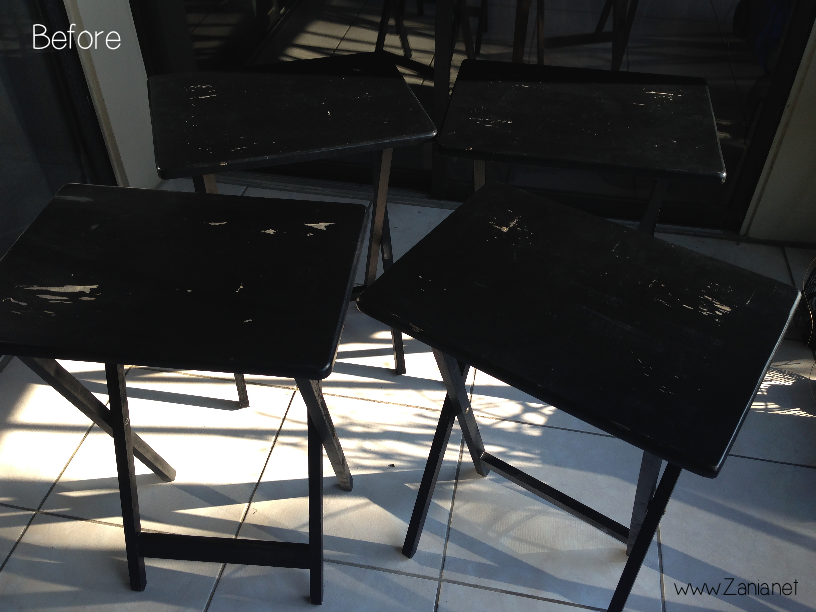
How ’bout those TV tray tables you have at home? Do they look like my ‘Before’ picture? Well… These handy dandy tables are not necessarily the best lookin’ ones right off the shelf but like every other piece of furniture at home, they are not to be neglected! They get a lot of abuse here in my household and after several years of wear and tear it was time to beautify them and give them some serious TLC.
I used several tribal rug prints as well as geometric wall tiles as inspiration. I wanted to use the black and white color palette because it is classic and it was the paint I had available. I also didn’t want to spend a dime doing this so therefore I used what I already had at home. In the end, they turned out fabulously glam! Don’t you think? Here’s how it all went down!
Materials
- Sanding sponge or paper
- Cloth or paper towel
- Painter’s tape
- White paint
- Small foam roller (depends on your design)
- Small foam brush (depends on your design)
- Paintbrushes (depends on your design)
- Black chalkboard paint or with a matte finish
Painting the Tables
- Firstly, we need to prep the surface. Clean the table with a damp cloth. Make sure all residue and dirt is cleaned and scraped off. Let it dry.
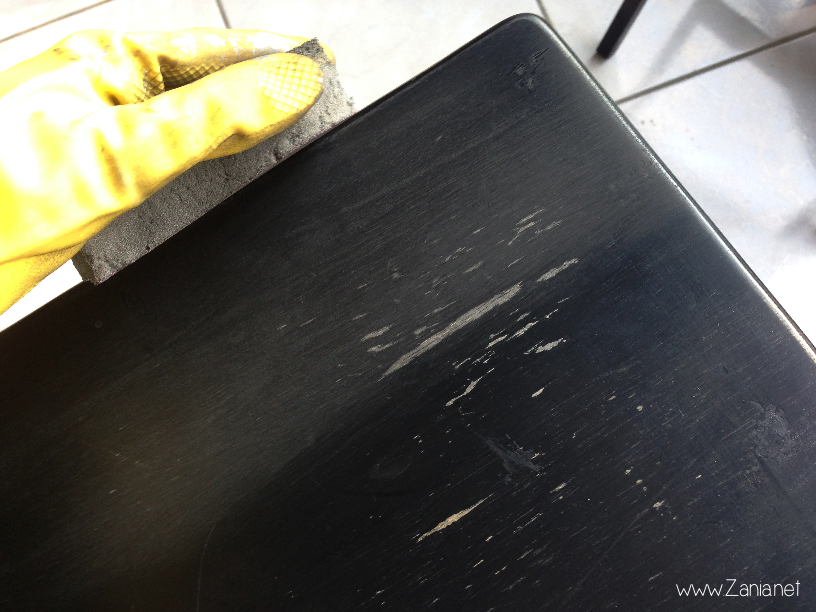
- Sand down the top of the tables. Don’t be shy! These tables released a lot of black residue and dust. My hands got stained immediately so I chose to wear my yellow gloves. You don’t need to do a deep sanding but just enough to roughen up the surface so that the paint goes in nicely and stays on.
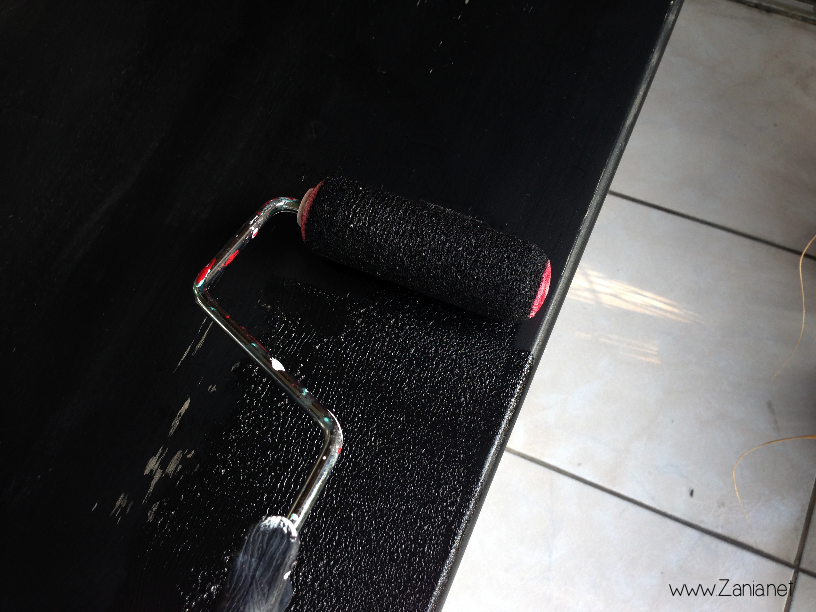
- I decided to give each table two full coats of black chalkboard paint because they were clearly not in good shape. I chose this type of paint because I wanted to keep the surface with a matte finish. No glossy black for these tables. I also didn’t want to paint the entire table so this was just the perfect choice. Use a foam roller for an even application. Let it dry.
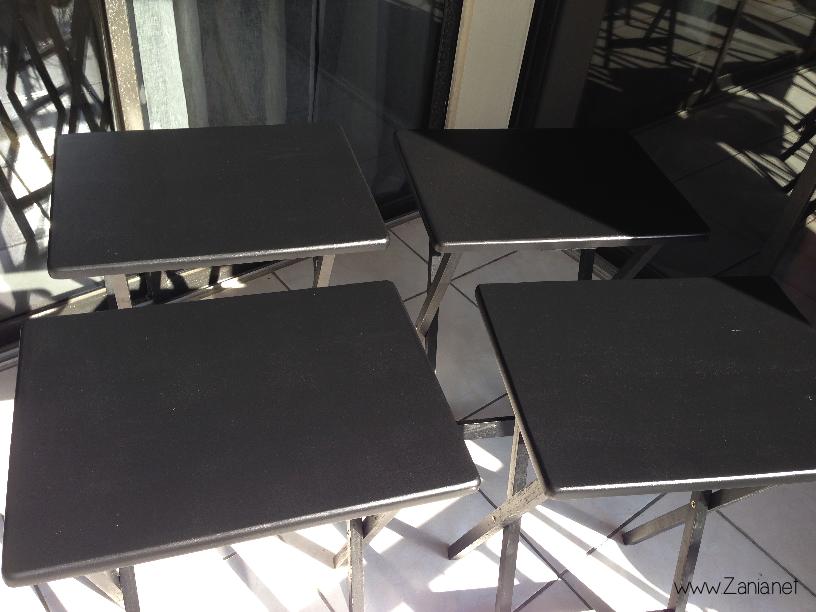
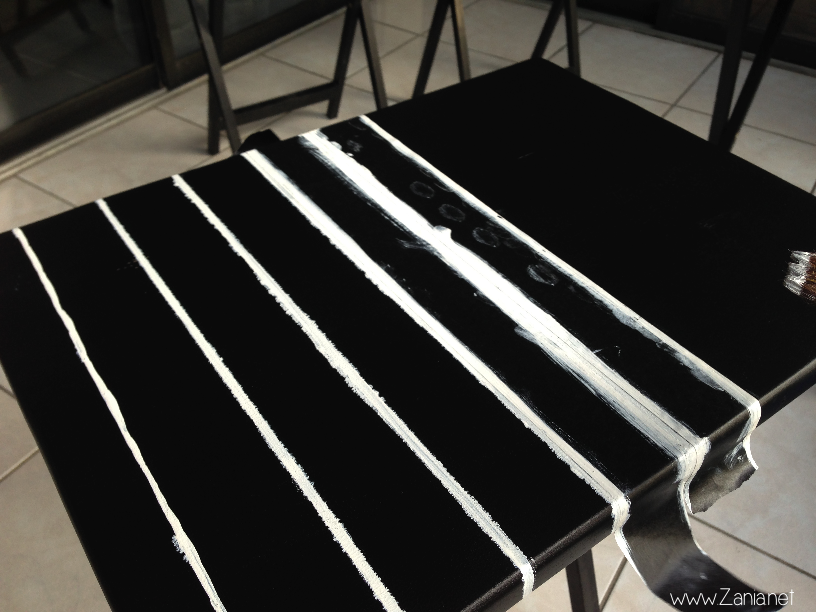
- Now’s the time to get creative! For table #1, I took some artist’s tape and taped off the entire table with diagonal lines to create even spacing. I used this tape instead of painter’s tape because of the thickness. In the future I won’t use it because it damaged the table once I took it off (duh!). once it was all taped up, I took off every other strip and hand painted the diagonal lines using the tape as a reference. I wanted an ‘artisan’ look so I didn’t worry about not drawing exact, straight lines. Then I waited for them to dry and I did the same thing again overlapping the other lines with diagonal tape in the other direction. In the end I drew in the dots in the middle of the shapes and it was done!
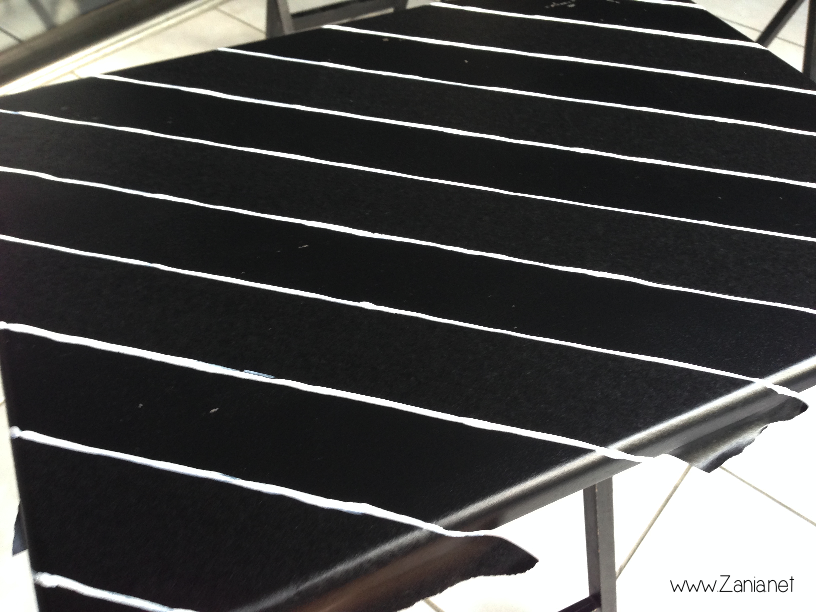
- With table #2 I also hand drew the lines and arrows using the tape as a guide. I used two small brushes. After I was done I went over some lines with the black chalkboard paint to cover up some paint that ran a little along the edges. It’s important to continue the pattern down the edges of the table to make the project look completed and uniform.
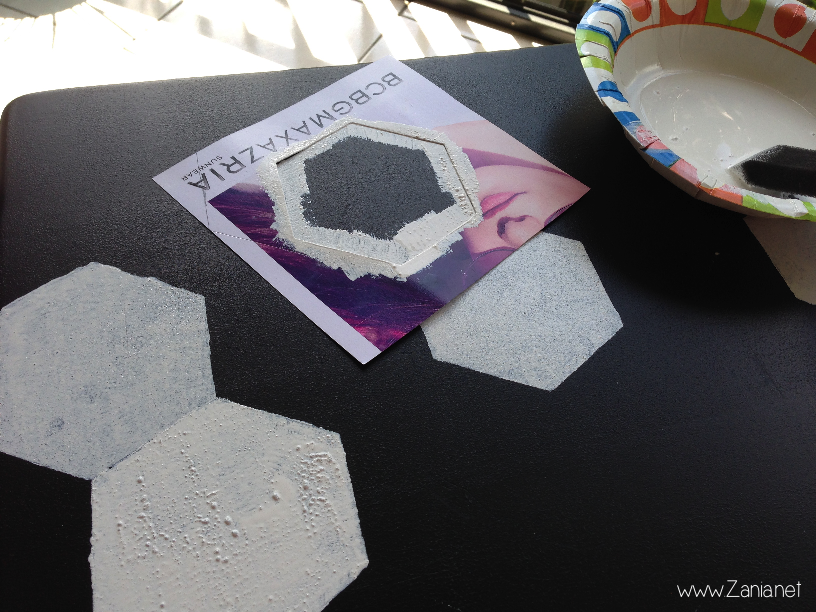
- To create the hexagon stencil for table #3, I basically printed out the shape from the computer on regular paper and then traced it onto the back page of the BCBG Spring catalog because it was made with card stock material. Then I cut it out with an X-acto knife. I carefully placed the stencil on the table and dabbed a foam brush to paint the image. Important: I wanted an asymmetrical design while following an invisible grid-like pattern. To create that, I measured the hexagon in between all other hexagon. I stenciled 2 or 3 hexagons at a time, waited for them to dry and then did another set while also doing a second coat of paint on the others. Do this until you are satisfied with your design.
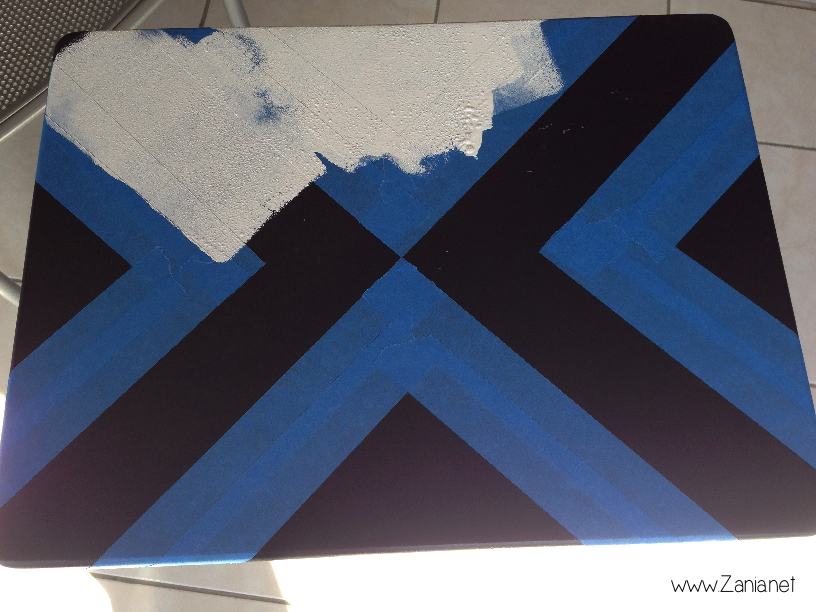
- For table #4 I needed to measure out the length and width of the table to create even halves on opposite sides in order to draw them out and cover them with painter’s tape. It’s easier said than done, but totally worth it. Once you go through the trouble of measuring everything and then precisely sticking the tape, the painting part is super easy. Do two coats. Make sure to cover the edges too!
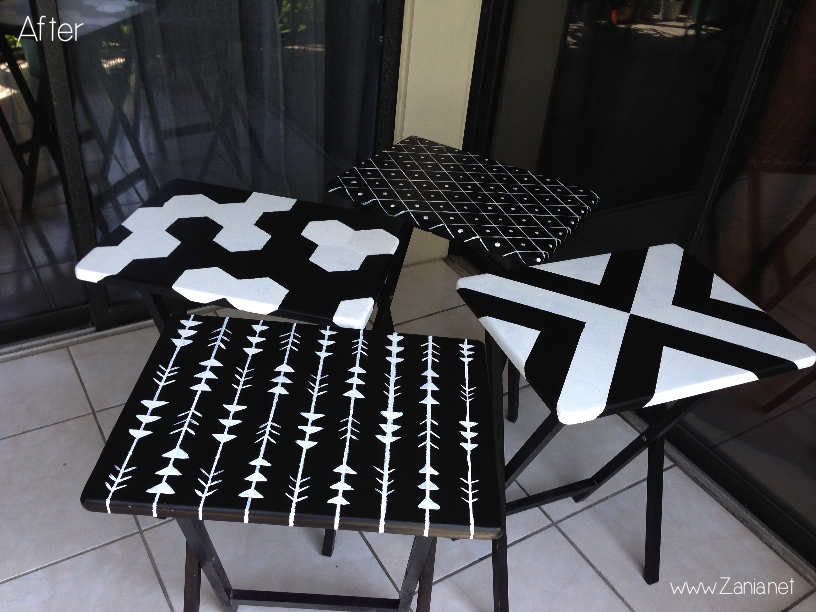

Voilá! There you have your fabulous TV tray tables! Who knew they could look so good. It might be time consuming but it’s totally worth it. Now you’ll be dining in style!
Thanks for reading!
 If you have any questions, suggestions or comments please leave them on this page or contact me! I’ll be more than happy to connect with you!

Great Post Zania! I loveeee this idea!
XOXO,
Brittany
http://www.bisousbrittany.com/